Best Starlink Mounting Hardware for 2026: Buyer's Guide
By InstallPros Team · July 23, 2026 · 8 min read
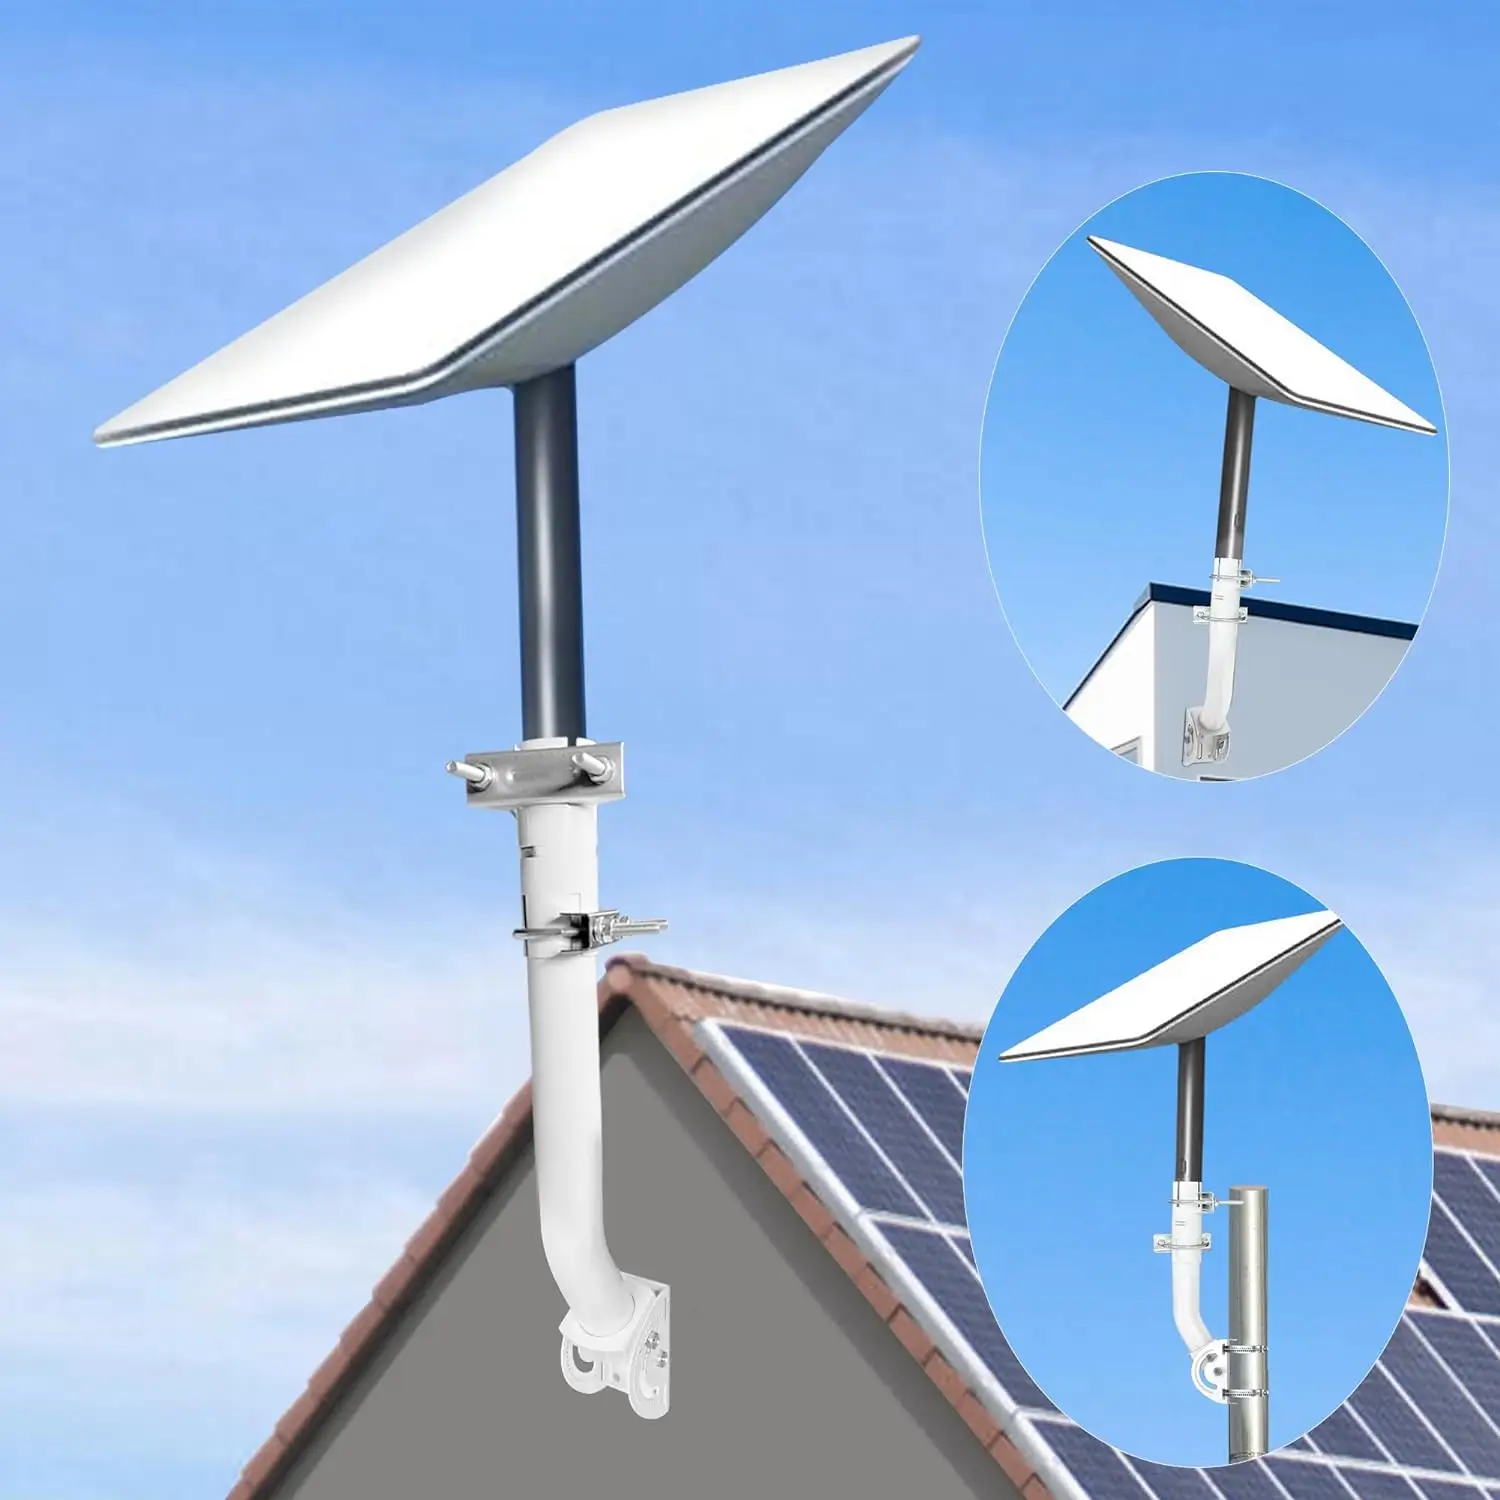
Choosing the best Starlink mounting hardware in 2026 comes down to three things: clear sky, solid structure, and a cable route that will still look good years from now. The dish is only as reliable as the mount under it. A weak location, short mast, loose fascia board, or rushed cable entry can cause dropouts, leaks, wind movement, and service calls that could have been avoided on day one. After hundreds of residential and business installs, we see the same pattern: the right mount is rarely the cheapest-looking option, and it is not always the tallest one either. It is the mount that puts the Starlink terminal above obstructions, keeps it stable in weather, and lets the cable enter the building safely without sharp bends or exposed weak points. This guide breaks down the main Starlink mounting options for 2026, where each one works best, and what homeowners and businesses should check before buying hardware or booking an installation.
Best Starlink Mounting Hardware for Roof Installs
Roof mounting is still the most common choice because it usually gives the dish the best line of sight. For many homes, the best roof hardware is a proper flashing mount, ridge mount, or short mast secured into framing. The goal is not just getting above the shingles. The goal is getting the dish high enough to clear trees, chimneys, dormers, and roof peaks without creating a leak point.
A flashing mount is a clean option on asphalt shingle roofs when installed correctly. The base is integrated under the shingles, fastened into structure, and sealed as part of the roof system. This is the type of mount we prefer when the dish needs a permanent location and the roof pitch allows safe access.
Ridge mounts can work well when drilling into the roof is not preferred, but they still need correct ballast, alignment, and cable management. A weighted mount that shifts in wind is not a professional install.
- Best for: homes with roof access and clear sky above the roofline.
- Watch out for: weak decking, poor sealant work, and cables laying loose across shingles.
- Installer tip: mount into structure whenever possible, not just surface material.
Wall, Eave, and Fascia Mounts: When They Make Sense
Wall and eave mounts are excellent when the side of the building has a clear view and the cable can enter cleanly nearby. A properly installed wall mount can keep the dish off the roof, reduce roof penetration concerns, and make future service easier. The key is choosing a wall location that is not blocked by the roof edge or nearby trees.
For two-story homes, a gable-end wall mount often works better than a low fascia mount because it raises the dish without putting hardware on the roof surface. On shops, barns, and commercial buildings, wall mounts can also be used to position Starlink away from HVAC units, parapets, and metal roof edges that may affect the field of view.
Fascia mounts need extra judgment. Some fascia boards are strong enough when properly backed by framing; others are thin trim that should not carry a dish through wind and weather. We check for rot, attachment points, and rafter tails before trusting fascia.
- Best for: gable ends, strong exterior walls, garages, shops, and buildings with easy cable entry.
- Watch out for: mounting to trim only, blocking the dish with the roof overhang, and exposed cable runs.

Pole Mounts for Trees, Long Runs, and Open Yards
Pole mounts are often the right answer when the house is surrounded by trees or the best sky view is away from the building. A ground pole can place the dish in an open part of the yard, near a fence line, or beyond a tree canopy shadow. Done right, it is stable, serviceable, and less invasive than trying to force a roof location that still has obstructions.
The pole needs to be the correct diameter for the Starlink adapter, set deep enough for the local soil and frost conditions, and rigid enough to avoid sway. A tall, flexible pole can create intermittent issues even when the app says the sky view looks good. Movement matters, especially in wind.
Cable planning is the big part of a pole install. The Starlink cable should be protected from mowers, pets, foot traffic, and water exposure. In many installs, that means conduit, a proper trench, sweep bends instead of sharp elbows, and a weather-safe entry point into the building.
- Best for: wooded lots, rural properties, farms, and homes where the roof is obstructed.
- Watch out for: shallow poles, unprotected cable, and placing the dish where future tree growth will block it.
Non-Penetrating Mounts for Metal Roofs, Flat Roofs, and Temporary Setups
Non-penetrating mounts have a place, especially on flat roofs, certain metal roofs, rentals, and temporary business locations. They use weight or clamping rather than roof fasteners. When selected and installed properly, they can hold a Starlink dish without drilling through roofing material.
The mistake we see is treating every non-penetrating mount as automatically safe. Wind exposure, roof slope, surface friction, ballast weight, and cable strain all matter. On a flat commercial roof, the mount should be placed where it will not interfere with drainage, maintenance paths, HVAC service, or roof membrane warranties. On a standing seam metal roof, clamps must match the seam profile and be tightened correctly without crushing the seam.
Temporary does not mean sloppy. Even a short-term mount needs strain relief on the cable, a stable base, and a route that avoids trip hazards. If the dish falls, slides, or pulls on the cable, the repair can cost more than doing the mount correctly in the first place.
- Best for: flat roofs, some metal roofs, rentals, job sites, and seasonal locations.
- Watch out for: under-ballasted bases, cable trip hazards, and roof warranty issues.
How to Choose the Right Starlink Mount in 2026
Before buying any mount, use the Starlink app to check for obstructions in the exact area where the dish may go. Do not guess from the ground. A location that looks open can still lose signal from a tree edge, chimney, ridge line, or neighboring building. The best mount is the one that solves the obstruction problem with the least risk to the structure.
Think through the full install, not just the dish location. Where will the cable enter? Is there a safe path to the router? Will the cable be exposed to sun, snow sliding off the roof, animals, or landscaping equipment? Can the dish be serviced later without special equipment? These details separate a clean install from a frustrating one.
For most homeowners, the strongest options are a properly flashed roof mount, a well-secured gable wall mount, or a pole mount placed in a clear yard. For businesses, flat roof and wall-mounted systems are common because they keep equipment accessible and avoid customer-facing areas.
- Choose roof mounting when it gives a clear view and can be sealed correctly.
- Choose wall mounting when the side elevation is open and structurally sound.
- Choose pole mounting when trees or buildings block the house.
- Choose non-penetrating hardware when drilling is not practical or allowed.
Installer Recommendations Before You Buy
If you are buying hardware yourself, confirm which Starlink generation you have and whether the mount requires an adapter. Starlink hardware has changed over time, and not every third-party mount fits every terminal without extra parts. A mount that almost fits is not good enough on a roof or pole.
Check the fasteners as closely as the mount. Stainless or exterior-rated hardware, proper lag screws, compatible clamps, and UV-rated cable management are worth using. We replace a lot of bargain hardware because the bracket was acceptable but the included screws, straps, or plastic clips were not built for years of sun and weather.
Also plan for grounding and local code considerations where applicable. Requirements can vary by building type and location, especially for commercial properties, detached structures, and taller pole installations. If you are unsure, it is better to have the site looked at before drilling holes or pouring concrete.
InstallPros handles Starlink mounting for homes, businesses, farms, and remote properties. A professional installer can confirm the sky view, select the right mounting method, weatherproof the cable entry, and leave you with a clean setup that is built to stay online.
Frequently Asked Questions
What is the best mount for Starlink in 2026?
The best mount for Starlink in 2026 depends on the property. For many homes, a properly installed roof flashing mount or gable wall mount gives the best mix of clear sky, strength, and clean cable routing. If trees block the house, a ground pole mount may be better. Flat roof and metal roof properties may need non-penetrating or clamp-based hardware. The right choice is the mount that clears obstructions, attaches to solid structure, and protects the cable for long-term outdoor use.
Is a roof mount or pole mount better for Starlink?
A roof mount is usually better when the roof has a clear view of the sky and safe access for installation. It keeps the cable run shorter and often avoids trenching. A pole mount is better when trees, rooflines, or nearby buildings block the signal from the house. Pole mounts are common on rural properties and wooded lots, but they require a rigid pole, proper depth, and protected cable routing. The best option should be based on an obstruction scan, not just convenience.
Can Starlink be mounted on fascia?
Starlink can be mounted on fascia only when the fascia is structurally sound and properly backed by framing. Many fascia boards are just trim and are not strong enough to hold a dish through wind, snow, and years of vibration. A professional installer will check for rafter tails, rot, fastener depth, and load direction before using a fascia mount. In many cases, a gable wall mount, roof mount, or short mast into framing is a safer long-term option.
Do I need a special adapter for Starlink mounting hardware?
You may need an adapter depending on your Starlink model and the mount you plan to use. Starlink terminals and mast connections have changed across hardware generations, and some third-party mounts require a specific pipe adapter or conversion fitting. Before ordering, confirm your Starlink version and the mount’s inside diameter, outside diameter, and locking method. Avoid forcing the terminal into a mount that does not fit correctly because movement at the connection can cause alignment issues or equipment damage.
Should I install a Starlink mount myself or hire a professional?
You can install Starlink yourself if the location is easy to access, structurally simple, and the cable route is straightforward. Hire a professional if the dish needs to go on a steep roof, high wall, pole, metal roof, commercial roof, or anywhere that requires drilling, sealing, trenching, or working at height. Most Starlink performance issues we see come from poor placement, weak mounting, or bad cable routing. A professional install helps avoid leaks, signal drops, and unsafe hardware.