DIY vs Professional Starlink Installation: Real Cost & Time Comparison
By InstallPros Team · July 22, 2026 · 7 min read
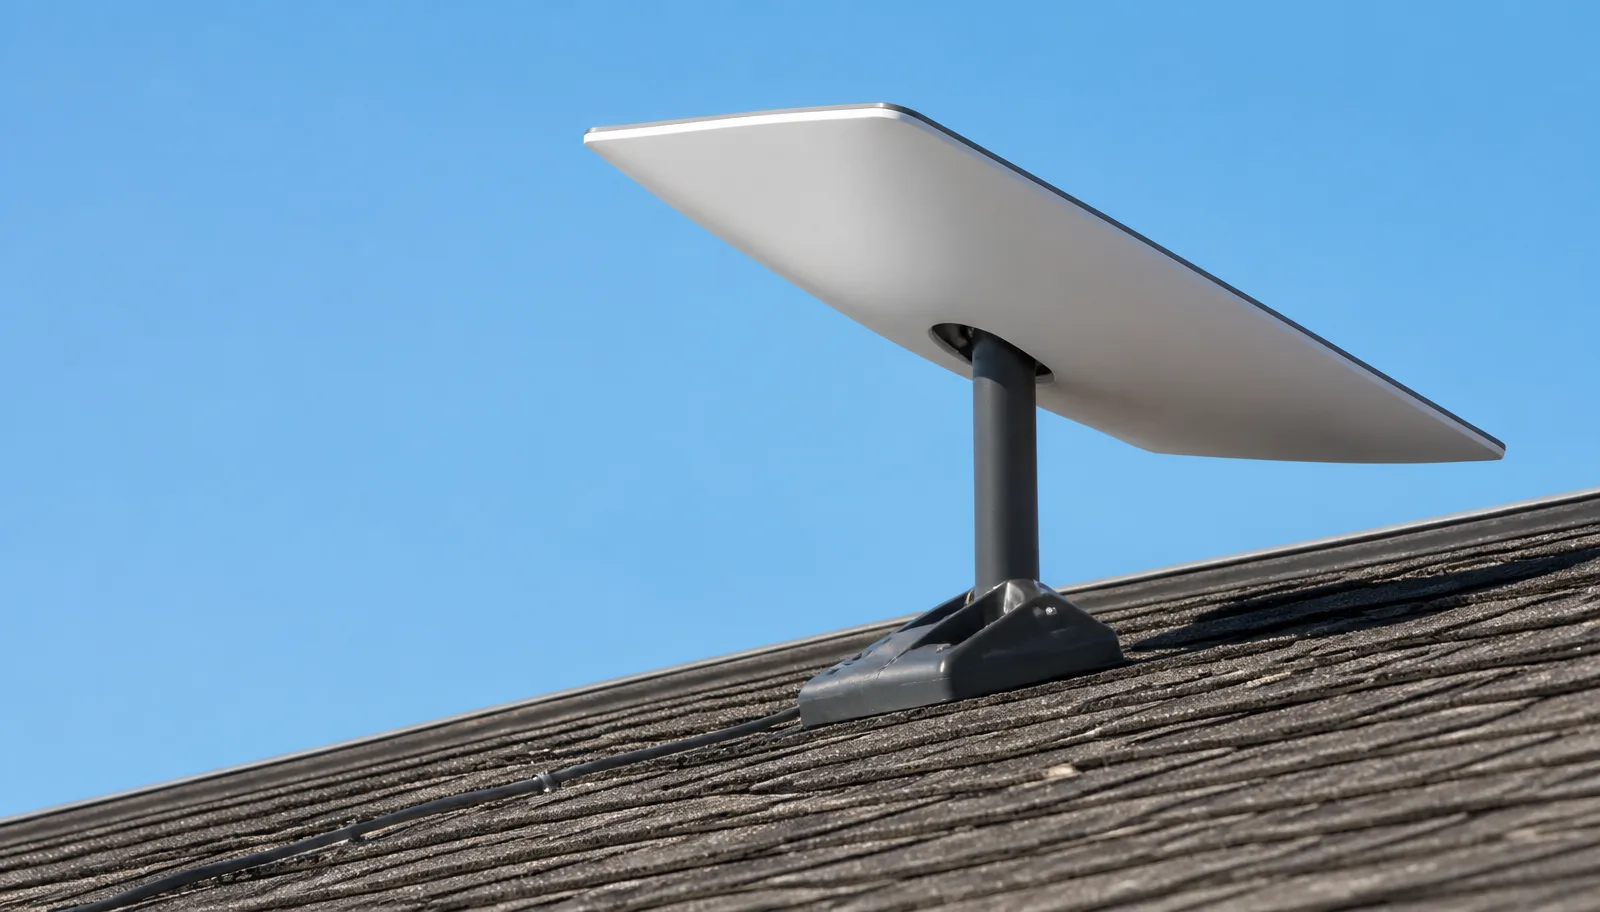
DIY vs professional Starlink installation usually looks simple until you get on the roof, test for obstructions, and figure out how to route the cable without creating a leak or a weak signal. The Starlink kit is designed so many homeowners can get online quickly, and for a clear yard mount or temporary setup, that may be enough. The real question is whether your location, roofline, trees, cable path, and long-term expectations make DIY the right call.
After installing hundreds of systems, we see the same pattern: the dish itself is not the hard part. The hard part is choosing the right mount, getting a stable line of sight, weatherproofing the entry point, hiding or protecting the cable, and avoiding repeat trips onto the roof. This guide compares the real time, cost, risk, and performance differences so you can decide whether to install Starlink yourself or hire a professional installer.
DIY vs Professional Starlink Installation: What You Are Really Comparing
When people compare DIY and professional installation, they often compare only the upfront labor cost. That misses the bigger picture. A proper Starlink install is a mix of site planning, mounting, cable management, weather sealing, router placement, and testing. If any one of those is rushed, the system may still work, but it may not work consistently.
A DIY install can make sense when the dish has a wide-open view of the sky from ground level, a deck, a short pole, or a simple non-penetrating mount. If you can place the dish safely, avoid trees, and run the cable through an existing opening without damage, the job is manageable for a careful homeowner.
A professional install becomes more valuable when the best mounting point is on a roof, chimney, fascia, gable, tower, or long pole. It also matters when cable routing must pass through finished walls, crawl spaces, attics, or exterior siding. In those cases, the installer is not just “putting up a dish.” They are building a stable outdoor communications setup that should survive wind, rain, sun, snow, and years of use.
The Real Cost of DIY Starlink Installation
The Starlink kit includes the core equipment, but many permanent installs need more than what comes in the box. Depending on your home, you may need a roof mount, pole mount, wall mount, masonry anchors, lag bolts, sealant, conduit, clips, grounding materials, a longer cable, a cable entry kit, or specialty tools. These extras add up, especially if the first mounting location does not work.
DIY cost also includes mistakes. We have been called out after homeowners drilled into the wrong area, mounted into thin trim instead of structure, used indoor cable clips outside, or placed the dish where the app showed “mostly clear” but outages kept happening during video calls. Fixing a poor install can take more time than doing it correctly from the start.
There is also the cost of safety. Roof brackets, ladders, harnesses, and proper fall protection are not optional when the roof is steep, high, wet, or difficult to access. If the job requires you to carry tools and hardware up a ladder while working near the edge of a roof, the savings may not be worth the risk. Professional Starlink

Time Comparison: A Quick Setup vs a Finished Installation
A temporary DIY setup can take less than an hour. You place the dish in the yard, connect the cable, power the router, and use the Starlink app to check the sky. That is good for testing service, camping, backup internet, or short-term use. It is not the same as a finished residential or business installation.
A permanent install usually takes longer because every decision has to hold up after the installer leaves. The mount needs to be level, secure, and placed where the dish can automatically orient itself without hitting roof edges, gutters, branches, or nearby equipment. The cable needs to avoid pinch points, sharp bends, walking paths, lawn equipment, and areas where animals or weather can damage it.
Homeowners often spend a full weekend figuring out the best location, buying parts, drilling, sealing, moving the dish, and cleaning up. A professional crew usually compresses that into one visit because they know what mount works on each surface and how to identify obstruction problems before drilling holes. Time matters even more for businesses, remote workers, vacation rentals, and rural homes where internet downtime affects income, bookings, or daily operations.
Performance Differences You May Notice After Installation
Starlink performance depends heavily on the dish’s view of the sky. A dish can show connected and still suffer short drops if trees, roof peaks, poles, or nearby buildings block part of the satellite path. Those short interruptions may not bother casual browsing, but they can affect video meetings, Wi-Fi calling, gaming, point-of-sale systems, security cameras, and cloud software.
Professional installers look for more than a place where the dish powers on. We check the likely satellite field, seasonal tree growth, snow slide areas, roof drainage, and whether the mount will remain rigid in wind. A dish that flexes or vibrates can create avoidable service issues. A cable that is exposed across a roof or lawn may work today and fail after UV exposure, foot traffic, chewing, or ice.
Router placement is another common difference. Many DIY installs put the router wherever the cable happens to enter the house. That can leave weak Wi-Fi in offices, bedrooms, shops, or barns. A better install considers where people actually need coverage and whether mesh nodes, Ethernet adapters, or a business network handoff should be planned from the beginning.
When DIY Makes Sense and When to Call InstallPros
DIY is a reasonable option when the setup is low-risk, easy to access, and easy to reverse. If you are testing service in an open field, mounting on a short pole near a cabin, or placing the dish on a flat surface with a clean cable path, you may not need a technician. Take your time, use the Starlink app, avoid trip hazards, and do not drill through roofing or siding unless you know how to seal it properly.
Call a professional when the dish needs to go high, the roof is steep, trees are close, the building has metal roofing, the cable route is complicated, or the connection has to be dependable for work or business. Also call if you are not comfortable with ladders, attic work, masonry, exterior penetrations, or troubleshooting signal drops after the install.
InstallPros handles residential, rural, farm, RV site, and business Starlink installations across the U.S. The goal is simple: find the best line of sight, mount the dish securely, route the cable cleanly, seal the entry point, and confirm the system is working before we leave. If you want Starlink installed once, correctly, professional help is often the cleaner and safer route.
Frequently Asked Questions
Is Starlink easy to install yourself?
Starlink can be easy to install yourself if you have an open sky view and can place the dish safely at ground level, on a deck, or on a short pole. The basic setup is straightforward: connect the cable, power the router, and use the app to check for obstructions. It becomes harder when the best location is on a roof, when trees block part of the sky, or when the cable must be routed through exterior walls or finished spaces. Those situations require better tools, mounting knowledge, and weatherproofing.
How long does a DIY Starlink installation take?
A simple temporary DIY Starlink setup may take 30 to 60 minutes if the location is clear and no permanent mounting is needed. A finished install can take several hours or a full weekend, especially if you are testing multiple locations, buying extra hardware, drilling, sealing, and routing cable neatly. Most delays come from finding the right line of sight and figuring out how to secure the mount without causing leaks or cable damage. Professional installers typically complete standard installs in one visit.
What tools do I need for a Starlink installation?
For a basic ground setup, you may only need the Starlink kit and the app. For a permanent installation, common tools include a ladder, drill, bits, socket set, level, exterior-rated fasteners, sealant, cable clips, fish tape, and possibly conduit or masonry tools. Roof work may require safety equipment and fall protection. The exact tools depend on the mount type and cable path. If you are unsure how to fasten into the structure or seal an exterior penetration, it is safer to hire an installer.
Can a bad Starlink installation affect speed?
Yes. A poor installation can affect speed and reliability, even if the dish connects. Obstructions from trees, rooflines, poles, or nearby buildings can cause brief dropouts that show up during video calls, gaming, Wi-Fi calling, or business use. A loose mount can move in wind, and a damaged or exposed cable can create connection problems over time. Router placement also matters. If the router is installed in a poor location, the Starlink signal may be fine but indoor Wi-Fi coverage may be weak.
Is professional Starlink installation worth it?
Professional Starlink installation is worth it when the job involves roof mounting, long cable routing, obstruction problems, business use, or any safety risk. A good installer will choose the right mount, secure it to structure, route and protect the cable, seal the entry point, and test the system. That reduces repeat troubleshooting and helps prevent roof leaks, damaged cables, and unstable service. If your setup is simple and low-risk, DIY may be fine. If the install needs to last, hiring a pro is usually the better value.