How Long Does a Starlink Installation Take?
By InstallPros Team · July 15, 2026 · 6 min read
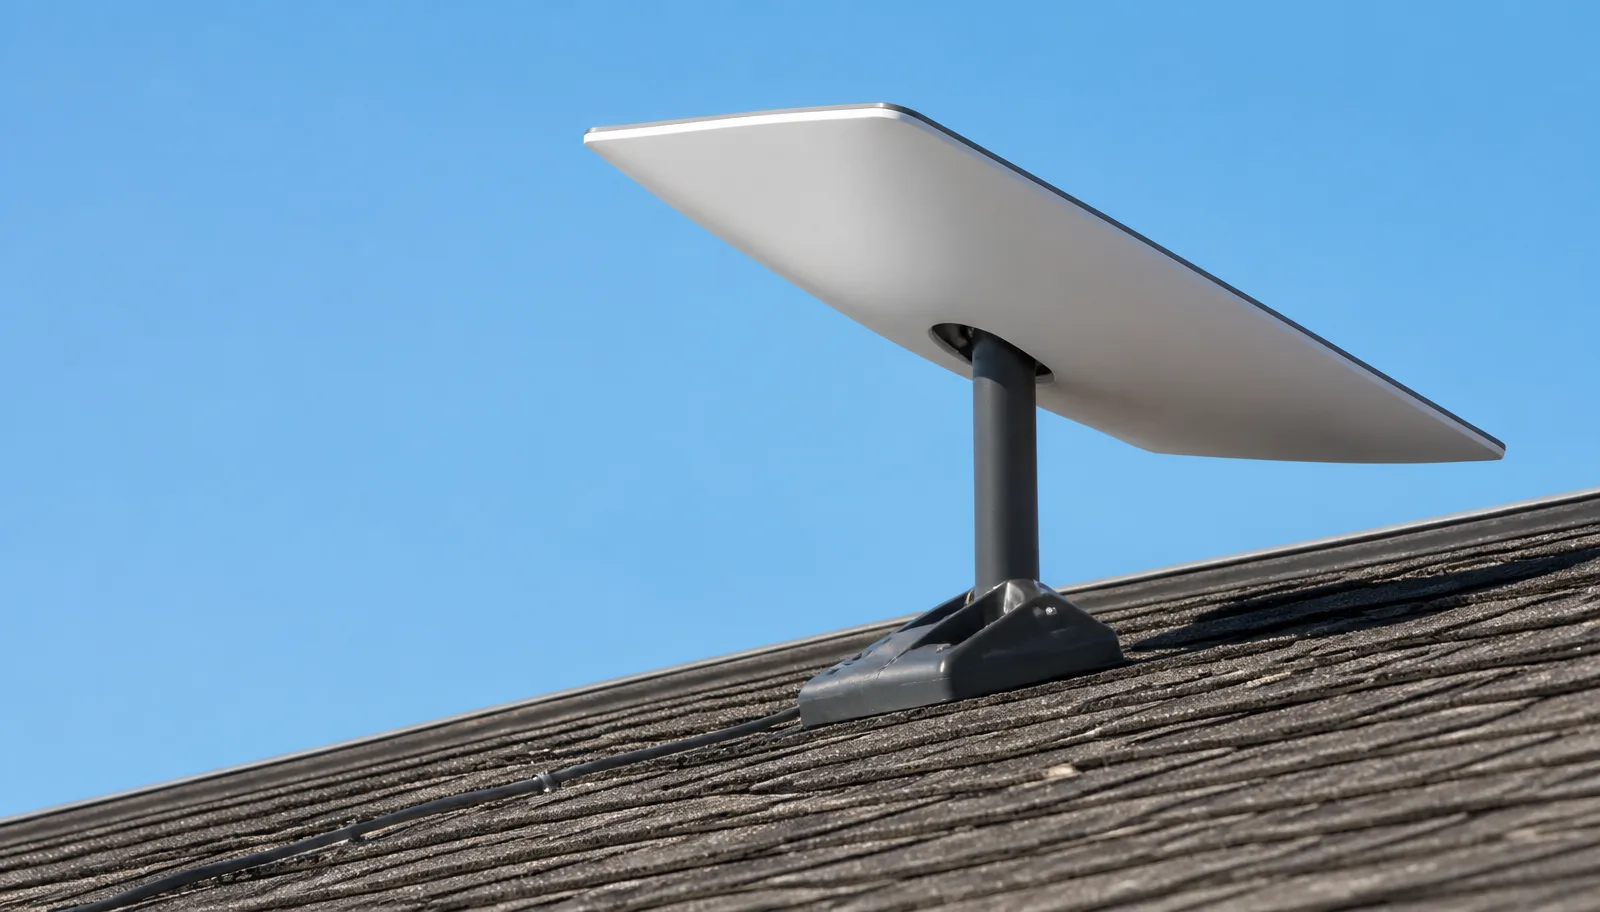
The time it takes to install Starlink typically ranges from 1 to 4 hours for a do-it-yourself (DIY) setup. This estimate can vary based on factors like your comfort with tools, the complexity of your roofline, and whether you need to run cables through walls. Professional installations from InstallPros often fall within a similar timeframe, ensuring efficient and secure placement.

Understanding the Starlink Installation Process
Before you begin, it's helpful to understand the basic steps involved in a Starlink installation. This will give you a clearer picture of where your time will be spent and what challenges you might encounter. The main phases include unboxing and preparation, initial setup and aiming, cable routing, and finally, mounting the dish securely.
Unboxing and Initial Setup (30-60 minutes)
The first step is to unpack your Starlink kit. Inside, you'll find the Starlink dish (often called "Dishy"), a base, the Wi-Fi router, and a power cable. Follow these initial steps:
- Unpack everything: Carefully remove all components from the box.
- Assemble the base: Attach the Dishy to its base firmly.
- Connect to power: Plug in the Starlink router and connect it to Dishy.
- Find an open sky view: Use the Starlink app to identify a location with a clear, unobstructed view of the sky. This is crucial for optimal performance and can take some time to fine-tune. The app will help you visualize potential obstructions.
DIY Starlink Installation: Step-by-Step Guide
If you choose to install Starlink yourself, here's a breakdown of the typical steps and the estimated time for each. Remember that these are averages, and your experience may differ.
1. Site Survey and Planning (30-60 minutes)
This is arguably the most critical and time-consuming part of planning how long Starlink installation takes. You need to identify the best location for your Starlink dish. This means finding a spot with the fewest obstructions to the sky – often on a roof, gable, or a tall pole. During this phase, you will:
- Use the Starlink app to check for obstructions.
- Consider how you will run the cable from the dish to your router inside.
- Evaluate the safest way to access your chosen installation spot.
2. Mounting the Dish (45-120 minutes)
Once you've chosen a location, the next step is to physically mount the dish. Starlink provides various mounting accessories, such as a pole mount, wall mount, or pivot mount. The time taken here depends heavily on your chosen mount and the surface you're attaching it to.
- Tools you might need: Drill, ladder, stud finder, screwdriver, wrench, safety gear (gloves, safety glasses).
- Procedure: Securely attach the mount according to the instructions. Ensure it's level and stable.
"Proper planning and a clear understanding of your home's structure are key to a smooth Starlink installation and minimizing the time it takes."
3. Running the Cable (30-90 minutes)
The Starlink cable needs to run from Dishy to the router inside your home. This can be straightforward or complex, depending on your house's design. You might need to:
- Drill a small hole through a wall or soffit (ensure it's sealed afterwards).
- Run the cable along an exterior wall, securing it with clips.
- Utilize existing cable pathways if available.
4. Final Connections and Testing (15-30 minutes)
Once the dish is mounted and the cable is routed, connect the cable to the Starlink router and power it on. The dish will automatically orient itself to find the satellites. Use the Starlink app to confirm connectivity and check for any remaining obstructions. Perform a speed test to ensure everything is working correctly.
Common Starlink Installation Mistakes to Avoid
To keep your installation time efficient and prevent headaches, be aware of these common pitfalls:
- Not checking for obstructions thoroughly: This is the biggest cause of poor performance. The Starlink app is your best friend here.
- Improper mounting: A loose or poorly secured mount can lead to damage in high winds or bad weather.
- Ignoring cable management: Leaving cables exposed can lead to wear and tear or create tripping hazards.
- Rushing the site survey: Taking the time to find the ideal spot upfront will save significant time and frustration later.
When to Hire a Professional for Starlink Installation
While a DIY Starlink installation is certainly possible for many, certain situations make hiring a professional a smart choice. Professionals can often complete the installation faster and more efficiently, especially if:
- You're uncomfortable with heights: Installing on a roof requires working at elevated levels, which can be dangerous without proper training and equipment.
- Your roof is steep or difficult to access: Complex rooflines or multi-story homes can increase the risk of injury.
- You want a discreet or aesthetically pleasing installation: Professionals have experience with concealed cable runs and optimal dish placement that blends with your home's exterior.
- You lack the necessary tools or expertise: If you don't own a proper ladder, drill, or aren't confident in your ability to securely mount hardware, a pro can save you time and potential damage.
- You want to ensure optimal performance: InstallPros technicians are experts at finding the best line of sight and securing your Starlink for maximum reliability.
By hiring a professional, you're not just saving time; you're also ensuring that your Starlink system is installed safely, securely, and in a way that maximizes its performance for years to come.
Ready to enjoy fast, reliable internet without the hassle? Get a professional Starlink installation starting. Our network of experienced installers is ready to help you get connected quickly and efficiently.
Frequently Asked Questions
How long does Starlink take to set up after installation?
After the physical installation of your Starlink dish and router, the system typically takes about 15-30 minutes to self-orient and connect to the satellites. During this time, the dish will automatically adjust its position to find the optimal signal. You can monitor its status using the Starlink app on your smartphone, which will confirm when your internet service is active and ready to use.
Can I install Starlink by myself?
Yes, many people successfully install Starlink themselves. The standard Starlink kit is designed for a relatively straightforward DIY setup. However, the ease of installation can depend on your comfort with basic tools, working at heights, and routing cables. For complex installations, or if you prefer a hassle-free experience, professional installation is also available.
What is the best way to mount Starlink?
The best way to mount Starlink depends on your specific property and what provides the clearest view of the sky. Common methods include roof mounts (ridge, pivot, or pipe adapter), wall mounts, or ground-level pole mounts. The key is to choose a location with minimal obstructions and ensure the mount is secure and appropriate for your home's structure and local weather conditions.
How secure is Starlink mounting?
Starlink mounts, when installed correctly, are designed to be very secure and withstand various weather conditions, including strong winds. It's crucial to use the appropriate mounting hardware for your chosen surface (e.g., roof, wall, pole) and to follow all installation instructions carefully. Professional installers ensure that the dish is anchored safely and robustly to prevent damage or dislodgement.
Do you need a professional to install Starlink?
No, you don't strictly *need* a professional to install Starlink, as it's designed for DIY setup. However, hiring a professional is recommended if you're uncomfortable with heights, lack the necessary tools, have a complex roofline, or want to ensure a perfectly optimized and aesthetically pleasing installation. Professionals can save you time and ensure safety and peak performance.