How to Choose a Starlink Installer: 8 Things to Check First
By InstallPros Team · July 24, 2026 · 8 min read
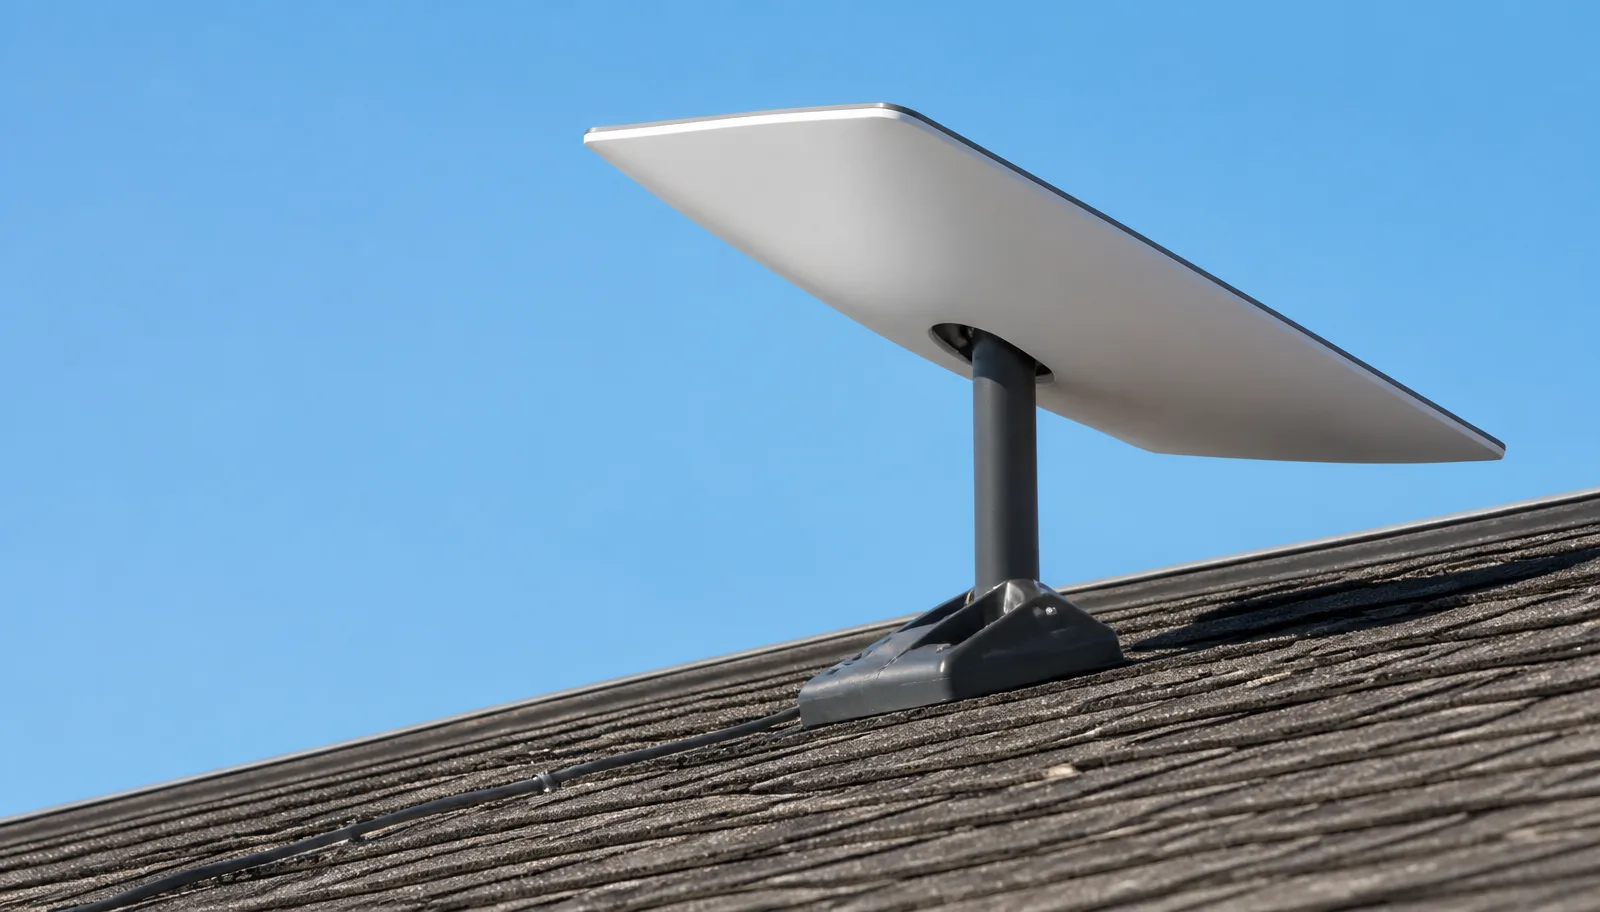
If you are searching for how to choose Starlink installer options, the goal is simple: get reliable internet without roof damage, weak signal, messy cable runs, or repeat service calls. Starlink can work extremely well, but the difference between a quick temporary setup and a professional permanent installation is bigger than most people expect. A good installer checks for obstructions, chooses the right mount, seals penetrations properly, routes cable cleanly, and leaves the system stable through wind, rain, heat, and snow.
At InstallPros, we see the same problems again and again: dishes mounted too low, cables pinched under windows, mounts lagged into thin trim, and routers placed where Wi-Fi cannot reach the rooms that need it. These issues are avoidable when you hire someone who installs Starlink every week and understands both the equipment and the building. Before you book anyone, use these eight checks to separate a qualified installer from someone who is guessing on your roof.
How to Choose Starlink Installer Experience That Actually Matters
The first thing to check is not just whether the installer has handled a Starlink kit before. Ask how many permanent Starlink installations they have completed and what types of properties they work on. A driveway test or temporary tripod setup is not the same as mounting a dish on a roof, pole, fascia, chimney, or commercial structure.
A qualified installer should understand Starlink obstruction behavior, cable limitations, roof types, attic access, grounding considerations, and how to avoid water intrusion. They should be able to explain why one mounting location is better than another without guessing or relying only on the app.
Ask these questions before scheduling:
- How many Starlink systems have you permanently installed?
- Do you inspect for obstructions before choosing a mount?
- What roof types and wall materials do you work with?
- Do you carry the tools and hardware for multiple mounting options?
- Can you route cable without leaving it exposed or vulnerable?
If the answers are vague, keep looking. Experience shows up in the details.
Check Their Obstruction Planning Before They Drill Anything
Starlink needs a clear view of the sky. A dish that looks fine from the ground may still drop connection if trees, ridgelines, chimneys, dormers, or nearby buildings block part of its field of view. The installer should evaluate the site before drilling holes or committing to a mount location.
The Starlink app is useful, but a professional should also use field judgment. Trees grow, leaves fill in, and a low roof edge can create problems that are not obvious during a quick scan. In wooded areas, the best location may be a high roof ridge, gable mount, pole mount, or another elevated point away from the main structure.
Good obstruction planning protects your speed and reliability. It also prevents unnecessary roof penetrations from trial-and-error mounting. Once a hole is drilled, it needs to be sealed correctly and maintained. A careful installer narrows the location first, then chooses the mounting method that gives the dish the cleanest long-term view.
If someone says, “We’ll just put it wherever it is easiest,” that is a warning sign.

Make Sure the Mount Is Built for Your Roof and Weather
The mount is what keeps your Starlink working when weather gets rough. A light-duty or poorly placed mount can shift in wind, loosen over time, or allow the dish to vibrate. That movement can affect performance and may create damage to shingles, siding, fascia, or trim.
The right mount depends on the structure. Asphalt shingles, metal roofs, tile roofs, flat roofs, brick walls, stucco, and commercial buildings all require different hardware and techniques. An installer should know where to fasten, what backing is needed, and how to keep water out. Lag bolts should hit solid framing when required, not just sheathing or decorative material.
Ask what mount they plan to use and why. A professional answer should include roof type, wind exposure, cable path, obstruction clearance, and service access. In snow country, placement should also account for sliding snow and ice. In hot climates, cable exposure and UV protection matter. In coastal or high-wind areas, hardware choice and fastening depth are especially important.
A solid Starlink install starts with a solid mount.
Review Cable Routing, Sealing, and Interior Placement
Cable routing is where many poor installations fail. The Starlink cable is not something to crush in a window, staple tightly to siding, or leave loose across a roof. It needs a clean route with proper support, protection from sharp edges, and a weatherproof entry point into the building.
A good installer plans the outside and inside path together. That means looking at where the dish belongs, where the cable can enter safely, where the router should sit, and whether additional networking equipment is needed. The shortest route is not always the best route if it leaves cable exposed, creates a trip hazard, or puts the router in a poor Wi-Fi location.
Penetrations should be sealed with the right materials for the surface, not a quick dab of whatever is in the truck. Exterior cable should be secured neatly and kept away from gutters, hot vents, moving doors, and areas where animals or landscaping equipment can damage it.
Inside, the router should be placed where it can serve the home or business effectively. If the building is large, has thick walls, or needs coverage in multiple areas, the installer should discuss mesh, Ethernet, or network layout options.
Confirm Insurance, Safety Practices, and Workmanship Standards
Any installer going onto your roof should carry appropriate insurance and use safe work practices. Starlink installation often involves ladders, steep pitches, tall eaves, attic spaces, exterior walls, and power tools. Homeowners should not be exposed to risk because someone is working without the right coverage or equipment.
Ask whether the company is insured and whether roof work is part of what they normally do. Also pay attention to how they talk about the job. A professional installer will not treat roof access, fall risk, or weather conditions casually. If conditions are unsafe, they should reschedule or use another method rather than rush.
Workmanship standards matter just as much as safety. Look for clean cable management, proper sealing, solid fastening, and respect for the property. The installer should explain what they are doing, clean up after the job, and test the system before leaving.
At InstallPros, The lowest-effort install is rarely the best value if you have to redo it later.
Ask What Happens After the Starlink Installation
A professional Starlink installer should not disappear the moment the dish powers on. Before hiring, ask what support they provide if the system needs adjustment, the cable path needs review, or the router location does not cover the space as expected. Some issues show up only after normal daily use, especially in larger homes, offices, shops, farms, or rental properties.
The installer should test for connectivity, confirm the dish has an unobstructed view, and make sure the customer understands the basic equipment layout. They should also explain anything important about cable care, router placement, and future access to the dish.
For businesses, ask whether they can support more complex needs such as network handoff, exterior conduit, secondary buildings, or equipment rooms. For homeowners, ask whether they can help with Wi-Fi coverage if the Starlink router alone is not enough.
The right installer thinks beyond simply getting online for five minutes. They install for long-term use, future serviceability, and the way you actually use the property.
Frequently Asked Questions
What should I ask before hiring a Starlink installer?
Ask how many permanent Starlink installations they have completed, what mounting options they provide, how they check for obstructions, and how they route and seal cable. You should also ask whether they are insured for roof work and whether they test the system before leaving. A qualified installer should be able to explain the recommended dish location, mount type, cable path, and router placement in plain language. If they cannot answer these questions clearly, they may not have enough field experience for a clean permanent install.
Is professional Starlink installation worth it?
Professional Starlink installation is worth it when the dish needs to be mounted on a roof, pole, fascia, wall, or commercial structure, or when cable routing is not simple. A good installer can reduce obstruction problems, avoid roof leaks, secure the mount properly, and place the router where it will work better. DIY can be fine for temporary testing, but permanent installs require the right tools, sealing methods, and safety practices. Poor mounting or bad cable entry can cost more to fix later than doing it correctly the first time.
How do I know where my Starlink dish should be installed?
The dish should be installed where it has the clearest possible view of the sky with minimal obstruction from trees, rooflines, chimneys, poles, and nearby buildings. The Starlink app helps identify obstructions, but an experienced installer also considers roof height, future tree growth, wind exposure, cable distance, service access, and mounting strength. The best location is not always the easiest spot to reach. A professional should evaluate several options before drilling and explain why the selected location gives the best long-term performance.
Can any handyman install Starlink?
Some handymen can physically mount the equipment, but Starlink installation requires more than attaching a dish to a surface. The installer needs to understand obstruction planning, waterproof penetrations, proper fastening, cable protection, router placement, and roof safety. A poor installation can lead to dropped service, leaks, loose mounts, or damaged cable. If you hire a handyman, confirm they have real Starlink experience, insurance, and the right mounting hardware. For roof or commercial work, it is safer to use a company that regularly installs Starlink systems.
What are signs of a bad Starlink installation?
Common signs include the dish mounted where trees or rooflines block the sky, cable pinched through a window, loose cable hanging from the roof, holes sealed poorly, mounts attached only to thin trim, or the router placed in a corner where Wi-Fi coverage is weak. Other warning signs are frequent obstruction alerts, connection drops during wind, water stains near cable entry, or a mount that moves when touched. A good install should look secure, clean, weatherproof, and planned around both signal and building protection.