How to Fix Starlink Cable Damage (or Replace It Cleanly)
By InstallPros Team · July 21, 2026 · 7 min read
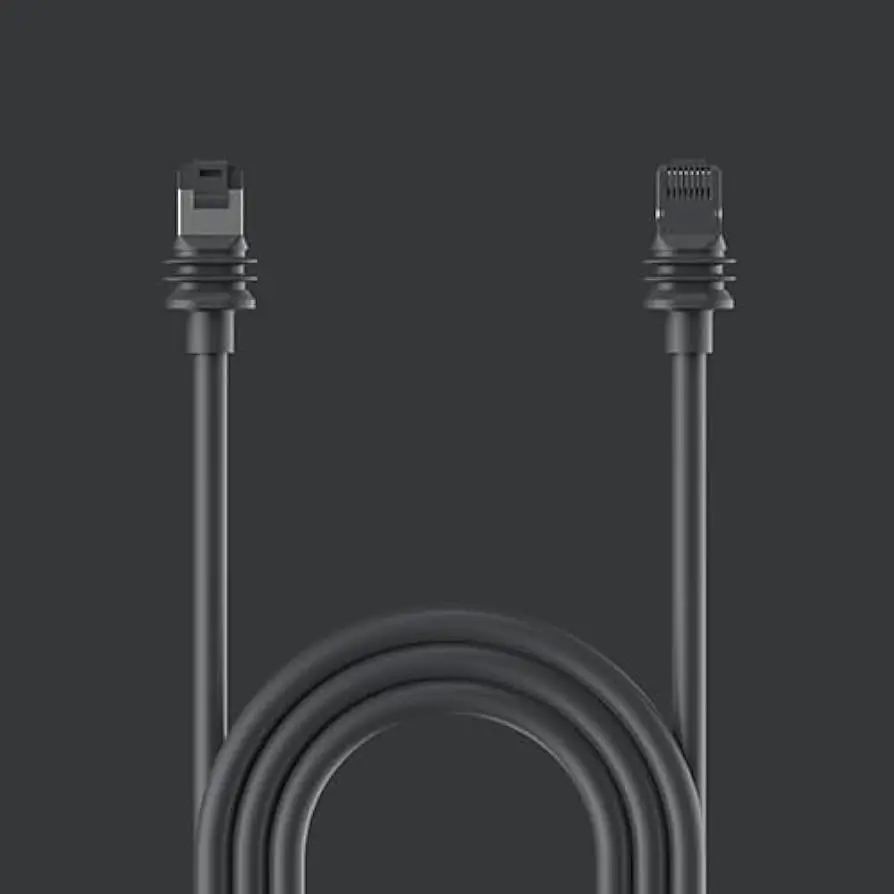
If you are searching for how to fix Starlink cable damage, the first thing to know is that the cable is not just a simple extension cord. It carries power and data between the Starlink dish and router, and a bad repair can cause intermittent drops, boot loops, water intrusion, or permanent equipment damage. We see cable failures from lawn equipment, pets, roof abrasion, crushed runs through windows, sharp bends at wall penetrations, and connectors left exposed to weather.
The right fix depends on where the cable is damaged, how badly the jacket and conductors are compromised, and which Starlink hardware you have. Sometimes the practical answer is a full cable replacement. Other times, a temporary repair can keep you online until a proper replacement is installed. Below is how we evaluate damaged Starlink cable in the field, what you should and should not attempt, and how to get a clean, weatherproof installation that does not fail again.
How to Fix Starlink Cable Damage Safely
Before touching anything, unplug the Starlink router from power. Do not cut, splice, or handle a damaged cable while the system is energized. The Starlink cable carries power to the dish, and damaged conductors can short if they are wet, frayed, or pressed together.
Start by identifying the type of damage. A scraped outer jacket with no exposed internal conductors is very different from a severed cable, crushed section, or corroded connector. Look closely at the full cable path: roof edge, mast entry point, attic run, crawlspace, wall penetration, and the area near the router. Many failures happen where the cable rubs against shingles, metal flashing, siding, or brick.
Common warning signs include:
- Starlink app showing disconnected or offline
- Router powers up but the dish does not respond
- Service drops when the cable is moved
- Visible cuts, chew marks, or flattened sections
- Moisture inside or around the connector
If internal wires are exposed or the connector is damaged, treat the cable as failed. Temporary tape is not a proper outdoor repair for a powered data cable.
When a Starlink Cable Can Be Temporarily Repaired
A temporary repair is only reasonable when the outer jacket has minor abrasion and the internal conductors are not exposed, bent, corroded, or broken. In that case, the goal is not to “make it like new.” The goal is to protect the jacket from moisture and prevent the damaged spot from getting worse until the cable can be replaced or rerouted.
For a minor jacket nick, dry the area completely and inspect it under good light. If you see copper, shielding, colored wire insulation, green corrosion, or any swelling, do not rely on a wrap. If the cable passes inspection, a high-quality outdoor-rated self-fusing silicone tape can provide short-term protection. Standard electrical tape usually fails outside because heat, UV, and moisture loosen the adhesive.
Do not bury a repaired section in a wall, under insulation, inside conduit, or behind siding. If the cable later fails, you will have a much harder troubleshooting job. Keep any temporary repair visible and plan a permanent fix. For homes with pets, mowers, snow equipment, or roof movement, temporary repairs tend to fail quickly unless the cable route is also corrected.

Why Splicing Starlink Cable Is Usually a Bad Idea
We get asked often whether a Starlink cable can be spliced like low-voltage landscape wire. Technically, some people try it. In the field, we do not recommend it as a standard repair. Starlink cable must carry both data and power reliably, and poor splice work creates resistance, signal issues, heat, corrosion, and random dropouts that are hard to diagnose.
The biggest problem is weatherproofing. A splice on a roof, exterior wall, crawlspace, or attic can be exposed to heat swings and moisture. Even a small amount of water intrusion can migrate through the cable and corrode conductors over time. A splice that works on day one may fail weeks later during rain, snow, or high humidity.
Splicing can also create performance problems that do not look like a cable issue at first. You may see slow speeds, dish reboots, obstruction-like behavior, or the app showing disconnected. By the time the problem is obvious, the dish, router, or connector may already be stressed.
If the cable is cut, crushed, chewed through, or connector-damaged, replacement is the cleanest repair.
Replacing the Cable Cleanly
A proper cable replacement starts with the route, not the cable box. The new run should avoid sharp bends, pinch points, exposed roof edges, standing water, and places where people or animals can pull on it. The goal is a cable path that looks clean and survives weather.
For roof-mounted dishes, we usually secure the cable along the mount or structure with UV-rated fasteners and drip loops where needed. A drip loop helps keep water from tracking directly into a wall penetration or connector area. Any exterior wall entry should be sealed correctly with the right exterior-grade sealant, not just stuffed with foam or left open around the cable.
Inside the home or business, the cable should be routed where it will not be crushed by doors, windows, furniture, attic decking, or storage. Running a Starlink cable through a window may work for a quick test, but it is a common cause of flattened cable and long-term failure.
If you are replacing the cable yourself, confirm the correct cable for your Starlink model before ordering. Different Starlink generations use different cable designs and connectors.
Preventing Future Starlink Cable Damage
Most cable damage is preventable with a better route and better strain relief. After hundreds of installs, we can usually spot the future failure point before it happens: a cable rubbing on a gutter, hanging loose in wind, crossing a walkway, resting on shingles, or entering a wall without protection.
Good prevention includes:
- Keeping the cable off sharp metal, brick edges, and moving branches
- Using UV-rated exterior clips or supports
- Adding drip loops before wall penetrations
- Avoiding tight bends at the dish, mount, and router
- Protecting low exterior runs from pets, trimmers, and mowers
- Never pinching the cable in a window or door
Businesses should pay extra attention to rooftop traffic, maintenance crews, and conduit paths shared with other trades. A loose cable across a flat roof can be stepped on, snagged, or baked against a hot surface. Rural properties should also consider livestock, rodents, and snow load when choosing a route.
A clean cable path is not just about appearance. It protects uptime.
When to Call InstallPros for Starlink Cable Repair
Call a professional if the cable is cut, chewed, crushed, connector-damaged, wet, or routed through a risky path. Also call if your dish is mounted on a roof, pole, gable, chimney area, or other location that requires safe access. A cable replacement is simple in theory, but falls, roof leaks, and bad penetrations make it expensive when done wrong.
InstallPros handles Starlink troubleshooting, cable replacement, rerouting, wall penetrations, mount corrections, and full installations for homes, farms, RV sites, shops, and businesses.
When we arrive, we test the likely failure points, inspect the entire route, verify the hardware generation, and replace or reroute the cable as needed. We also secure and seal the path so the same damage does not happen again.
If your Starlink has become unreliable after visible cable damage, do not keep power-cycling it for days. Fix the cable path first, then troubleshoot the system.
Frequently Asked Questions
Can you repair a cut Starlink cable?
A fully cut Starlink cable is best replaced, not spliced. The cable carries power and data, so a splice must maintain conductor integrity, shielding, weather protection, and low resistance. In real installations, cut-cable splices often become intermittent or corrode later. If the cable is cut outdoors, near a roof, or near a connector, replacement is the cleanest and most reliable repair.
Can I use electrical tape on a damaged Starlink cable?
Electrical tape is not a proper repair for exposed wires, cuts, crushed cable, or connector damage. It may loosen outdoors and can trap moisture against the cable. For a very minor outer-jacket scuff with no exposed internal conductors, outdoor self-fusing silicone tape may work as a short-term protective wrap. Anything deeper should be treated as a failed cable and replaced.
Why does my Starlink disconnect when the cable looks mostly fine?
Starlink cable damage is not always obvious. A cable can be crushed inside a window, bent too tightly behind furniture, rubbed thin at a roof edge, or corroded inside a connector. Moving the cable may cause the dish to reconnect briefly, which is a strong sign of conductor or connector failure. Inspect the entire route, not just the area near the router.
Can a damaged Starlink cable hurt the router or dish?
Yes. A damaged cable can create shorts, voltage drop, heat, or unstable power delivery to the dish. That can cause reboots, offline errors, and unnecessary stress on the router or dish electronics. If wires are exposed, the connector is wet, or the system repeatedly powers on and off, unplug it and correct the cable problem before continuing to troubleshoot.
How do I prevent animals from chewing my Starlink cable?
Route the cable where pets, rodents, and livestock cannot reach it. Avoid low loose runs along siding, decks, fences, and ground-level walls. In high-risk areas, use protective routing, secure fasteners, and a mount location that keeps the cable elevated. The key is not just covering the cable, but removing slack and access points where animals can grab or chew it.