How to Install Starlink at Home: Complete DIY Guide (2026)
By InstallPros Team · July 15, 2026 · 5 min read
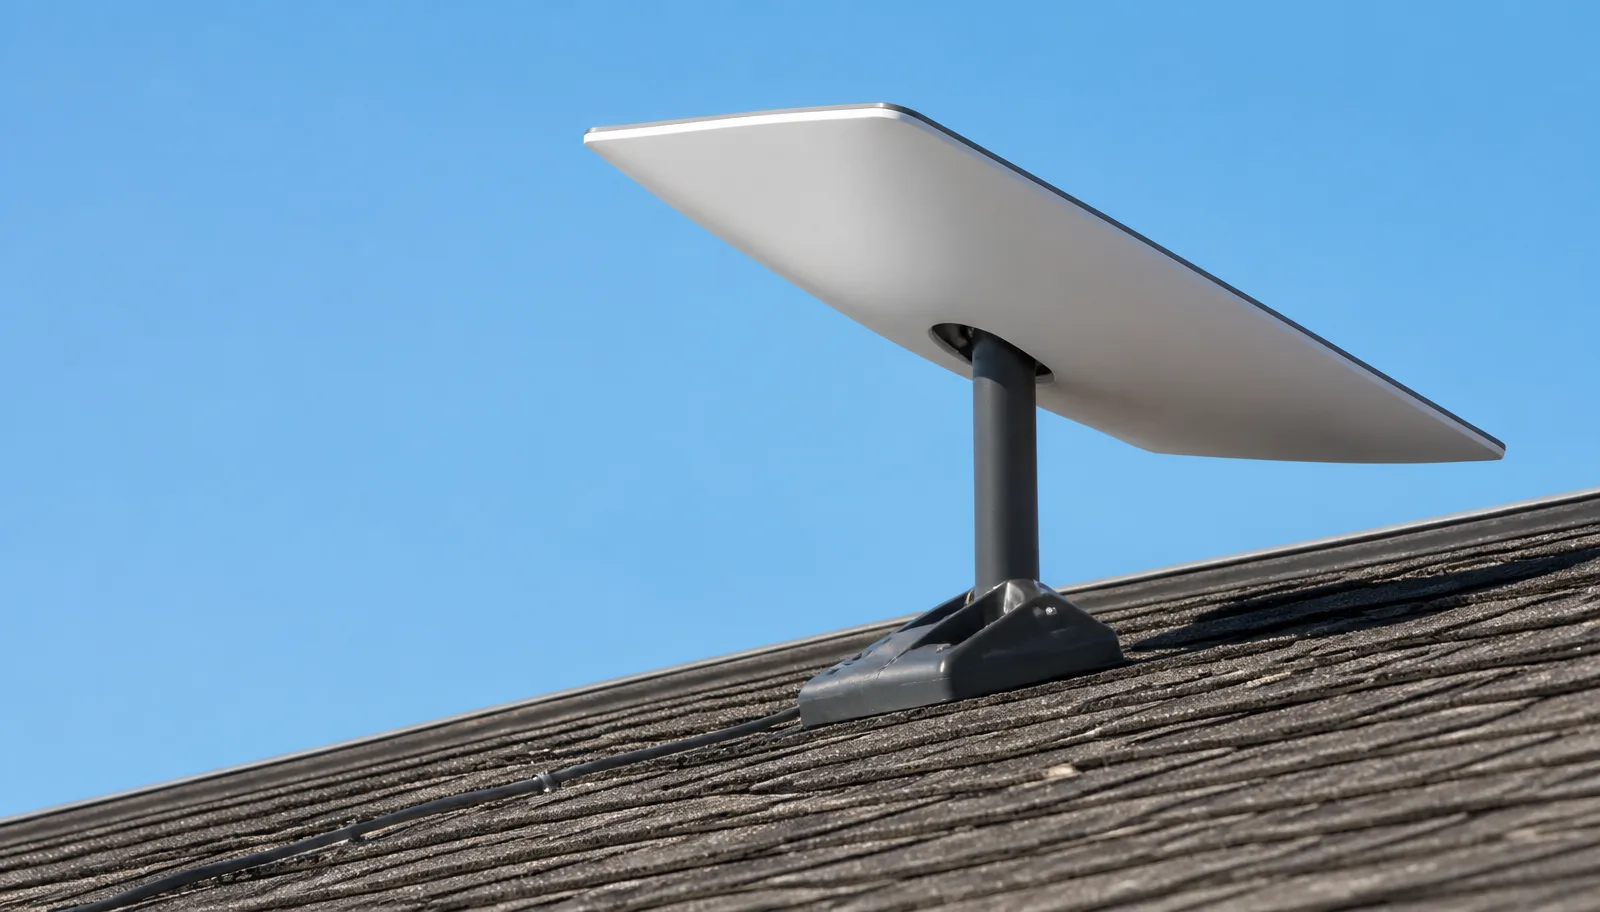
To install Starlink at home, you will need to choose a location with a clear view of the sky, assemble the dish and mount, run the cable to your router, and set up your Wi-Fi network. This process typically involves mounting the dish securely to a roof, pole, or other elevated structure to ensure an unobstructed connection to the Starlink satellite constellation.

Understanding Your Starlink Kit
When you receive your Starlink kit, you'll find everything you need to get started. The main components include the Starlink dish (often called "Dishy"), a base for mounting, a router, and a long cable to connect the dish to the router. It's important to unbox everything carefully and familiarize yourself with each piece. The cable is proprietary, so treat it with care. Before you start any physical work, it's a good idea to lay out all the components and ensure nothing is missing.
Choosing the Best Location for Your Starlink Dish
The most critical step in how to install Starlink at home is finding an ideal location. Starlink requires a clear, unobstructed view of the sky to connect to satellites. This means no trees, buildings, or other tall objects should be in the way. Use the Starlink app on your smartphone to check for obstructions. The app has a "Check for Obstructions" tool that uses your phone's camera to scan the sky and highlight potential issues. Common mounting locations include rooftops, poles, or even the side of a building if it offers a clear view. Prioritize a spot that minimizes cable run length while maintaining sky visibility.
Tools and Materials You'll Need
Before you begin the installation, gather your tools. While the Starlink kit provides the basic hardware, you'll likely need additional items for a secure and tidy installation. Essential tools include a drill (with appropriate bits for your mounting surface), a tape measure, a ladder (if mounting on a roof), cable clips or ties, and potentially sealant for any roof penetrations. Depending on your chosen mounting solution, you might also need a pole mount, wall mount, or a pipe adapter. Always prioritize safety when working at heights.
A clear line of sight to the sky is paramount for optimal Starlink performance. The Starlink app's obstruction checker is an invaluable tool for this.
Step-by-Step DIY Starlink Installation
- Assemble the Dish: Follow the instructions in your Starlink kit to assemble the dish and its base. This usually involves simply sliding the mast into the base until it clicks into place.
- Mount the Dish: Securely attach the dish to your chosen location. If mounting on a roof, use appropriate flashing and sealant to prevent leaks. For pole mounts, ensure the pole is firmly anchored.
- Run the Cable: Carefully route the Starlink cable from the dish to where your router will be located. Avoid sharp bends, kinks, or crushing the cable. Use cable clips to secure it neatly along eaves or walls. If drilling through a wall, use a proper conduit and seal the opening.
- Connect to Router: Plug the Starlink cable into the designated port on the Starlink router.
- Power On and Set Up Wi-Fi: Plug the router into a power outlet. The dish will automatically orient itself to find satellites. Use the Starlink app to configure your Wi-Fi network name (SSID) and password.
- Verify Connection: Once configured, check the Starlink app for network status and speeds to confirm a successful installation.
Common DIY Mistakes to Avoid
When you install Starlink at home, several common mistakes can lead to frustration or poor performance. One major error is neglecting to thoroughly check for obstructions, leading to frequent service drops. Another is improper cable management, which can damage the cable or create tripping hazards. Failing to adequately seal roof penetrations can lead to leaks. Lastly, attempting to force the dish into an incorrect orientation is unnecessary as it self-aligns. Always follow the included instructions closely and prioritize safety, especially when working on roofs or ladders.
When to Call a Professional Installer
While many homeowners can successfully install Starlink themselves, there are situations where hiring a professional is the best choice. If you're uncomfortable working at heights, lack the necessary tools, or encounter complex routing challenges (like needing to run cable through tight spaces or attics), a professional installer can save you time, effort, and potential safety risks. Professionals can also provide specialized mounting solutions for unique property layouts and ensure a clean, weather-sealed installation. They have the expertise to troubleshoot unexpected issues and optimize your setup for the best possible performance.
For a hassle-free and reliable Starlink setup, consider getting a professional installation. InstallPros offers expert Starlink installations starting.
Frequently Asked Questions
How long does it take to install Starlink yourself?
The time it takes to install Starlink yourself can vary. Generally, a basic setup in an easily accessible location with a clear view of the sky might take 1-2 hours. More complex installations involving roof mounts, extensive cable routing, or troubleshooting can take 3-4 hours or longer, depending on your DIY experience and the specific challenges of your property.
Can I install Starlink on my roof?
Yes, you can install Starlink on your roof, and it's a common and often effective location for achieving a clear view of the sky. However, roof installations require proper safety precautions, appropriate mounting hardware, and sealing techniques to prevent leaks. If you're uncomfortable with heights or drilling through your roof, consider professional assistance.
Do I need a clear line of sight for Starlink?
Yes, a clear line of sight is absolutely crucial for Starlink to function optimally. Any obstructions like trees, buildings, or other tall structures can block the signal from the satellites, leading to reduced speeds, intermittent service, or complete signal loss. Use the Starlink app's obstruction checker tool to find the best possible location.
What's the best way to run the Starlink cable?
The best way to run the Starlink cable is to protect it from damage and manage it neatly. Avoid sharp bends, kinks, or crushing the cable. Use UV-resistant cable clips or conduit to secure it along exterior walls or eaves. When drilling through walls, use appropriate grommets and sealant to prevent moisture entry. Plan your route to be as direct as possible while remaining discreet and safe.
Is Starlink easy to install for non-technical people?
Starlink is designed to be relatively straightforward for many users, particularly for ground-level setups with minimal obstructions. The kit includes clear instructions, and the app guides you through the setup. However, advanced installations, such as roof mounts or complex cable runs, can be challenging for non-technical individuals and may make professional installation a worthwhile consideration.