How to Run Starlink Cable Into the House (Cleanly)
By InstallPros Team · July 15, 2026 · 6 min read
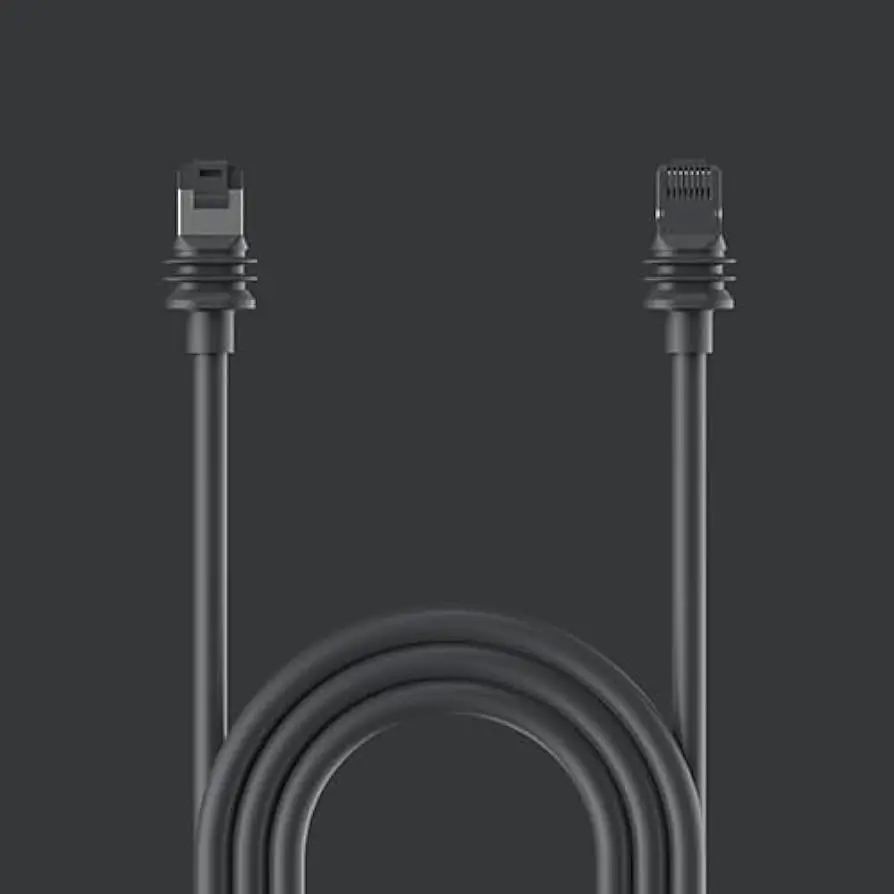
To install Starlink cable into your house cleanly, the most common methods involve drilling a small, properly sealed entry hole through an exterior wall, utilizing existing utility entry points, or routing the cable through a soffit or attic space before bringing it down an interior wall. Proper planning and sealing are key to a professional-looking and weather-resistant installation.

Planning Your Starlink Cable Route
Before you even think about drilling, careful planning is essential for a clean and effective Starlink cable installation. Start by identifying the best location for your Starlink dish, often referred to as "Dishy." This location needs a clear, unobstructed view of the sky. Once you have a dish location, consider the path the cable will take from the dish to your Starlink router inside the house. Walk around your home and look for potential entry points. Prioritize routes that are discreet, minimize exposure to the elements, and are easy to access. Avoid routing the cable across high-traffic areas or where it could be easily damaged. Consider the length of the included Starlink cable; if it's not long enough, you'll need to plan for an extension, though direct runs are always preferred for signal integrity.
Tools and Materials You'll Need
A successful and clean Starlink cable installation requires a few basic tools and materials. Having these on hand before you start will make the process much smoother:
- Drill: A power drill with various bit sizes, specifically a long masonry bit or wood bit (depending on your wall material) for creating the entry hole.
- Cable Fish Tape: Useful for pulling the cable through walls, attics, or conduit.
- Silicone Sealant/Caulk: Essential for weatherproofing any drilled holes. Choose exterior-grade, paintable sealant.
- Cable Clips or Straps: To secure the cable neatly along exterior and interior surfaces.
- Measuring Tape: For accurate planning and cable length assessment.
- Pencil and Level: To mark drilling points and ensure straight runs.
- Safety Glasses and Gloves: Always important when working with power tools or in confined spaces.
- Stud Finder: If routing through interior walls, to avoid drilling into electrical wires or pipes.
- Grommets or Wall Plates: For a professional finish around the cable entry point.
"A clean Starlink cable installation not only looks better but also protects your home from the elements and extends the lifespan of your networking equipment."
Step-by-Step Guide: Running the Cable
Method 1: Drilling Through an Exterior Wall
- Choose Your Entry Point: Select a discreet location, preferably near an existing utility line entrance or where the cable can be easily concealed. Ensure there are no electrical wires or plumbing behind the wall by using a stud finder.
- Drill a Pilot Hole: From the inside, drill a small pilot hole through the wall. This helps verify your location and ensures you drill straight.
- Enlarge the Hole: From the outside, using a larger bit, carefully enlarge the hole to just big enough for the Starlink connector to pass through. Angle the hole slightly downward from the outside to the inside to prevent water entry.
- Feed the Cable: Carefully push the Starlink cable through the enlarged hole from the outside in.
- Seal the Hole: Apply a generous amount of exterior-grade silicone sealant or caulk around the cable entry point, both inside and outside, to create a waterproof seal. Consider using a weather boot or a specialized outdoor cable grommet for added protection.
- Secure the Cable: Use cable clips or straps to secure the cable neatly along the exterior and interior walls, leading it to your Starlink router.
Method 2: Using Existing Entry Points
Many homes have existing entry points for cables like those for traditional satellite TV, cable internet, or telephone lines. If these are no longer in use, you might be able to repurpose them. Carefully remove any old cabling and then feed the Starlink cable through. You will still need to ensure the opening is properly sealed to prevent water and pest intrusion, just as you would with a newly drilled hole.
Method 3: Through a Soffit or Attic
If you prefer to avoid drilling directly through a main wall, routing the cable through a soffit or into an attic space is a good option. The cable can then be run through the attic and down an interior wall to your router. This method is more involved and may require more advanced DIY skills, including crawling in tight spaces and understanding insulation. Always ensure proper ventilation in the attic and avoid obstructing existing vents or electrical fixtures.
Common Mistakes to Avoid
Even with careful planning, it's easy to make mistakes during a cable installation. Here are some common pitfalls to avoid when you install Starlink cable into house:
- Inadequate Sealing: Failing to properly seal entry holes can lead to significant water damage, drafts, and pest infestations.
- Damaging the Cable: Kinking, bending sharply, or improperly pulling the Starlink cable can damage the internal wiring, leading to connectivity issues.
- Choosing a Poor Location: Placing the dish in a location with obstructions or running the cable in an exposed area where it can be tripped over or damaged.
- Drilling into Wires/Pipes: Always use a stud finder and be aware of your home's electrical and plumbing layouts before drilling.
- Ignoring Local Codes: While Starlink installation is generally straightforward, be mindful of any local building codes or HOA regulations regarding exterior modifications.
When to Hire a Professional
While installing Starlink cable into your house can be a DIY project for many, there are situations where hiring a professional installer is the best choice. If you are uncomfortable working on ladders, drilling through walls, or dealing with electrical components, a professional can ensure a safe and correct installation. Homes with unique architectural features, difficult-to-access roofs, or complex wiring systems also benefit from expert assistance. Professionals have the right tools, experience, and knowledge to handle challenging installations, ensure optimal dish placement for the best signal, and provide a clean, weather-resistant finish—all without you lifting a finger.
Ready for a seamless Starlink experience without the hassle? Get a professional Starlink installation starting.
Frequently Asked Questions
How do you run a Starlink cable through a wall?
To run a Starlink cable through a wall, first choose a discreet and safe location free of electrical wires or plumbing. Drill a small pilot hole from the inside, then enlarge it from the outside, angling downwards for water drainage. Carefully feed the cable through and then seal the hole thoroughly with exterior-grade silicone sealant to prevent water intrusion and drafts. Secure the cable with clips along its path.
Can I hide Starlink cables?
Yes, you can hide Starlink cables to maintain a clean aesthetic. Options include running them along existing trim, behind furniture, inside conduit, or through walls and attic spaces. For exterior runs, color-matched cable clips can make the cable less noticeable. Proper planning of the cable path before installation is key to effectively concealing it.
How do you weatherproof a Starlink cable entry?
To weatherproof a Starlink cable entry, use exterior-grade silicone sealant or caulk generously around the drilled hole, both inside and out. Ensure the chosen entry point is angled slightly downward from outside to inside to prevent water from pooling. You can also use weather boots, specialized outdoor cable grommets, or a small junction box to add extra layers of protection against moisture and pests.
Can you run Starlink cable in conduit?
Yes, you can run Starlink cable in conduit, which is an excellent way to protect the cable from physical damage, UV exposure, and pests, especially for long exterior runs or underground installations. Ensure the conduit is large enough to accommodate the Starlink connector, and use appropriate conduit fittings and sealants to maintain weather resistance.
Where should I run my Starlink cable?
The ideal place to run your Starlink cable is a discreet, protected path that minimizes exposure to the elements and potential damage. Common routes include through a small, sealed hole in an exterior wall, utilizing existing utility entry points, or routing it through a soffit or attic space and then down an interior wall. Prioritize locations close to your router and with easy access for maintenance.