How to Install Starlink Mini: Complete 2026 Setup Guide
By InstallPros Team · July 16, 2026 · 8 min read
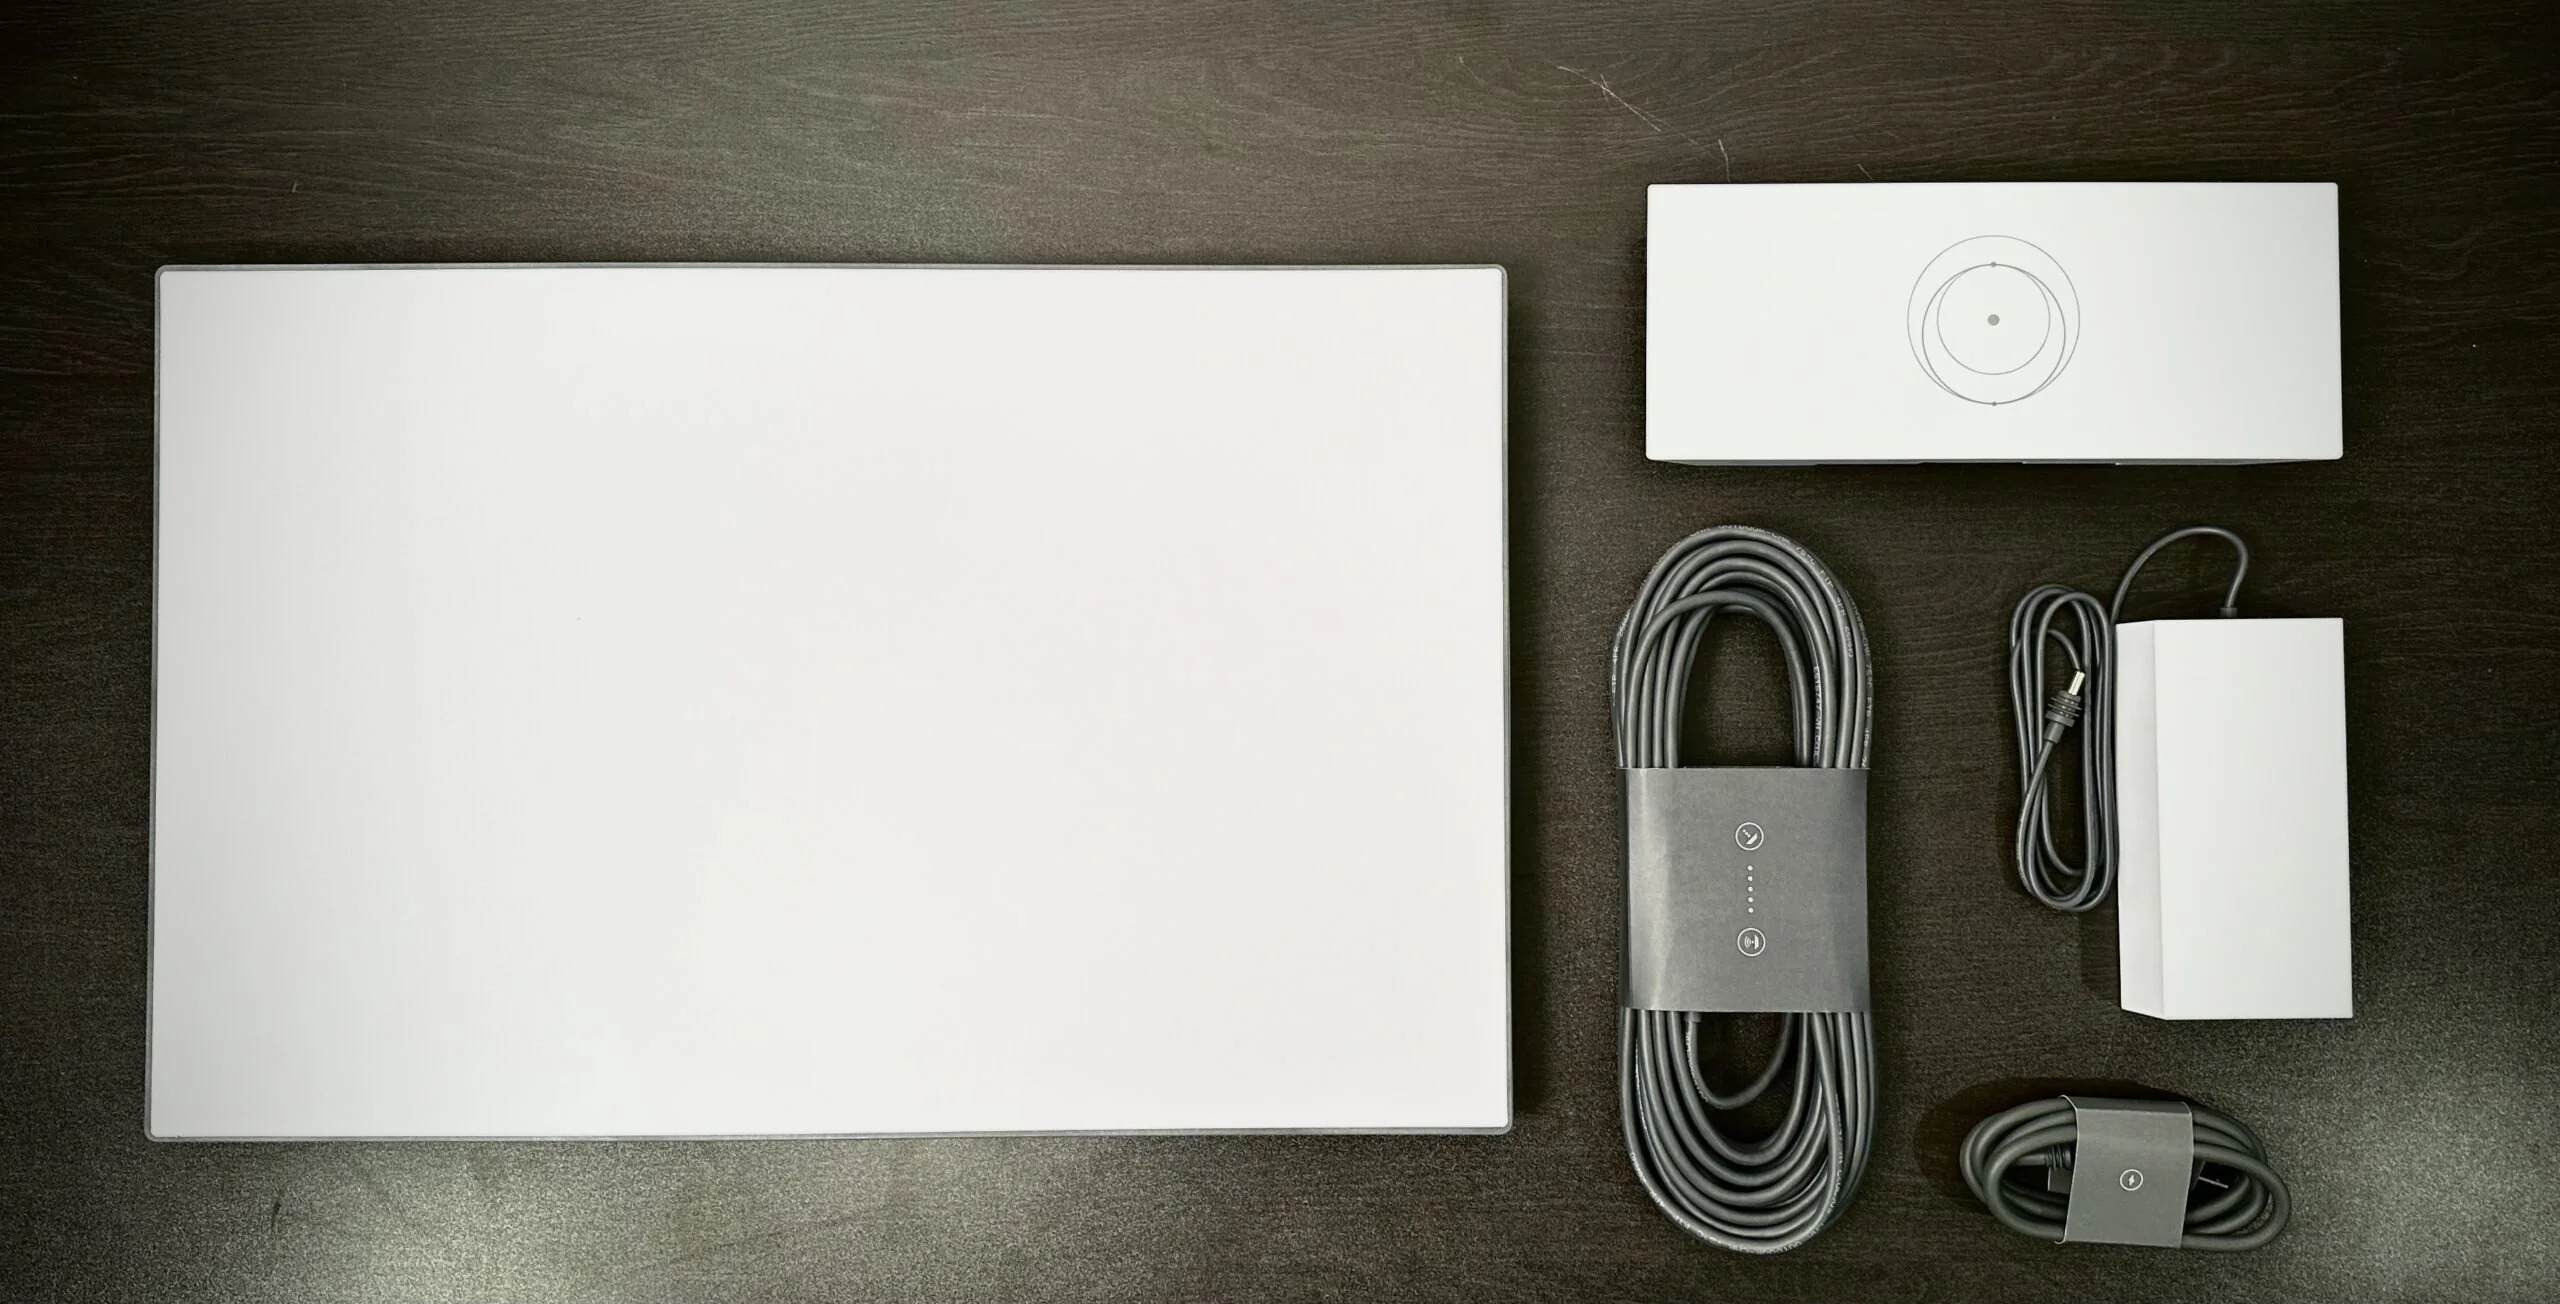
If you are searching for how to install Starlink Mini, the good news is that the Mini is one of the simplest Starlink kits to get online. The compact dish, built-in Wi-Fi router, and portable power options make it easier than a standard residential system, but placement still matters. A poor location, bad cable route, weak power source, or rushed alignment can turn a fast satellite connection into a frustrating one.
We install Starlink systems on homes, cabins, RV sites, farms, small businesses, and temporary job sites across the country. The Mini is a great fit when you need portability or a lower-profile setup, but it still needs a clear view of the sky and a stable mount. This guide covers the practical setup steps, what to check before you power it up, and when a professional installation is the smarter move. If you want a permanent roof, pole, wall, or off-grid setup, InstallPros provides professional Starlink
How to Install Starlink Mini: Basic Setup Steps
Start by unpacking the Starlink Mini kit and checking that the dish, kickstand or mount parts, power cable, power supply, and any adapters are present. Before mounting anything permanently, do a temporary ground-level test in an open area. This confirms the dish, app, account, and power source are working before you spend time routing cable or drilling holes.
Set the Mini on a stable surface with the face angled toward open sky. Unlike older systems, Starlink Mini is compact and easy to reposition, but it still needs a wide, unobstructed view. Plug in the power cable firmly, then connect the power supply to a reliable outlet or approved portable power source.
Open the Starlink app and follow the activation and setup prompts. The app will help you connect to the built-in Wi-Fi network, name your network, and check for obstructions. Let the system update if prompted. Updates can take time, and moving the dish during this process can slow things down.
- Test before permanent mounting
- Use the app obstruction tool
- Keep connectors seated and protected
- Allow software updates to finish
Choose the Right Location Before You Mount It
Location is the biggest factor in Starlink Mini performance. The dish does not need to point at a specific tower or satellite, but it does need a broad view of the sky. Trees, rooflines, chimneys, metal buildings, hills, and even nearby RVs can cause short dropouts that show up during video calls, gaming, payment processing, or security camera uploads.
Use the Starlink app’s obstruction scan from several possible spots. Do not settle for the first location that looks convenient. A spot that is easy to reach may not be the best spot for signal. We often find that moving a dish 10 to 20 feet, or raising it above a roof edge, makes a major difference.
For temporary use, a table, vehicle roof rack, tripod, or open campsite may work if the dish is stable and safe from foot traffic. For a home, cabin, or business, think about long-term exposure. Wind, snow slide, falling branches, animals, and cable strain all matter. A clean installation keeps the dish secure, the cable protected, and the system easy to service later.

Power, Wi-Fi, and Cable Routing Tips
Starlink Mini is popular because it is easier to power than a full-size Starlink kit, but power quality still matters. Use the supplied power equipment or Starlink-approved accessories. If you are running from a battery, solar generator, vehicle outlet, or inverter, confirm that it can deliver stable power for the full session. Weak or inconsistent power can cause reboots that look like internet problems.
For Wi-Fi, place the Mini where the built-in router can actually reach the devices you care about. If the dish is outside a metal building, behind thick walls, or far from the work area, Wi-Fi coverage may be weaker than the satellite signal. In those cases, plan for proper indoor networking or a wired extension where supported by your setup.
Cable routing should be simple, protected, and serviceable. Avoid sharp bends, crushed cable, door pinch points, standing water, and exposed runs where people can trip. On permanent installs, use drip loops, weather-resistant entry methods, and clean fastening. Do not leave excess cable hanging from a roof or flapping against siding. A neat cable route prevents damage and makes troubleshooting easier later.
Permanent Mounting for Homes, Cabins, and Businesses
The included Starlink Mini stand is useful for testing and portable use, but permanent installations usually need a stronger mounting plan. The right mount depends on the building, roof type, wind exposure, cable path, and where the dish gets the cleanest sky view. Common options include roof mounts, wall mounts, fascia mounts, short poles, non-penetrating mounts, and longer pole installations.
On a roof, the main concerns are waterproofing and structure. Any penetration must be sealed correctly, and the mount must attach to solid framing or an approved surface. On metal roofs, the fastener choice and sealing method are critical. On shingle roofs, flashing and sealant need to be handled carefully to avoid future leaks.
For businesses, farms, and remote sites, we also consider equipment protection and uptime. A dish mounted where it can be bumped by equipment, blocked by parked vehicles, or buried by drifting snow will create avoidable problems. The best installation balances signal, safety, access, and durability.
If you do not want to troubleshoot roof angles, cable entries, grounding considerations, or mount selection, InstallPros can handle the full Starlink Mini installation. Professional installs are built around the property, not a one-size-fits-all setup.
Testing Your Starlink Mini After Setup
Once the Starlink Mini is powered, mounted, and online, give it enough time to settle before judging performance. The system may download updates, map obstructions, and optimize its connection. During the first hour, speeds can move around more than they will later. That is normal, especially after activation or a location change.
Use the Starlink app to check connection status, obstruction data, and network health. A basic speed test is helpful, but it does not tell the whole story. Watch for repeated short outages, latency spikes, or Wi-Fi drops. If the satellite connection looks good but devices inside are slow, the issue may be Wi-Fi coverage rather than the dish.
Test from the places where you actually need service: the home office, shop, register counter, RV interior, camera location, or job trailer. If speeds are strong near the dish but weak indoors, adjust the Wi-Fi plan. If the app reports obstructions, move or raise the dish before assuming the service is the problem.
- Check app obstruction reports
- Test real work areas, not just beside the dish
- Confirm stable power
- Look for cable strain or loose connections
Common Starlink Mini Installation Mistakes
The most common mistake is treating Starlink Mini like a regular hotspot. It is portable, but it is still a satellite antenna. If you place it under trees, beside a wall, on a covered porch, or inside a window, performance will suffer. Glass, screens, metal, and building materials can interfere with the signal.
Another common problem is choosing the easiest cable route instead of the safest one. We see cables pinched in doors, stretched across walkways, run through sharp metal edges, or left exposed to pets and lawn equipment. The system may work at first, but damaged cable can cause intermittent failures that are hard to diagnose.
Permanent installs also fail when mounts are undersized or placed without thinking about weather. A dish that shifts in wind, gets buried by snow, or sits in the path of roof runoff will not stay reliable. If the location is remote or business-critical, do not cut corners on mounting.
The final mistake is skipping app checks after installation. Even a clean-looking setup can have partial obstructions. A few minutes in the app can save hours of guessing later.
Frequently Asked Questions
Can I install Starlink Mini myself?
Yes, many users can install Starlink Mini themselves for temporary or portable use. The basic process is to place it with a clear sky view, connect power, open the Starlink app, and follow the setup prompts. The job gets more complicated when you want a permanent roof, wall, pole, RV, cabin, or business installation. At that point, mount strength, weatherproofing, cable routing, Wi-Fi coverage, and long-term serviceability matter. If you are not comfortable drilling, sealing roof penetrations, or working at height, hiring a professional is the safer choice.
Does Starlink Mini need a clear view of the sky?
Yes. Starlink Mini needs a wide, clear view of the sky to maintain a stable satellite connection. Trees, buildings, roof edges, hills, chimneys, and nearby vehicles can block the signal. Even small obstructions can cause short dropouts, especially during video calls, streaming, gaming, or business use. Use the Starlink app obstruction tool before choosing a final location. If the app shows obstruction problems, move the dish, raise it, or choose a different mounting point before making the installation permanent.
Can Starlink Mini be mounted on a roof?
Starlink Mini can be mounted on a roof when the mount is appropriate for the roof type and local conditions. A roof install can improve sky visibility, but it must be done carefully to avoid leaks, loose hardware, cable damage, or unsafe access. The mount should be secured to a suitable surface, sealed correctly, and placed away from snow slide, heavy runoff, and maintenance hazards. For most permanent roof installations, a professional installer is recommended because waterproofing and safe cable entry are just as important as signal strength.
How long does it take to set up Starlink Mini?
A simple temporary Starlink Mini setup can often be online in 15 to 30 minutes once the account is ready and you have a clear location. Permanent installations take longer because the mount, cable path, building entry, Wi-Fi coverage, and testing all need to be handled correctly. Software updates can also add time during first activation. For a clean residential or business installation, plan for enough time to test multiple locations, secure the hardware, protect the cable, and confirm performance in the areas where you actually need internet.
Why is my Starlink Mini slow after installation?
Slow Starlink Mini performance is usually caused by obstructions, weak Wi-Fi coverage, unstable power, active software updates, or a poor mounting location. First, check the Starlink app for obstruction alerts and network status. Then test near the dish and again where you normally use your devices. If speeds are good near the dish but poor indoors, the issue is likely Wi-Fi coverage. If the app shows outages or obstructions, the dish needs a better location. Also confirm the power source is stable and all cable connections are fully seated.