How to Install Starlink on a Camper or Travel Trailer
By InstallPros Team · July 18, 2026 · 8 min read
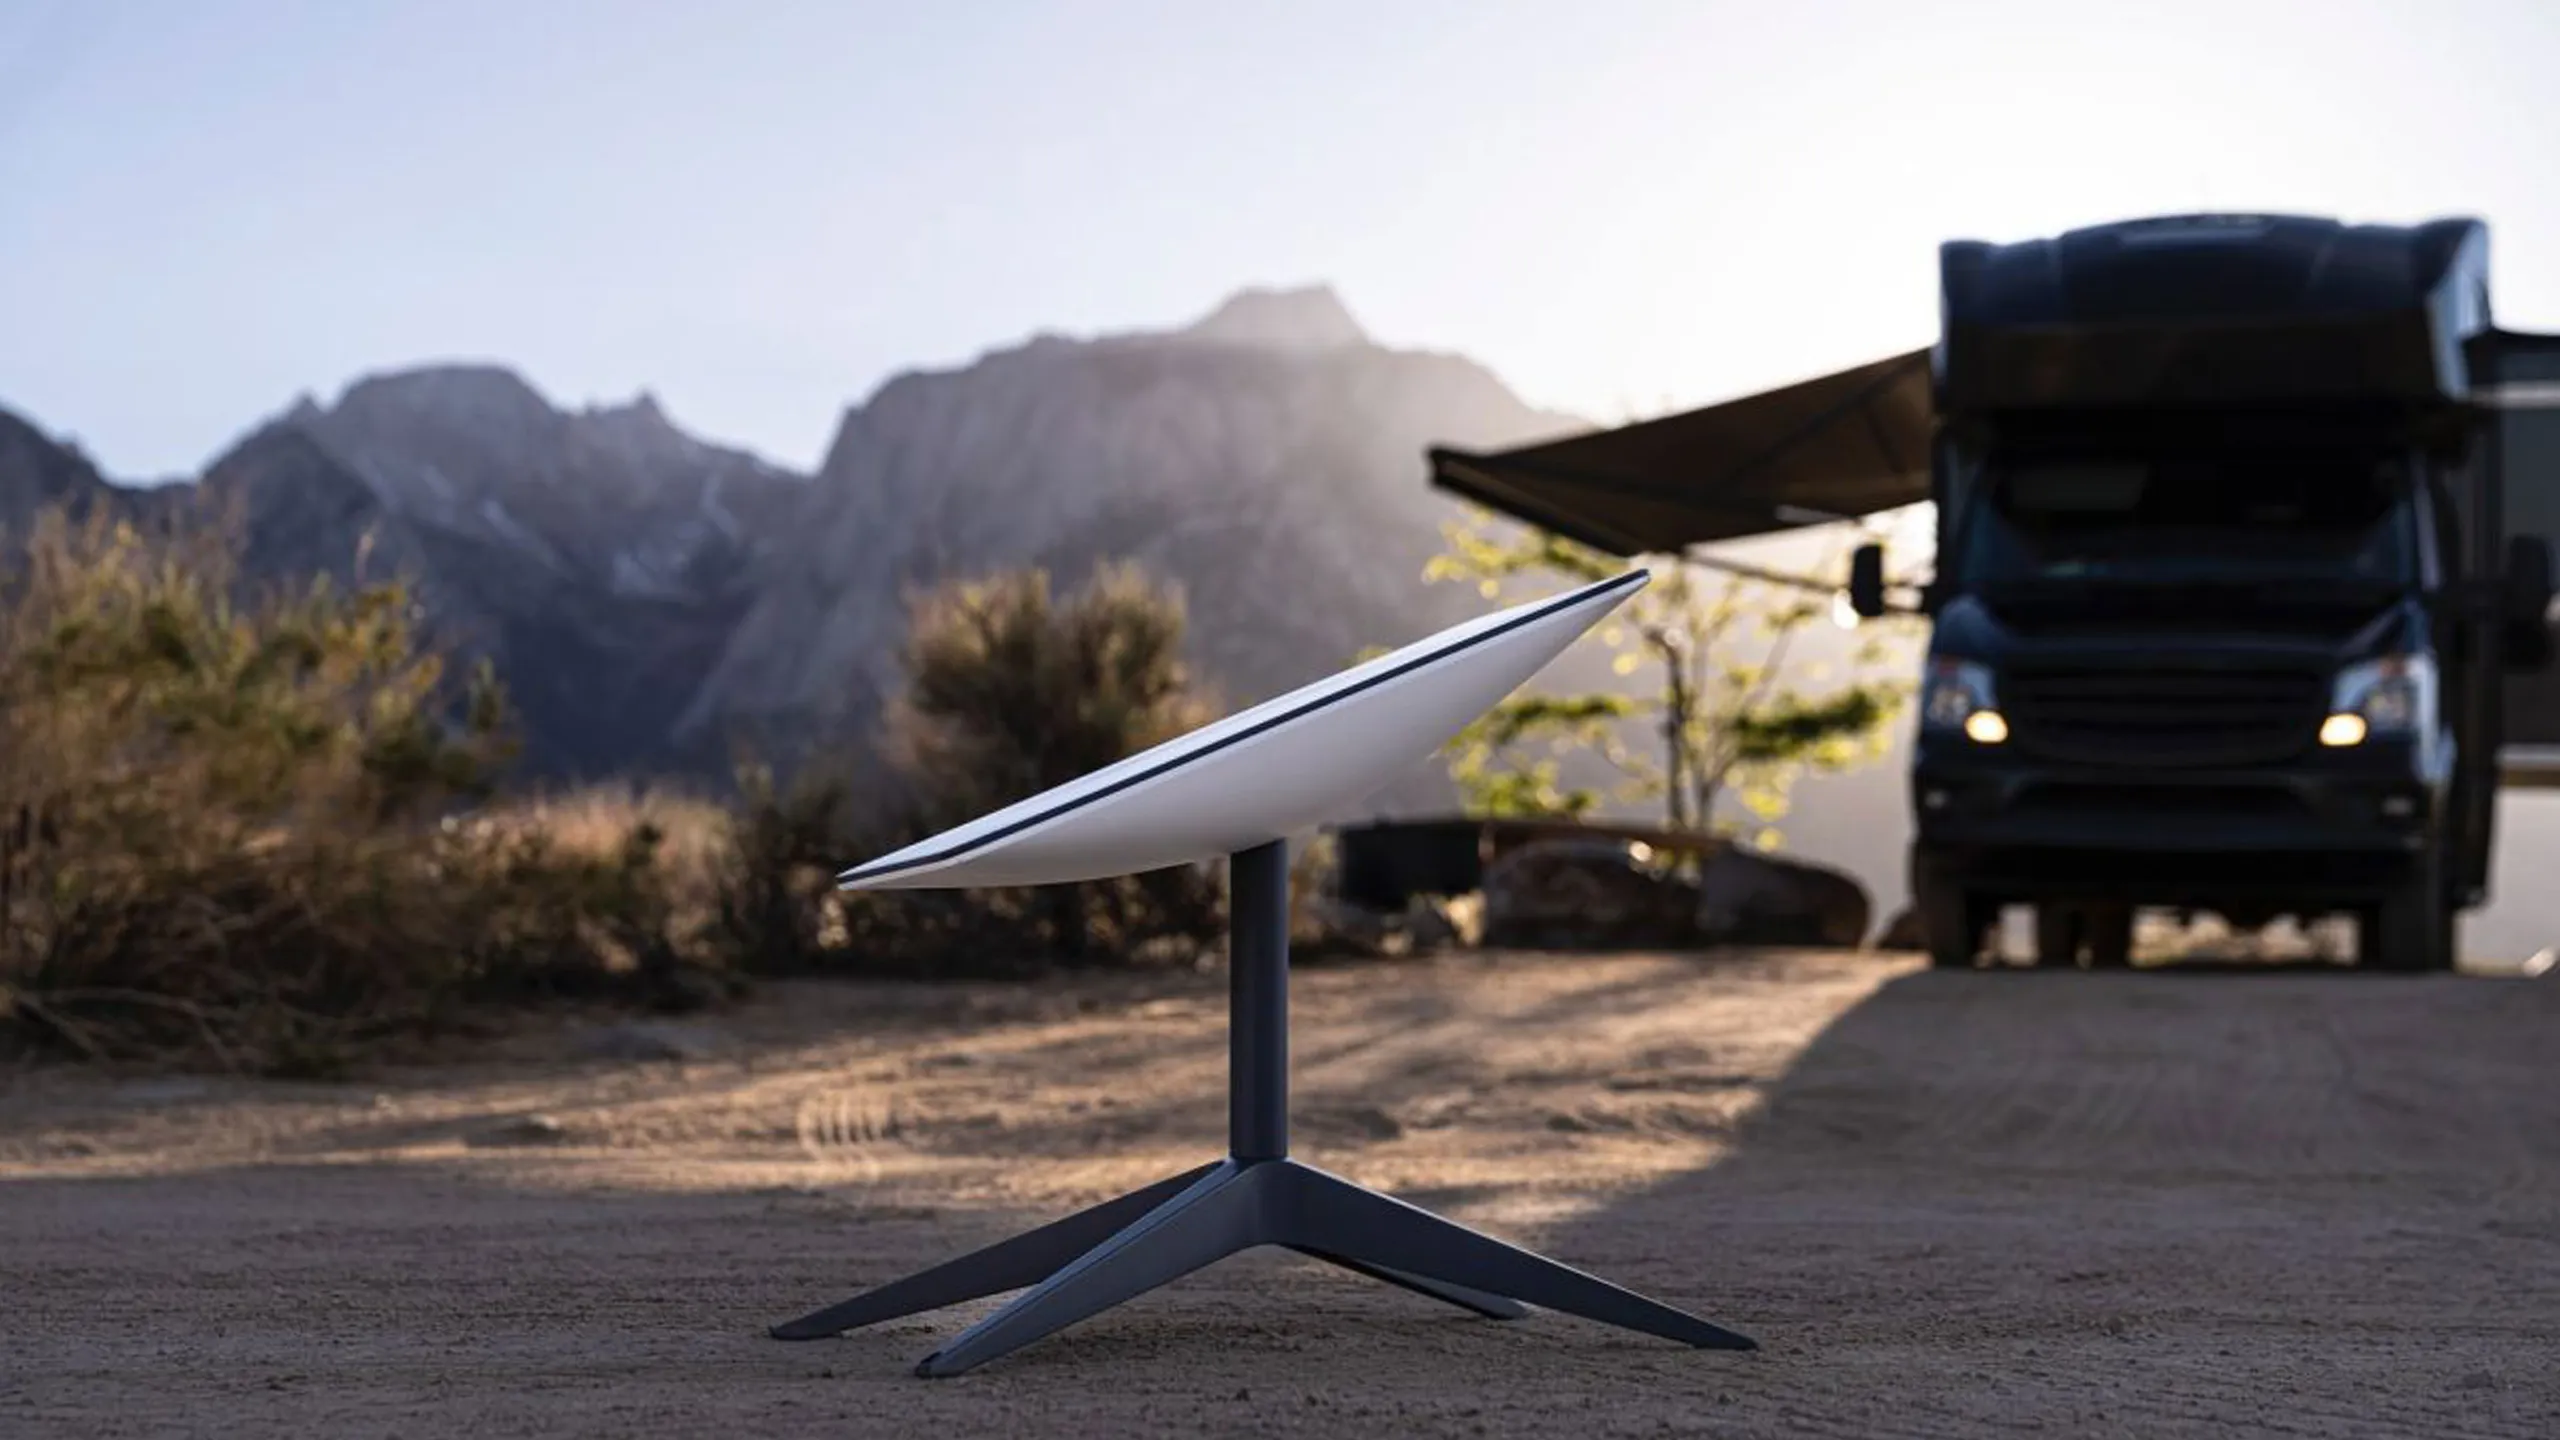
If you are searching for how to install Starlink on camper roofs, ladders, or travel trailer setups, the first thing to know is that a good install is mostly about placement, cable protection, and repeatable setup. Starlink can work very well for RVs and campers, but the dish still needs a clear view of the sky and a mount that will not loosen, flex, or leak when you are driving. We have seen plenty of temporary setups work for a weekend, then fail after a few trips because the cable was pinched in a slide-out, the mast shook loose, or the roof penetration was not sealed correctly. A camper installation is different from a house installation because everything moves. Wind, vibration, tree cover, campground layouts, and storage all matter. This guide walks through the mounting options, cable routing, power considerations, and common mistakes so you can decide whether to do it yourself or have InstallPros handle the job. Professional Starlink installs are available nationwide.
How to Install Starlink on Camper Roofs Safely
The cleanest camper setup is often a roof-mounted Starlink, but only if the roof can support the mounting method and the dish has room to operate. Before drilling anything, inspect the roof material, framing, air conditioners, vents, solar panels, and nearby antennas. The dish needs open sky, and even small obstructions can cause dropouts during video calls, streaming, or remote work.
For many campers, we avoid permanent roof penetrations unless there is a strong reason to use them. If a roof mount is used, the fasteners must land in solid structure, not just thin roof skin. Every hole needs proper sealant compatible with the RV roof material. Using the wrong sealant is one of the easiest ways to create a leak.
A solid camper roof install usually includes:
- A stable mount matched to the Starlink dish and roof type
- Protected cable routing with no sharp bends or pinch points
- Weatherproof sealing at any penetration
- Enough clearance from vents, AC units, and solar panels
- A plan for removing or stowing the dish before travel if required
Do not assume a mount that works on a house will work on a travel trailer. Campers flex, vibrate, and see highway wind loads that fixed buildings do not.
Choosing the Right Starlink Camper Mount
The right Starlink camper mount depends on how you travel. A full-time RVer who works online has different needs than someone who camps a few weekends a year. Portable ground mounts are simple and flexible, especially in wooded campgrounds where you may need to move the dish away from the camper. The downside is setup time, cable exposure, and the risk of someone tripping over or moving the dish.
Ladder mounts are popular because they usually avoid roof drilling and place the dish above nearby vehicles or campsite clutter. The ladder must be strong enough, and the mount needs to be secured so it does not rotate in wind. We also check whether the ladder is actually structural; some factory ladders are lighter duty than they look.
Roof mounts create a cleaner setup, but they are less forgiving. A bad roof mount can leak, loosen, or put the dish in a poor sky-view location. Pole mounts can work well on toy haulers or custom rear bumpers if the pole is braced properly.
For most camper owners, the best choice is the mount that gives a clear sky view without creating travel, storage, or water intrusion problems.

Cable Routing, Weatherproofing, and Interior Setup
Cable routing is where many Starlink camper installs succeed or fail. The cable should never be crushed in a door, window, slide-out, storage hatch, or awning arm. Starlink cables are not something you want to repeatedly pinch or bend tightly. A damaged cable can cause intermittent outages that are difficult to troubleshoot at a campsite.
If the cable enters the camper permanently, use a proper cable gland or entry plate and seal it correctly. On RV roofs, we pay close attention to the roof membrane type and existing sealants. Mixing incompatible sealants can cause adhesion problems. On sidewall entries, the location needs to avoid hidden wiring, framing, plumbing, and areas where water runs heavily during rain.
Inside the camper, place the router where it can serve the living area without being buried behind appliances or metal panels. RV construction often includes aluminum framing, foil-faced insulation, and other materials that can weaken Wi-Fi coverage.
Good cable management includes drip loops, strain relief, abrasion protection, and a clear path for service access. The goal is a setup that works after the fifth trip, not just the first night.
Power, Setup, and Getting a Clear Signal at Camp
Starlink needs reliable power, and campers do not always provide that in the same way a house does. If you are on shore power, setup is straightforward. If you rely on batteries, an inverter, solar, or a generator, plan for the system’s power draw and how long you expect to be online. Remote workers should test their full setup before depending on it during a trip.
At the campsite, open sky is the biggest factor. Use the Starlink app to check for obstructions before committing to a parking spot when possible. Trees, canyon walls, nearby RVs, and campground buildings can all interrupt service. A roof-mounted dish may be convenient, but a portable mount can be better if the only clear view is 30 feet away.
After powering up, give the dish time to orient and connect. If performance is poor, do not immediately blame the equipment. Check for obstructions, cable damage, loose connections, and router placement first.
We recommend labeling cables and keeping a simple setup routine. That prevents rushed campground installs where cables get run under tires, through sharp compartments, or across walkways.
Common Camper Starlink Installation Mistakes
The most common mistake is mounting the dish where it is convenient instead of where it has the best sky view. Starlink is not like a cell booster that can be hidden inside a cabinet. The dish needs a clean field of view, and obstructions that seem minor can show up as drops, lag, or buffering.
Another mistake is underestimating movement. Campers bounce down roads, twist on uneven sites, and shake in wind. A mount that feels firm by hand may still work loose over time. Fasteners, brackets, and poles need to be chosen with vibration in mind.
We also see cable damage from temporary routing. Running a cable through a window once may be fine in a pinch, but repeated use can flatten or cut it. Slide-outs are especially risky because they can destroy a cable quickly.
Finally, many owners drill before planning the full route. Once a hole is in the roof or wall, you are committed to sealing and maintaining it. Measure twice, inspect inside and outside, and confirm the entry point before making any permanent change.
When to Hire a Professional Installer
A handy camper owner can set up a portable Starlink kit without much trouble. The point where a professional installer makes sense is when you want a cleaner, safer, more permanent installation. Roof penetrations, ladder mounts, pole fabrication, hidden cable routing, and interior router placement all benefit from experience.
InstallPros works with homeowners, businesses, RV owners, and remote property customers who need Starlink installed correctly the first time. On campers, we look at the whole system: mount strength, travel clearance, roof condition, cable protection, Wi-Fi coverage, and how you actually use the rig. A weekend camper and a full-time remote worker should not always get the same setup.
Professional installation also helps avoid expensive mistakes. Water intrusion, damaged cables, weak mounts, and poor dish placement can cost more than doing the install right from the start.
If you want Starlink on a camper or travel trailer without guessing on the mount or drilling into the wrong spot, InstallPros can help. Installs are available, and we can recommend the setup that fits how and where you travel.
Frequently Asked Questions
Can you permanently mount Starlink on a camper?
Yes, Starlink can be permanently mounted on many campers, but the mount and cable route need to be planned carefully. The roof or ladder must be strong enough, the dish must have a clear view of the sky, and any roof or wall penetrations must be sealed with materials compatible with the camper. Some owners are better served by a semi-permanent or portable mount because it allows the dish to be moved away from trees at a campsite.
What is the best mount for Starlink on a travel trailer?
The best mount depends on how you camp. A portable ground mount is flexible and works well in wooded sites because you can move the dish to a clearing. A ladder mount can avoid roof drilling and gives extra height if the ladder is strong enough. A roof mount is clean and convenient, but it requires careful sealing and placement. For full-time use, we usually recommend the most stable option that still allows a clear sky view.
Can I use Starlink while driving my camper?
Whether Starlink can be used in motion depends on the hardware and service plan you have. Many standard camper setups are intended for use while parked, and the dish should be stowed or protected before travel if the mount is not designed for highway use. Do not assume a temporary or residential-style mount is safe at driving speeds. Wind load, vibration, and clearance can damage the dish, mount, roof, or cable.
How do I run the Starlink cable into an RV or camper?
The safest permanent method is usually a proper cable entry gland or weatherproof entry plate installed in a planned location. The route should avoid slide-outs, sharp edges, hot compartments, and areas where water pools or runs heavily. Temporary routing through a window or hatch can work for short trips, but repeated pinching can damage the cable. Any permanent hole in a roof or wall must be sealed correctly to prevent leaks.
Does Starlink work well in campgrounds with trees?
Starlink can work in campgrounds, but trees are the biggest challenge. The dish needs a clear view of the sky, and branches can cause short outages, slow speeds, or unstable video calls. In heavily wooded sites, a portable mount may outperform a fixed roof mount because you can place the dish in the best opening. Before setting up, use the Starlink app to check obstructions and adjust the dish location if needed.