How to Install Starlink on a Roof Without Leaks
By InstallPros Team · July 15, 2026 · 4 min read
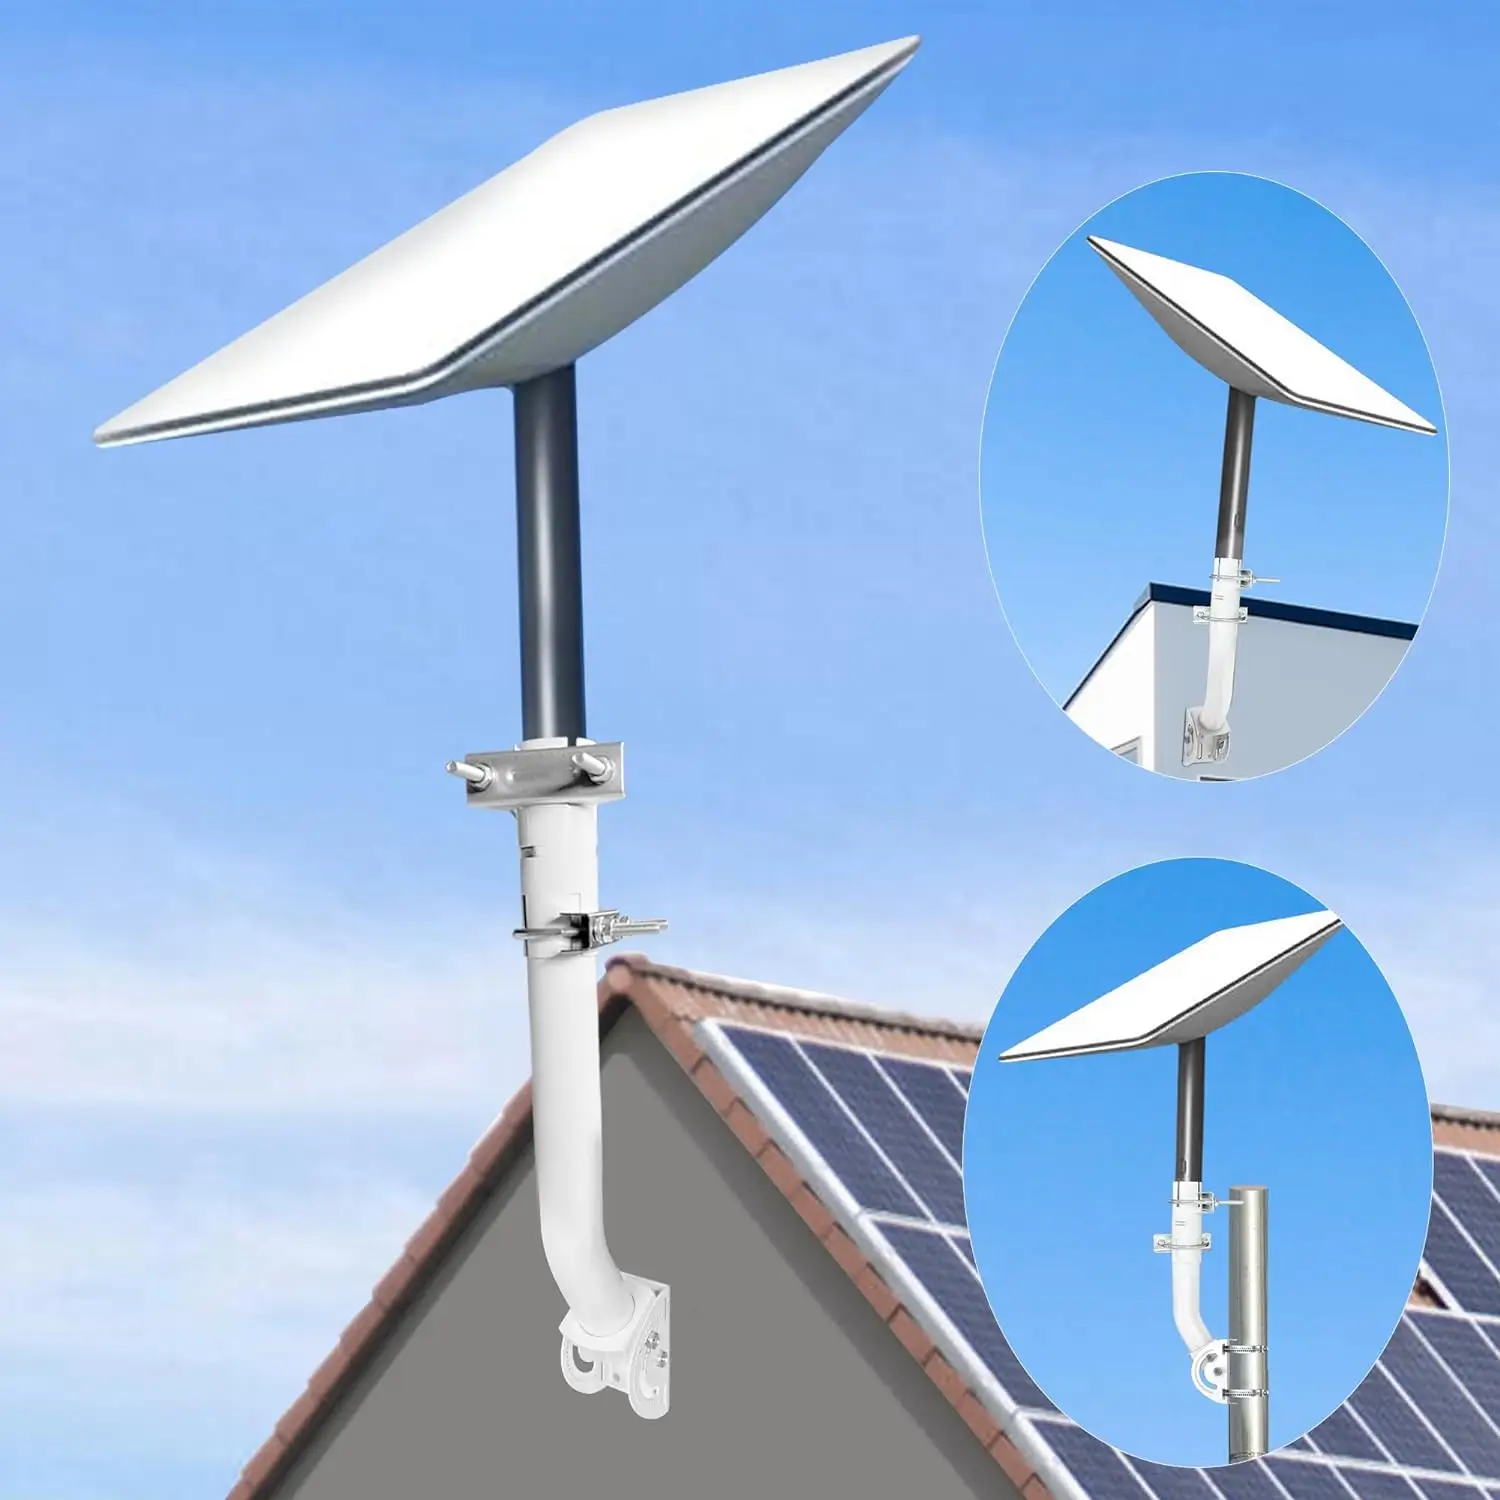
Installing your Starlink dish on your roof is often the best way to get a clear view of the sky, crucial for optimal performance. To install Starlink on your roof without leaks, you need to carefully plan the dish's placement, choose the right mounting hardware, and properly seal any penetrations made to your roof. This guide will walk you through the steps to ensure a secure and watertight installation.

Why Install Starlink on Your Roof?
Most Starlink satellite dishes require an unobstructed view of the sky to connect with the satellite constellation. For many homes, the roof offers the best vantage point, clearing trees, surrounding buildings, and other obstructions that could interfere with your signal. A rooftop installation can lead to more consistent speeds and fewer service interruptions, significantly improving your internet experience, especially if you live in a rural area.
Tools and Materials You'll Need
Before you begin your Starlink roof installation, gather the necessary tools and materials. Having everything on hand will make the process smoother and safer.
- Starlink Mount: Choose a mount designed for your roof type (e.g., pivot mount for angled roofs, flashing mount for shingle roofs).
- Drill: A power drill suitable for drilling pilot holes.
- Sealant: High-quality, weather-resistant outdoor sealant, such as silicone or urethane caulk, designed for roofing applications.
- Cable Clips/Ties: To secure the Starlink cable along its run.
- Ladder: A sturdy ladder suitable for roof work.
- Personal Protective Equipment (PPE): Gloves, safety glasses, and sturdy shoes with good grip.
- Measuring Tape: For accurate placement.
- Stud Finder: If attaching to roof trusses or rafters.
- Marking Pen: To mark drill points.
- Roofing Caulk Gun: For applying sealant.
Step-by-Step Guide to Installing Starlink on Your Roof
1. Choose the Right Location
The first and most critical step is selecting the ideal spot for your Starlink dish. Use the Starlink app to scan for obstructions and ensure you have a clear field of view. Consider the cable run – plan a path that avoids sharp turns and minimizes exposure to the elements. Also, think about accessibility for future maintenance. Avoid placing the dish directly over living spaces if possible, to reduce potential noise transfer.
2. Secure the Mount
Once you've identified the best location, it's time to secure the mount. Different roof types require different approaches:
- Shingle Roofs: For shingle roofs, a flashing mount is often recommended. This metal plate slides underneath existing shingles, providing a watertight seal. Secure the mount to the roof deck, preferably into a rafter or truss for maximum stability.
- Metal Roofs: For metal roofs, you may use specialized clamps that attach to the standing seams without penetrating the roof. If penetration is necessary, use self-sealing screws and plenty of sealant.
- Tile Roofs: Tile roofs are more complex. You might need to remove and replace tiles or use a tile replacement mount that integrates seamlessly with your existing tiles.
Always pre-drill pilot holes for screws to prevent wood splitting and ensure a tight fit. Apply a generous bead of sealant around and under all screw heads and any other penetrations.
"Proper sealing is not just about preventing leaks today; it
Frequently Asked Questions
Can I install Starlink on my roof myself?
You can install Starlink on your roof yourself if you are comfortable working at heights and have basic home improvement skills. However, it's crucial to follow safety guidelines and proper sealing techniques to prevent roof leaks and ensure a stable installation. If you're unsure, hiring a professional installer is always a safe bet.
What kind of mount do I need for a roof installation?
The type of Starlink mount you need depends on your roof type. For shingle roofs, a flashing mount that integrates under shingles is commonly used. Metal roofs may benefit from non-penetrating clamps or specialized mounts with self-sealing screws. Tile roofs often require specific tile replacement mounts. Always choose a mount designed for your roof material for the best results.
How do I prevent roof leaks after installing Starlink?
To prevent roof leaks, proper sealing is key. Use high-quality, weather-resistant outdoor sealant around all screw holes and any other points where the mount penetrates the roof material. For flashing mounts, ensure the flashing is properly integrated under the shingles. Regular inspection of the sealed areas is also recommended to catch any potential issues early.
Where is the best place to install Starlink on a roof?
The best place to install Starlink on your roof is a location that provides a clear, unobstructed view of the sky. Use the Starlink app to check for obstructions from trees, chimneys, or other structures. Also, consider the cable run to minimize its exposure and length, and try to place the dish in a spot that allows for safe access for future maintenance.
When should I hire a professional for Starlink roof installation?
You should consider hiring a professional for your Starlink roof installation if you are uncomfortable working on a roof, have a complex roof type (like a very steep pitch or a tile roof), or are concerned about making mistakes that could lead to leaks or damage. Professionals have the right tools, experience, and insurance to ensure a safe and proper installation.