How to Install Starlink on an RV: Roof Mount, Power & Cabling
By InstallPros Team · July 17, 2026 · 8 min read
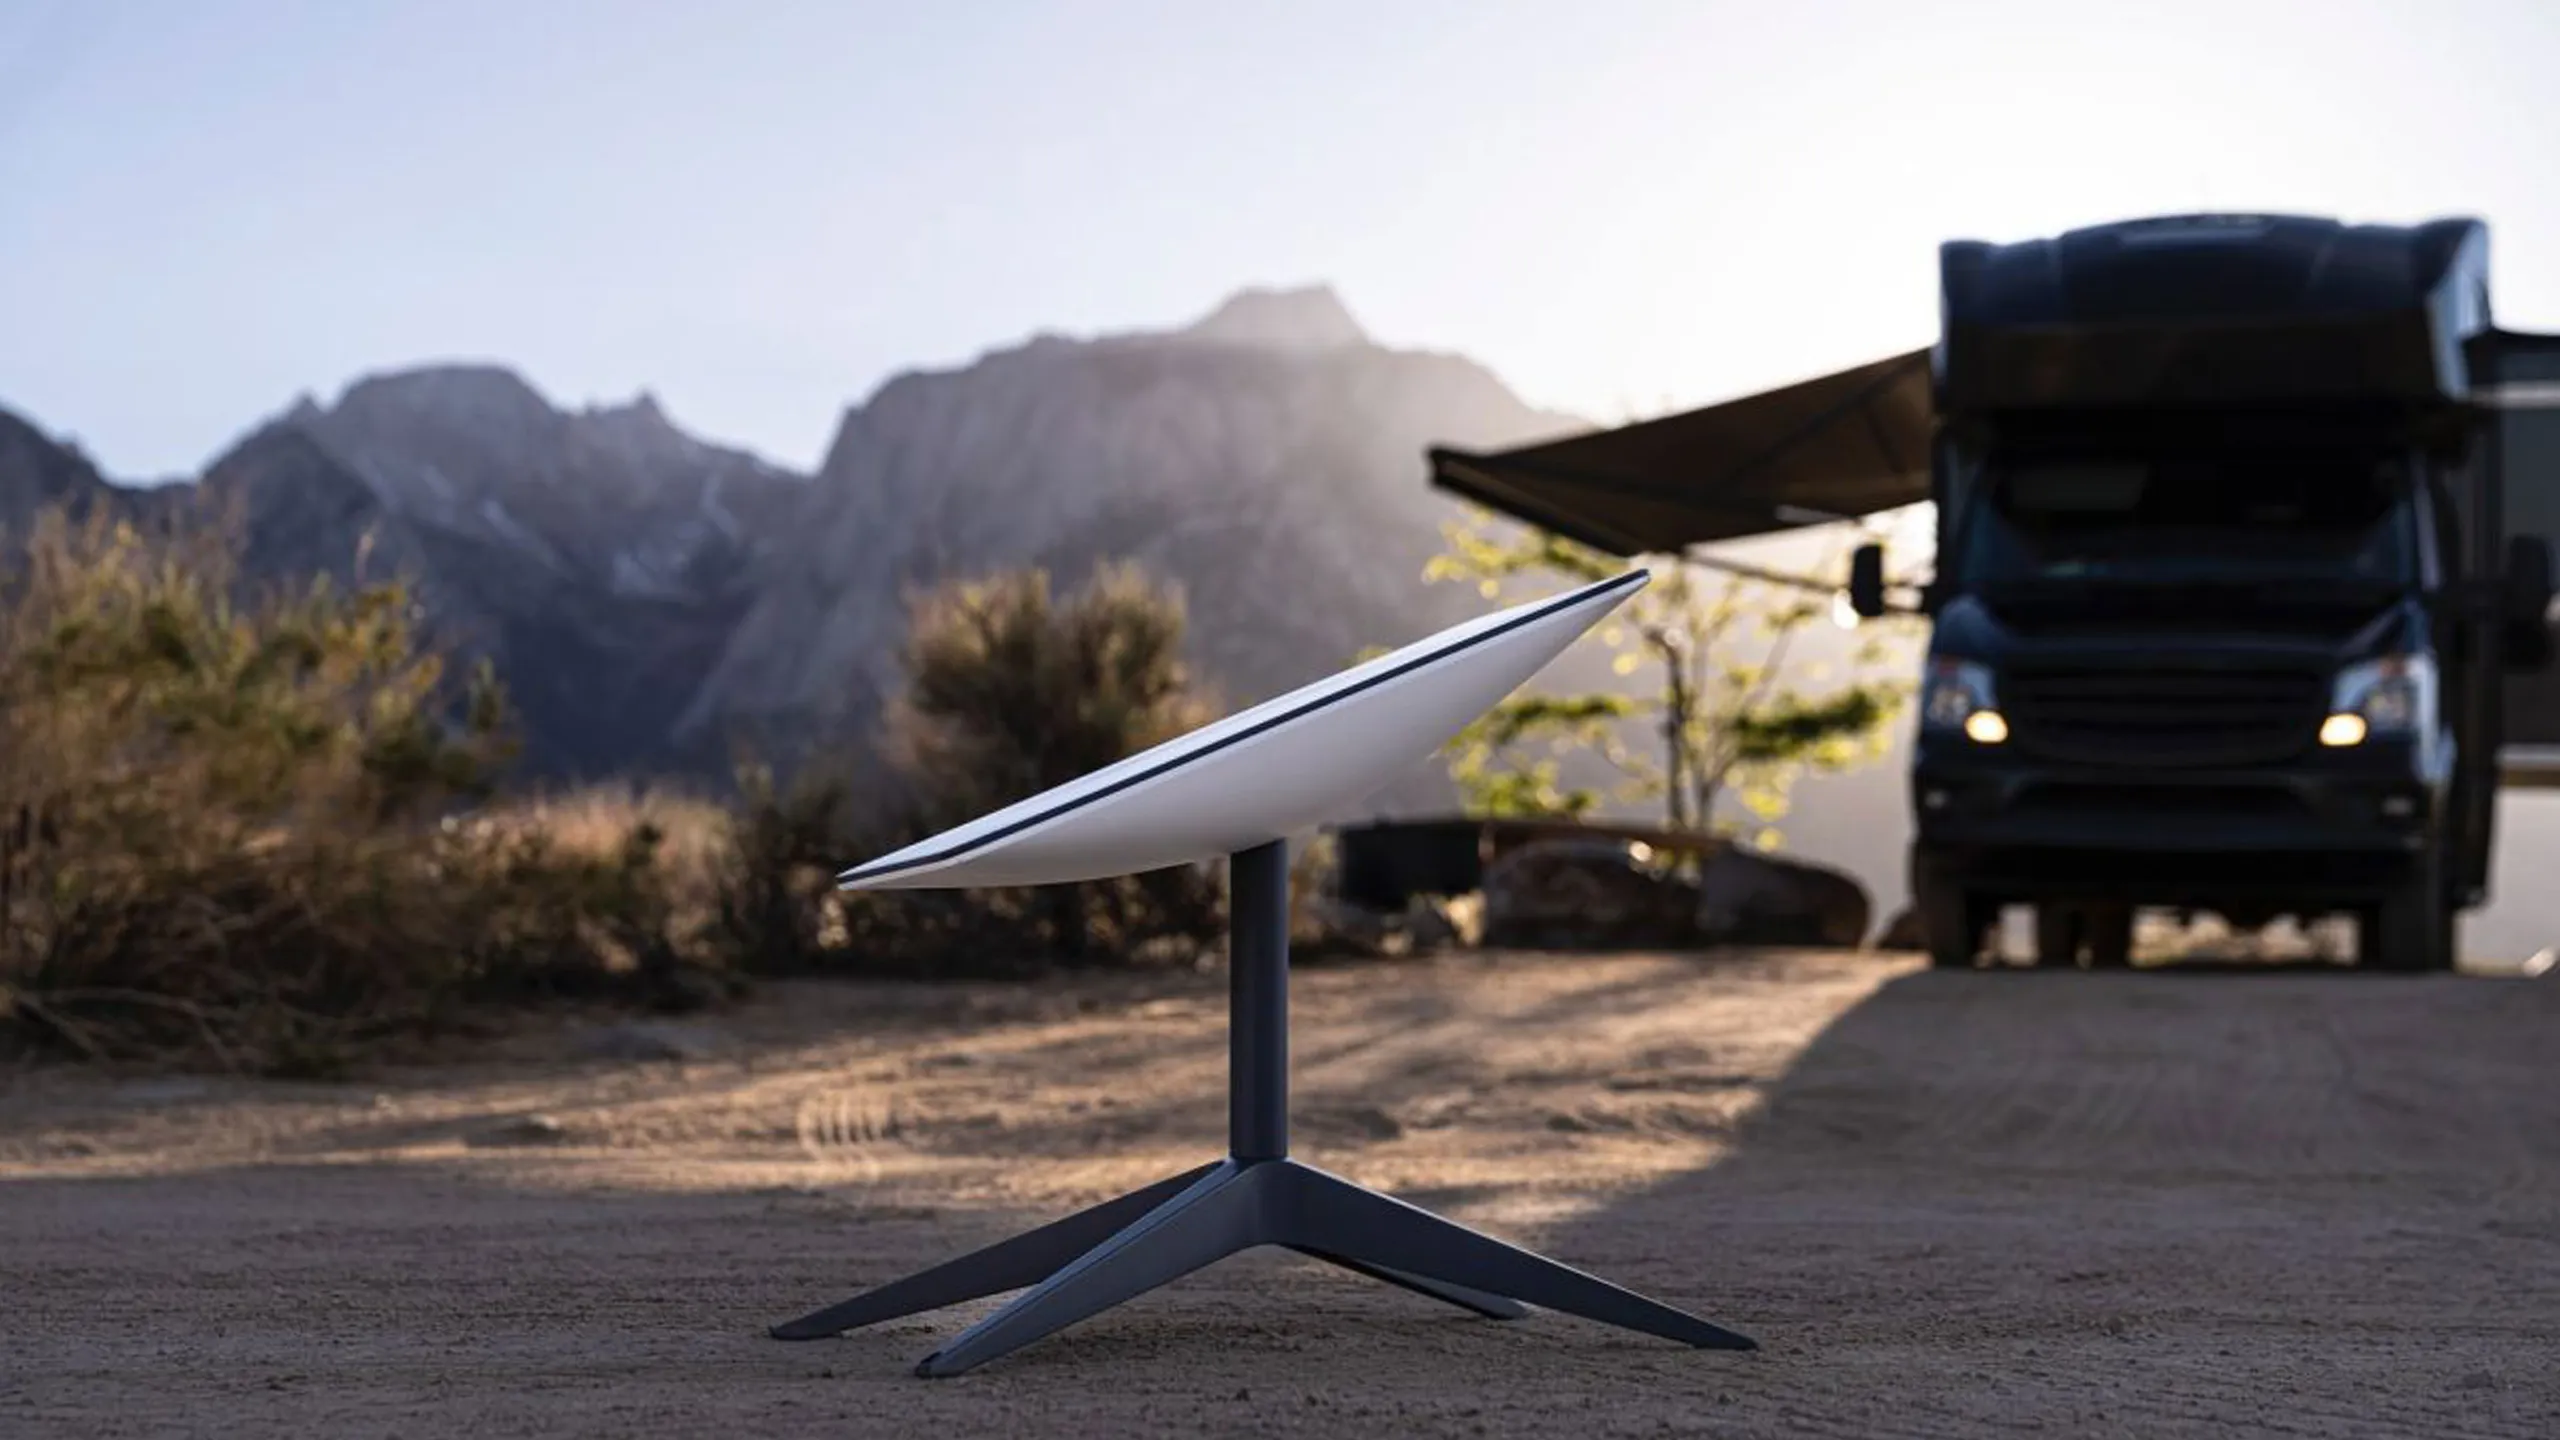
If you are researching how to install Starlink on RV roofs or temporary mounts, the big decision is whether you want a removable travel setup or a cleaner fixed installation. I have seen both work well, but the right choice depends on how you camp, how often you move, and how comfortable you are putting holes in the roof. Starlink can be a strong option for RV internet, but it is not magic. The dish still needs open sky, the cable needs protection, and the router needs stable power in a dry location.
This guide walks through the practical parts: choosing a mount, planning the cable path, powering the system, and avoiding the mistakes that cause dropouts or roof leaks. If you want the work handled by a pro, InstallPros provides Starlink
How to Install Starlink on RV Roofs the Right Way
The best RV Starlink setup starts with deciding whether the dish should be portable or fixed. Portable setups are better if you park under trees often because you can move the dish to a clearer spot. Fixed roof mounts are cleaner, faster to deploy, and less likely to be stolen or tripped over, but they only work well when the RV is parked with a clear view of the sky.
Before mounting anything, use the Starlink app to check for obstructions from the roof and from typical campsite positions. Do not guess from the ground. Small branches, roof accessories, air conditioners, and nearby buildings can all affect service.
For a roof installation, the key steps are:
- Pick a location with the widest sky view and minimal blockage from vents or AC units.
- Use a mount rated for vehicle vibration and wind exposure.
- Seal every roof penetration with materials compatible with your RV roof type.
- Leave enough service loop to remove or adjust equipment later.
- Test the system before final cable dressing and sealant.
On RVs, clean workmanship matters. A loose cable or poorly sealed screw can become a real problem after a few hundred miles.
Choosing an RV Mount: Portable, Pole, Ladder, or Roof
There is no single mount that fits every RV. The standard Starlink kickstand or portable base is simple and works well for weekend camping, but it requires setup each time and leaves the cable exposed on the ground. A pole mount can get the dish above low brush or campsite clutter, but it still needs to be secured so wind cannot tip it over.
Ladder mounts are popular because they usually avoid roof drilling and keep the dish elevated. The downside is that ladders vary widely in strength. Some RV ladders are only meant for light access, not a vibrating satellite mount hanging off the back during travel. If you use a ladder mount, remove the dish before driving unless the mount and dish model are specifically intended for in-motion use.
Permanent roof mounts give the cleanest result. On fiberglass or rubber membrane roofs, proper backing, fasteners, and sealant are critical. On metal roofs, corrosion and cable chafe need attention. I recommend choosing the mount after inspecting the roof structure, not before. The strongest-looking spot is not always the best place to fasten equipment.

Cable Routing Without Leaks, Pinches, or Signal Problems
Cable routing is where many DIY RV Starlink installs go wrong. The cable should have a smooth path with no tight bends, crushed sections, or sharp edges. Avoid running it across walking areas on the roof or near awning hardware. If the cable moves in the wind, it will eventually wear through its jacket or slap against the roof.
For a clean install, many RV owners route the cable through an existing entry point such as a refrigerator vent, cable gland, cabinet chase, or utility bay. This can work well if the route stays dry and does not expose the connector to strain. If a new roof penetration is needed, it should be made with the right gland and sealant for the roof material.
Good cable practices include:
- Use UV-resistant clips or conduit where the cable is exposed.
- Keep connectors out of standing water and road spray.
- Protect the cable where it passes through metal or fiberglass.
- Avoid pinching the cable in slide-outs, windows, or storage doors.
- Label the cable path for future service work.
Do not rely on tape as the main method of attachment or waterproofing. Tape fails quickly on hot RV roofs.
Powering Starlink in an RV
Most RV Starlink problems blamed on the dish are actually power problems. Starlink equipment needs steady power, and RV electrical systems can fluctuate when batteries are low, inverters cycle, or shore power changes. If you are plugging the router into a standard outlet, make sure that outlet remains powered under the camping conditions you actually use.
Many RV owners run Starlink from shore power or a generator. Others use an inverter from the house battery bank. The important thing is sizing the inverter and battery system so it can handle the Starlink load along with everything else running in the RV. If the inverter is overloaded or the batteries sag, the router may reboot, drop connection, or act inconsistent.
Place the router in a dry, ventilated spot. Cabinets can work if they do not trap heat. Avoid wet bays unless the router is protected from condensation and water intrusion. If you need better Wi-Fi inside and outside the RV, router placement matters. Mounting it low behind appliances or inside a metal compartment can reduce signal throughout the coach.
Setup, Testing, and Travel-Day Checks
Once the dish is mounted and the cable is connected, test the system before calling the job done. Power it up, let it find satellites, and check the Starlink app for obstruction data. A connection that looks fine for five minutes may still show interruptions after the app collects more data. I like to test long enough to confirm stability before securing the last few cable clips.
For portable setups, build a repeatable routine. Know where the dish stores, where the cable coils, and how you protect connectors from dirt. For fixed roof setups, inspect the mount and cable before travel days. Look for loose hardware, lifted sealant, cable rub marks, or anything that may catch wind on the highway.
Before driving, confirm:
- The dish is stowed or removed if your setup is not approved for travel.
- All cable is secured and clear of slides, awnings, and hatches.
- Roof hardware is tight and sealant is intact.
- The router and power supply are secure inside the RV.
- Nothing can shift and damage connectors while moving.
A Starlink RV install should make camp setup easier, not add another fragile system to worry about.
When to Use a Professional Installer
A simple ground setup is a reasonable DIY project for many RV owners. A roof installation is different. You are dealing with roof waterproofing, vehicle vibration, cable protection, and electrical planning. One small shortcut can turn into a leak, damaged cable, or unreliable service at the worst possible time.
Consider hiring a professional if your RV has a membrane roof, limited roof access, solar panels, multiple AC units, or no obvious cable path. A good installer will first check for obstructions, then choose a mount location, verify the cable route, and seal penetrations correctly. The goal is not just to make Starlink work today. It is to keep it working after heat, rain, wind, and miles of road vibration.
InstallPros handles Starlink installations for customers who want a cleaner, safer result without guessing. If you are not comfortable drilling, sealing, or routing cable through your RV, getting help up front is usually cheaper than repairing a bad install later.
Frequently Asked Questions
Can you permanently mount Starlink on an RV?
Yes, Starlink can be permanently mounted on many RVs, but the mount and installation method need to match the RV roof and how you travel. A fixed roof mount should be secured against vibration, sealed correctly, and positioned with a clear sky view. Not every dish or mount is intended to stay installed while driving, so check the equipment requirements before leaving it exposed on the road. If the roof is rubber membrane, fiberglass, or crowded with solar panels and AC units, a professional install is strongly recommended.
Does Starlink work while driving an RV?
Some Starlink service plans and hardware are designed for in-motion use, while standard portable setups are generally intended for use when parked. Before using Starlink while driving, confirm that your dish model, mount, and service plan support it. The mount must be rated for vehicle movement, wind, and vibration. A dish placed on a kickstand, ladder bracket, or temporary pole should not be left deployed at highway speed. For most RV owners, the safest setup is to use Starlink when parked and secure the equipment before travel.
Where should I put the Starlink router in an RV?
Place the Starlink router in a dry, ventilated interior location with access to stable power. Avoid wet bays, cramped cabinets with no airflow, and metal compartments that block Wi-Fi. A central location in the coach usually gives better coverage than placing the router at one far end. If you want signal outside under the awning, avoid hiding the router behind appliances or dense cabinetry. Also make sure the cable can reach the router without sharp bends, pinching, or strain on the connector.
Can I run the Starlink cable through an RV window?
You can temporarily pass a Starlink cable through a window, but it is not a good permanent solution. Window routing can pinch the cable, damage the seal, let in water, and create strain on the connector. For occasional use, make sure the window does not crush the cable and protect it from sharp edges. For a cleaner long-term installation, route the cable through a proper cable gland, existing utility chase, vent path, or another protected entry point that can be sealed and serviced correctly.
How much does RV Starlink installation cost?
Professional Starlink installation varies based on the RV, mount type, roof material, cable route, and power setup. InstallPros offers A simple mounted setup with an easy cable path is usually more straightforward than an RV with a crowded roof, membrane surface, hidden wiring, or custom power needs. The best way to avoid surprises is to evaluate the roof, obstruction view, cable entry, and router location before any drilling or mounting begins.