How to Install Starlink on the Side of Your House
By InstallPros Team · July 15, 2026 · 3 min read
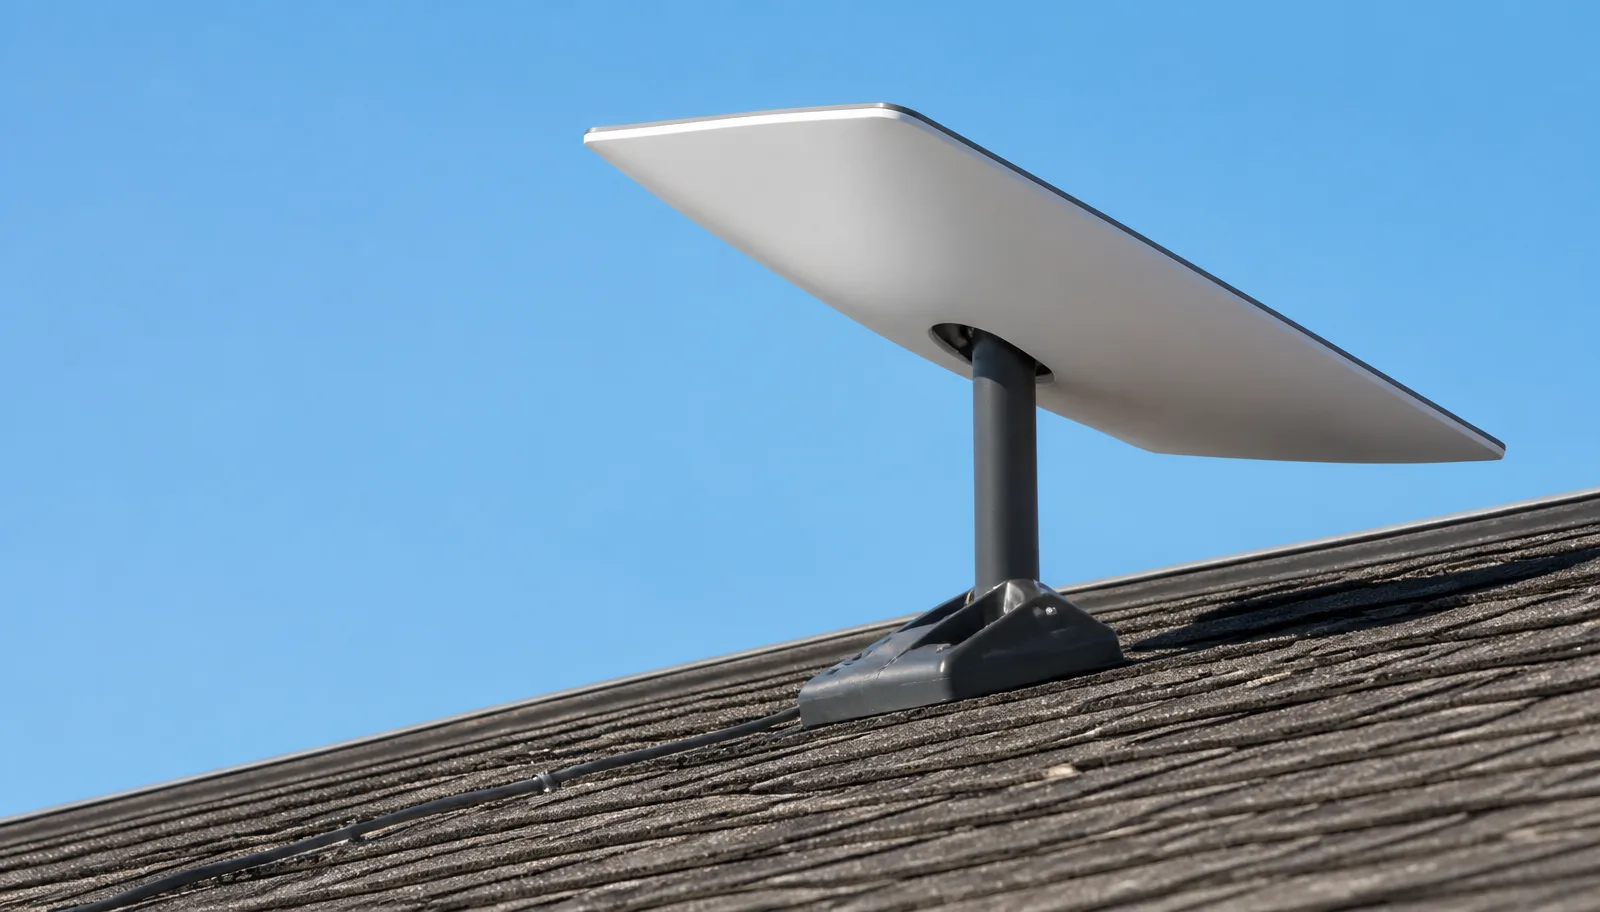
Installing Starlink on the side of your house involves mounting the dish securely to an exterior wall while ensuring a clear line of sight to the satellites. This process requires careful planning, the right tools, and adherence to safety guidelines to achieve a stable and reliable internet connection.

Understanding Starlink's Needs
Before you begin to install Starlink on the side of your house, it's important to understand what Starlink needs to operate effectively. Starlink requires a clear, unobstructed view of the sky to connect with its satellites. Any obstructions like trees, large buildings, or even parts of your own roof can interfere with the signal, leading to slower speeds or dropped connections. Use the Starlink app to check for obstructions from your desired mounting location. This app uses augmented reality to help you visualize the satellite's path and identify potential signal blocks. Choosing a location high up on the side of your house often provides the best opportunity for a clear view, away from ground-level obstructions.
Tools and Materials You'll Need
To successfully install Starlink on the side of your house, gather the following tools and materials:
- Starlink Kit: Your Starlink dish, router, and power supply.
- Mounting Bracket: A sturdy, weather-resistant wall mount designed for Starlink or a compatible satellite dish. InstallPros recommends purpose-built Starlink mounts for the best fit and security.
- Drill: A power drill with appropriate drill bits for your wall material (wood, masonry, stucco).
- Ladder: A stable ladder that reaches your chosen mounting height safely.
- Stud Finder: Essential for locating wall studs for secure mounting, especially on wooden walls.
- Sealant: Outdoor-grade silicone sealant or caulk to weatherproof drilled holes.
- Cable Clips or Straps: To neatly secure the Starlink cable along the wall and prevent snagging or damage.
- Measuring Tape and Pencil: For accurate positioning.
- Safety Gear: Gloves, safety glasses, and potentially a hard hat if working at height.
- Cable Routing Tools: Fish tape or drill bits for routing the cable indoors, if necessary.
"A clear line of sight to the sky is the single most critical factor for optimal Starlink performance."
Step-by-Step Installation Guide
1. Choose the Right Location
Using the Starlink app, identify the best spot on the side of your house. Look for an area with minimal obstructions and easy access for mounting and cable routing. Consider the sun
Frequently Asked Questions
What is the best way to mount Starlink?
The best way to mount Starlink is to ensure a clear, unobstructed view of the sky. This often means mounting it high on a roof or the side of a house, away from trees and other buildings. Always use a secure, purpose-built mount and ensure all connections are weatherproofed.
Can Starlink be used indoors?
No, Starlink cannot be used indoors. The dish requires a clear line of sight to the Starlink satellites in orbit. Walls, roofs, and other indoor obstructions will block the signal, preventing it from functioning correctly.
How do you run the Starlink cable into a house?
To run the Starlink cable into your house, you can drill a small hole through an exterior wall, ensuring it's sealed with silicone caulk afterward. Alternatively, you can route the cable through an existing conduit, vent, or window frame, always prioritizing waterproofing.
Does Starlink need a clear view?
Yes, Starlink absolutely needs a clear view of the sky to operate efficiently. Any obstructions, such as trees, chimneys, or neighboring buildings, can interrupt the signal and lead to reduced speeds or intermittent service.
Can I install Starlink on a wall?
Yes, you can install Starlink on a wall using a specialized wall mount. It's crucial to select a location on the wall that offers an unobstructed view of the sky and to securely fasten the mount to wall studs or appropriate anchoring points for stability and safety.