How to Install Starlink Residential: Step-by-Step
By InstallPros Team · July 15, 2026 · 4 min read
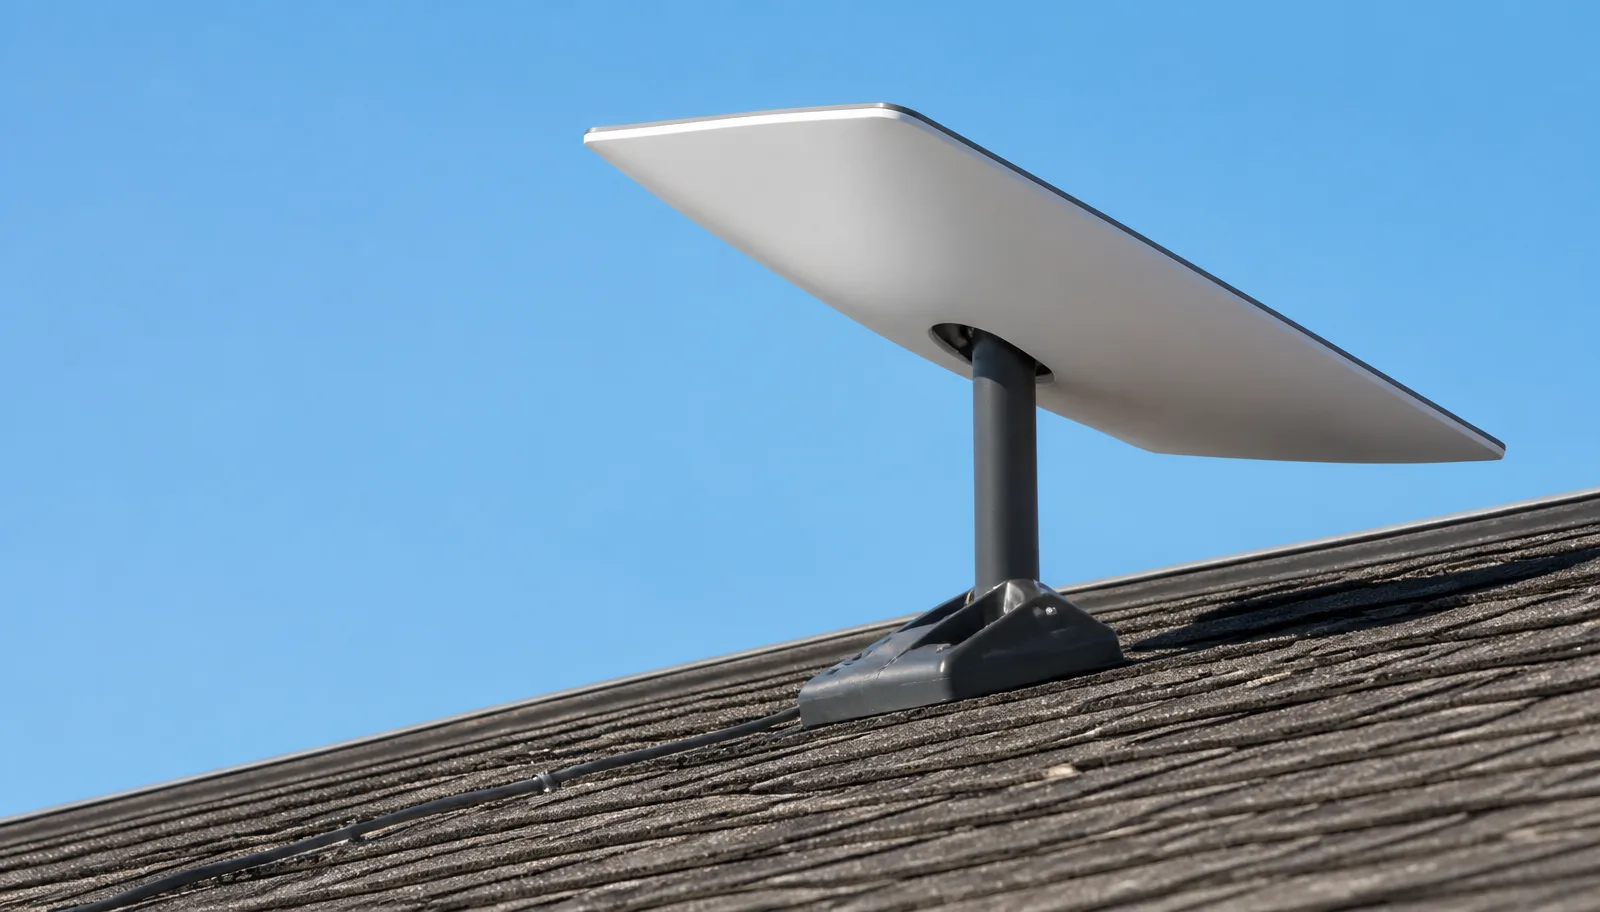
To install Starlink Residential, you begin by unboxing your kit and following the Starlink app's guidance to find the best placement for your dish, ensuring a clear view of the sky. This involves assembling the dish and its base, routing the cable, and connecting it to the Starlink router. The app then guides you through the initial setup and configuration to get your satellite internet service operational.

Understanding Your Starlink Residential Kit
Before you begin the installation process, it's important to familiarize yourself with the components included in your Starlink Residential kit. Each kit typically contains the Starlink dish (often referred to as Dishy), a base for the dish, a Starlink router, and the necessary cables, including the Starlink cable for connecting the dish to the router, and a power cable for the router. Take a moment to unbox everything and identify each piece. This will help you understand how the different parts connect and prepare for the setup. It's also a good time to download the Starlink app to your smartphone or tablet, as this will be an invaluable tool throughout the installation.
Choosing the Ideal Location for Your Starlink Dish
The most crucial step in learning how to install Starlink Residential is selecting the right location for your Dishy. The Starlink system requires an unobstructed view of the sky to connect to the satellites. Even small obstructions like tree branches or parts of your roof can degrade performance or cause service interruptions. Use the "Check for Obstructions" tool within the Starlink app to scan your proposed mounting location. This Augmented Reality (AR) tool will show you exactly what areas of the sky need to be clear. Common ideal locations include rooftops, the top of a pole, or even a sturdy temporary mount if you're testing. Avoid placing the dish near large trees, dense foliage, or other tall structures. Consider the cable length and how you'll route it to your router when making your decision.
Assembling and Mounting Your Starlink Dish
Once you've identified the perfect spot, it's time to assemble and mount the dish. The Starlink dish and its base are designed for easy assembly; typically, the dish simply slides into the base until it clicks securely into place. For permanent installations, you'll need to consider a robust mounting solution. Starlink offers various mounting accessories, such as a Pivot Mount for roofs, a Pole Mount for elevated installations, or a Wall Mount for vertical surfaces. If you're mounting on a roof, ensure you follow proper safety procedures and use appropriate sealing methods to prevent water leaks. For pole mounts, ensure the pole is sturdy enough to withstand wind and other weather conditions. Always double-check that the mount is secure and level before attaching the dish. This is a critical step in how to install Starlink Residential correctly.
"Achieving a clear line of sight is paramount for optimal Starlink performance. The Starlink app
Frequently Asked Questions
How long does it take to install Starlink Residential?
The physical installation of Starlink Residential can typically be completed within a few hours for a basic setup. This includes unboxing, finding an ideal location, assembling the dish, and connecting the cables. However, complex installations involving roof mounts, pole mounts, or extensive cable routing may take longer, potentially requiring a half-day or even a full day of work, especially if you're doing it yourself for the first time.
Can I install Starlink Residential myself, or do I need a professional?
Many users successfully install Starlink Residential themselves, as the process is designed to be user-friendly with guidance from the Starlink app. However, if you're uncomfortable with heights, drilling, electrical work, or if your ideal location requires a complex mounting solution, hiring a professional installer is highly recommended. Professionals can ensure safe and optimal placement, proper cable routing, and secure mounting.
What tools do I need to install Starlink Residential?
For a basic ground-level installation of Starlink Residential, you might only need a smartphone for the Starlink app. For more involved installations, such as roof or pole mounts, you'll need tools like a drill, ladder, measuring tape, stud finder, caulk gun for sealing, and potentially specialized mounting hardware. Safety gear like gloves and appropriate footwear are also important, especially when working on roofs.
What are the common mistakes when installing Starlink Residential?
Common mistakes when installing Starlink Residential include not adequately checking for obstructions, leading to signal drops. Another error is improper cable routing, which can damage the cable or create tripping hazards. Not securely mounting the dish is also a frequent issue, potentially causing damage during high winds. Finally, neglecting to seal drilled holes can lead to water ingress into your home.
How do I ensure my Starlink Residential receives the best signal?
To ensure your Starlink Residential receives the best signal, prioritize an elevated mounting location with an absolutely clear view of the sky, free from trees, buildings, or other obstructions. Use the Starlink app's obstruction checker tool diligently. Orienting the dish correctly is handled automatically, but a stable and vibration-free mount is crucial to maintaining a consistent connection, even in windy conditions.