How to Mount Starlink Mini on a Car: Roof, Hood & Roof Rack Options
By InstallPros Team · July 16, 2026 · 8 min read
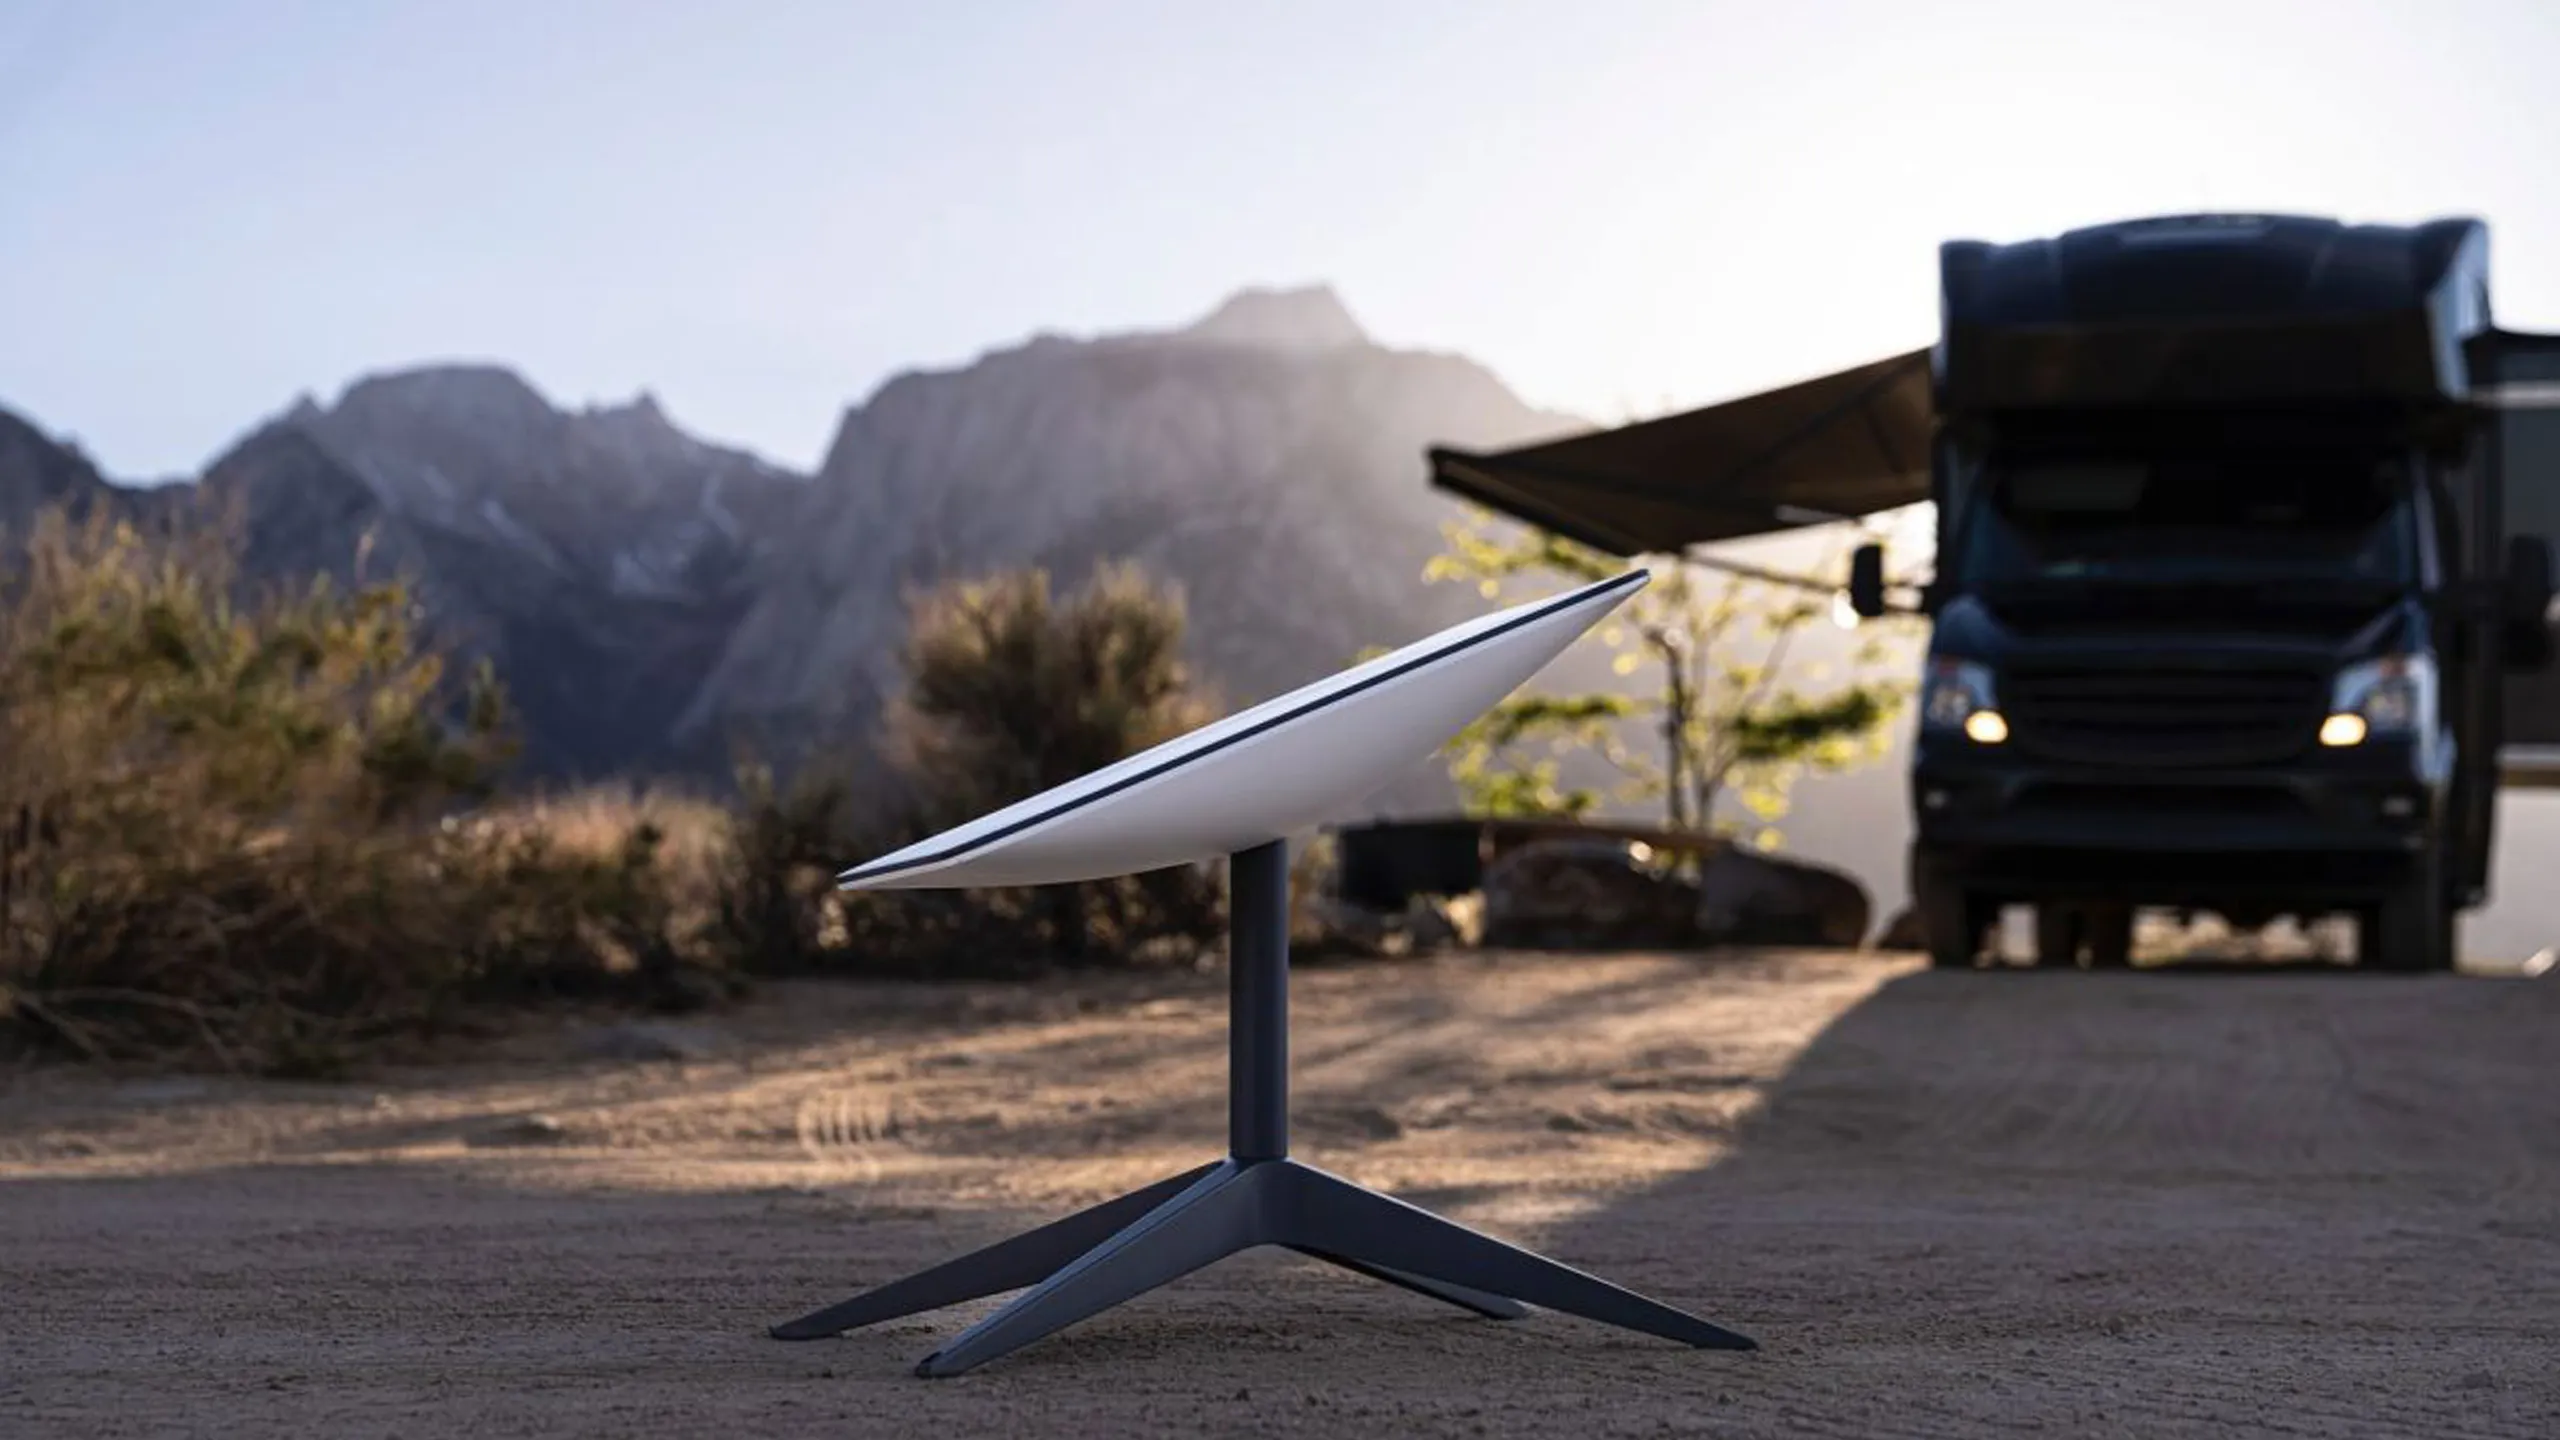
If you are researching how to mount Starlink Mini on car setups, the first thing to understand is that signal quality, wind load, cable routing, and vehicle finish all matter. Starlink Mini is compact enough for travel, overlanding, work trucks, RV support vehicles, and temporary jobsite internet, but it still needs a clear sky view and a secure mount. A bad mounting choice can cause dropouts, paint damage, water leaks, cable wear, or a dish that shifts at highway speed.
As installers, we look at the vehicle before picking the mount. A bare metal roof, glass roof, aluminum hood, roof rack, ladder rack, and fiberglass camper shell all call for different hardware. The best setup also depends on whether you need temporary use while parked, semi-permanent travel use, or a cleaner installation with hidden wiring. This guide covers the common roof, hood, and rack options so you can choose a safe, practical mounting plan.
How to Mount Starlink Mini on Car Roofs Safely
The roof is usually the first place people consider because it gives Starlink Mini the widest sky view. On a parked vehicle, a roof position often performs better than a hood or bumper mount because nearby body panels block less of the horizon. The key is choosing a mount that matches the roof material and the way you plan to drive.
For temporary parked use, a magnetic mount can work on steel roofs, but it is not the same as a permanent install. The surface must be clean, flat, and dry. Dust under magnets can scratch paint, and curved roof panels reduce contact. Many modern vehicles also have aluminum roofs or large glass sections where magnets will not hold.
For more dependable use, installers often prefer mechanical mounts tied into a roof rack, crossbar, or purpose-built platform. These avoid relying on paint friction and provide a stronger base for wind vibration. Any roof install should keep the Mini as level and unobstructed as practical.
- Best for: clear sky view and parked performance.
- Watch for: paint scratches, cable pinch points, and wind movement.
- Avoid: placing the cable through a door seal without strain relief.
Hood Mounts: Useful, But Not Always Ideal
Hood mounting can be tempting because it is easy to reach and avoids climbing onto the vehicle. For slow campsite use or a temporary parked connection, it may work if the hood is metal, relatively flat, and not heat-soaked. But from an installer’s view, the hood is usually a compromise location.
The biggest issue is obstruction. The windshield, roofline, roof rack, light bar, cargo box, or cab can block part of the sky. Starlink can handle some minor interruptions, but consistent blockage can cause buffering, lag, and reconnects. Hood mounts also sit near engine heat and vibration, both of which are not ideal for electronics and cable connectors.
If you do use a hood mount, keep it temporary and inspect it often. Make sure the mount does not interfere with hood operation, wipers, washer nozzles, or driver visibility. Protect paint with a clean contact surface, and route the cable so it cannot be pulled into hinges or hot engine components.
- Best for: short-term parked use where roof access is difficult.
- Watch for: sky blockage from the cab and roof accessories.
- Avoid: driving at speed with an untested temporary hood mount.

Roof Rack and Crossbar Mounting Options
A roof rack is one of the cleanest ways to mount Starlink Mini on a vehicle because it gives you a strong structure without drilling the roof skin. Racks also make it easier to position the Mini above obstructions like cargo boxes, recovery boards, awnings, and light bars. For overland rigs, work trucks, and fleet vehicles, this is often the most practical route.
The mount should clamp securely to the rack or crossbar and resist rotation. Thin universal brackets can twist in wind, especially when the vehicle is moving or parked in exposed areas. We prefer hardware with wide contact, locking fasteners, and a layout that allows service access. Stainless or coated hardware helps prevent rust streaks and seized bolts.
Rack placement matters. Put the Mini where it has the clearest sky view, but do not create a low branch snag point or place it where cargo will hit it. Leave room around the connector so the cable exits smoothly without a sharp bend.
- Best for: semi-permanent vehicle mounting.
- Watch for: rack flex, loose fasteners, and accessory blockage.
- Avoid: clamping to weak decorative rails not rated for load.
Cable Routing, Power, and Weather Protection
Cable routing is where many DIY vehicle Starlink installs go wrong. The Mini may be small, but the cable still needs protection from doors, hinges, liftgates, sharp metal, and constant vibration. A pinched cable can work for a while and then fail when the jacket wears through or the connector is strained.
For a temporary setup, route the cable through a window or hatch only when parked, and avoid closing hard seals directly on the cable. For a cleaner install, use a proper entry point, grommet, gland, or existing pass-through where possible. Keep drip loops outside the cabin so water does not follow the cable inward.
Power planning matters too. Verify your power source, wire gauge, fuse protection, and connector type before relying on the system away from home. Vehicle battery use should be planned so you do not strand yourself with a dead starting battery. For frequent use, many owners add an auxiliary battery or managed power system.
- Use strain relief near the dish and entry point.
- Protect cables from heat, abrasion, and moving panels.
- Test for leaks after any permanent cable entry.
Driving, Wind Load, and Legal Considerations
Starlink Mini vehicle mounting is not just about getting online. Anything installed outside a vehicle has to stay attached through wind, vibration, braking, and rough roads. A mount that feels solid in the driveway may move after miles of washboard roads or highway crosswinds. Check fasteners after the first trip and at regular intervals.
Before using Starlink Mini while moving, review current Starlink service terms, local laws, and equipment guidance. Rules can change, and not every plan or setup is intended for in-motion use. Also consider vehicle height, garage clearance, car washes, low branches, and parking structures. A low-profile install is usually safer and quieter.
Never place the Mini where it blocks the driver’s view, interferes with airbags, affects hood latch safety, or creates a projectile hazard. If you are using a temporary magnetic or suction-style mount, treat it as parked-use unless the mount is specifically rated and tested for road speeds.
- Check clearance before garages and drive-throughs.
- Re-torque hardware after vibration exposure.
- Remove temporary mounts before automatic car washes.
When a Professional Install Makes Sense
If you only need internet at a campsite a few weekends a year, a temporary roof or rack mount may be enough. But if you depend on Starlink Mini for remote work, field operations, emergency response, mobile business, or frequent travel, a professional install is worth considering. The difference is usually in the details: bracket selection, cable protection, sealing, power safety, and long-term serviceability.
InstallPros handles Starlink installations for homes, businesses, vehicles, rural properties, and remote sites. For vehicle projects, we look at the roof structure, rack rating, sky exposure, cable path, power source, and how the vehicle is actually used.
A good install should look clean, stay secure, and be easy to troubleshoot later. It should not leave you guessing whether water is getting in, whether the mount will loosen, or whether the cable is rubbing through behind a trim panel. If the vehicle is part of your work, the install should be treated like any other critical equipment.
Frequently Asked Questions
Can you mount Starlink Mini on a car roof?
Yes, Starlink Mini can be mounted on a car roof, but the mount must match the roof material and use case. A temporary magnetic mount may work on a clean steel roof while parked, but many vehicles have aluminum, fiberglass, or glass roof sections where magnets will not hold. For regular travel or work use, a rack or mechanically secured mount is usually safer and more reliable. Always account for cable routing, wind load, clearance, and paint protection.
Will Starlink Mini work while driving?
Starlink Mini may be used in some mobile scenarios depending on your service plan, equipment setup, and current Starlink terms. Before relying on it while driving, verify that your plan supports the way you intend to use it. From an installation standpoint, the mount must be road-safe, low-profile, and resistant to vibration and wind. Temporary magnetic, suction, or loose mounts should be treated as parked-use unless specifically rated for vehicle speeds.
Is a hood mount good for Starlink Mini?
A hood mount can work for short-term parked use, but it is usually not the best long-term location. The cab, windshield, roof rack, or accessories can block part of the sky, which may cause interruptions. Hood locations also expose the dish and cable to engine heat, vibration, hinges, and driver visibility concerns. If you use the hood, keep the setup temporary, protect the paint, and make sure the cable cannot contact hot or moving parts.
What is the best mount for Starlink Mini on a vehicle?
For most frequent vehicle users, a roof rack or crossbar mount is the best balance of clear sky view, strength, and serviceability. It avoids drilling the roof skin, gives installers a solid structure to clamp to, and lets the dish sit above some obstructions. The best mount depends on the vehicle, rack rating, road conditions, and whether the setup is temporary or semi-permanent. Strong hardware and protected cable routing matter as much as the bracket itself.
How do I run the Starlink Mini cable into a car?
For temporary use, the cable can be routed through a window, door, or hatch while parked, but do not crush it in a tight seal. For frequent use, a proper grommet, cable gland, or existing pass-through is safer and cleaner. Add strain relief near the dish and entry point, avoid sharp bends, and keep the cable away from hinges, exhaust heat, and moving trim. Any permanent entry should be sealed and tested for leaks.