Is Starlink Hard to Install? What Nobody Tells You
By InstallPros Team · July 15, 2026 · 5 min read
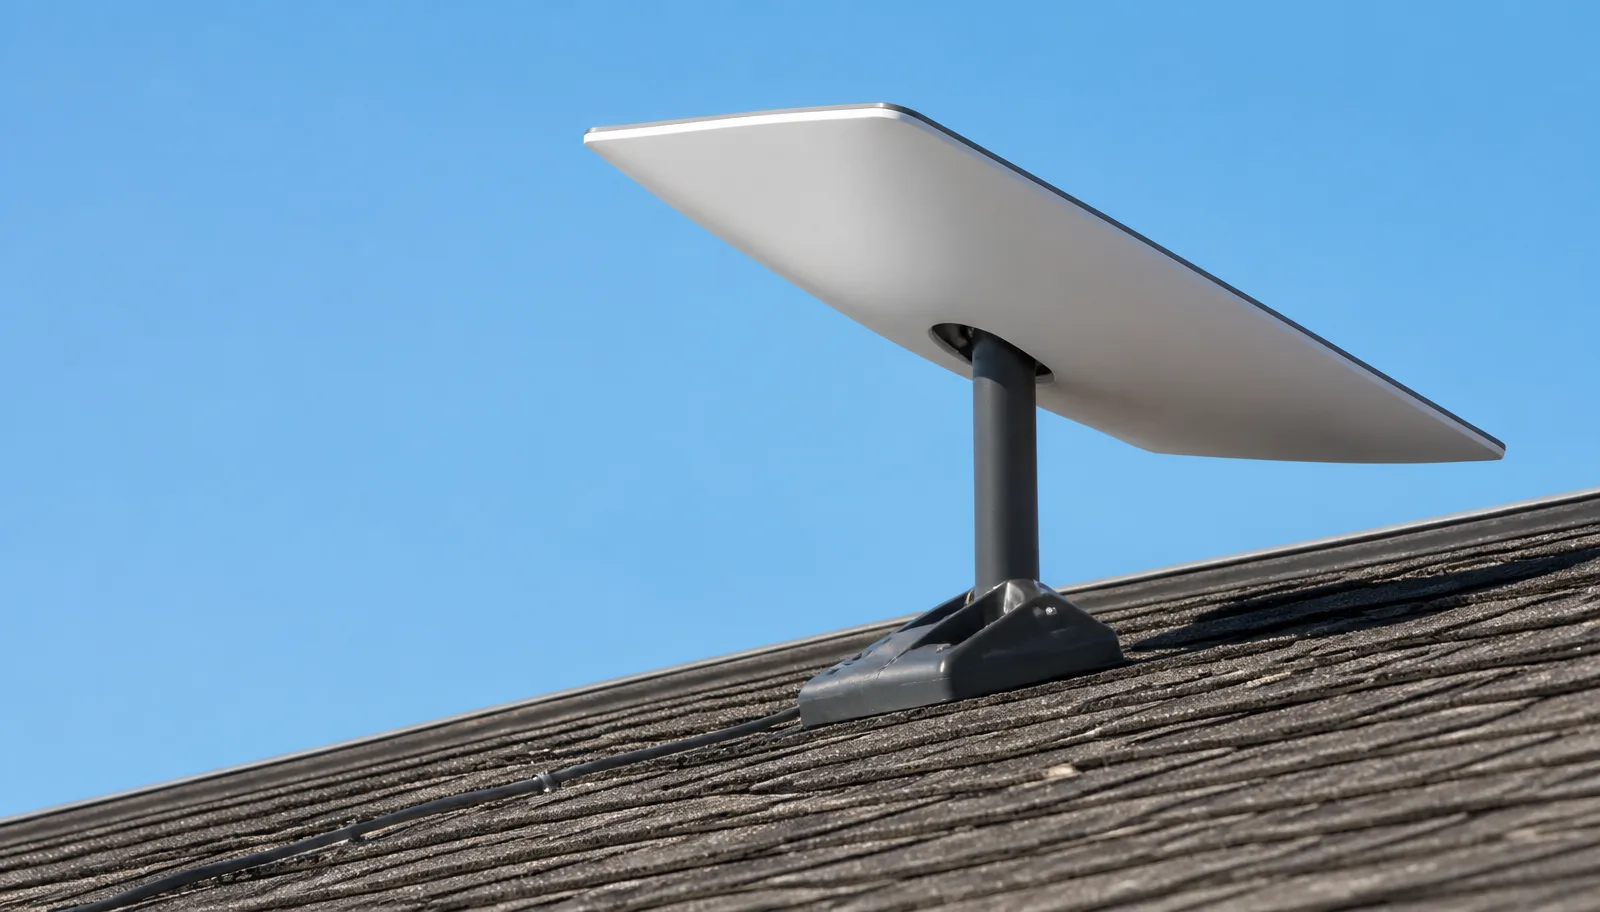
Is Starlink hard to install? For many, the answer is no, provided you have a clear understanding of the steps involved, the necessary tools, and no major obstacles. While the hardware is designed for user-friendly setup, challenges can arise with optimal dish placement, cable routing, and safety, making professional installation a valuable option for some.

Understanding the Starlink Kit
When your Starlink kit arrives, you'll find a few key components: the Starlink dish itself (often called "Dishy"), a base for mounting, a router, and a long cable. The cable connects the dish to the router, which then broadcasts your Wi-Fi signal. The simplicity of the kit is one of Starlink’s strengths, aiming to make self-installation straightforward for most users.
The DIY Installation Process: Step-by-Step
Here’s a general overview of what a typical Starlink DIY installation involves:
- Scout a Location: The most crucial step is finding a location with an unobstructed view of the sky. This often means the peak of your roof, a tall pole, or another elevated spot. Use the Starlink app to check for obstructions from your potential mounting points.
- Assemble the Dish and Base: The dish usually snaps into its base easily. This base is often designed for ground-level placement or temporary setups.
- Run the Cable: The Starlink cable needs to run from the dish to your router inside your home. This might involve drilling a hole through an exterior wall, feeding the cable through existing conduits, or finding an entry point like a vent.
- Mount the Dish (Optional but Recommended for Permanence): For a more permanent and stable setup, you often need to mount the dish to your roof, a pole, or a side wall. This is where specialized mounts (sold separately by Starlink) come in, requiring drilling and securing the mount to your home's structure.
- Connect and Power On: Once the cable is routed and the dish is in place, connect the cable to the router and plug the router into power. The dish will then orient itself to find the Starlink satellites.
"A clear view of the sky is non-negotiable for Starlink. Even a small obstruction like a tree branch can significantly impact your internet speed and reliability."
Essential Tools You Might Need
Depending on your chosen mounting method, you might need a variety of tools:
- Drill: For securing mounts and potentially routing cables through walls.
- Ladder: Often necessary for accessing rooflines or elevated mounting points. Safety is paramount when using ladders.
- Stud Finder: If mounting to a wall, to ensure you're drilling into structural elements.
- Cable Management Tools: Such as cable clips, zip ties, or conduit to secure the cable neatly and safely.
- Sealant: To weatherproof any holes drilled into your home's exterior.
- Basic Hand Tools: Wrenches, screwdrivers, and a level can be helpful.
Common Installation Challenges and Mistakes
While the process sounds simple, several common issues can make Starlink hard to install for some:
- Obstructions: This is by far the most common problem. Trees, neighboring buildings, or even parts of your own home can block the Starlink's view of the satellites, leading to frequent service interruptions. The Starlink app's obstruction checker is a vital tool to prevent this.
- Roof Access and Safety: Installing on a roof can be dangerous, especially on steep or high roofs. If you're not comfortable working at heights, this is a major hurdle.
- Cable Routing: Getting the thick Starlink cable neatly and safely from the dish to your interior router can be tricky. You want to avoid kinks, sharp bends, and exposing the cable to damage.
- Proper Mounting: Ensuring the mount is secure and weatherproofed is critical. A poorly mounted dish can be damaged by strong winds or cause leaks into your home.
- Patience: The dish takes some time to power on, orient itself, and connect to satellites. Rushing or troubleshooting too early can be frustrating.
When to Consider Professional Installation
While DIY is an option, there are clear benefits to hiring a professional installer, especially if you:
- Lack Comfort with Heights: Working on roofs or tall poles carries significant risks. Professionals have the right safety equipment and training.
- Don't Own the Right Tools: Investing in specialized ladders, drills, and safety gear for a one-time install might not be cost-effective.
- Have a Complex Property: If you have many trees, a challenging roofline, or need a discreet cable run, a professional can find optimal solutions.
- Want a Guaranteed, Seamless Setup: Professionals ensure the dish is perfectly aligned, the cable is routed properly, and the system is fully optimized for performance. They also handle waterproofing and ensure the installation adheres to best practices.
- Value Your Time: Troubleshooting obstructions, finding optimal paths, and dealing with unexpected issues can turn a quick job into an all-day affair.
Professional installers, like those in the InstallPros network, are experienced with Starlink setups. They understand unique property challenges and can provide a safe, efficient, and reliable installation.
If you're wondering "is Starlink hard to install?" for your specific situation, and prefer to have the peace of mind of a guaranteed, safe, and optimized setup, consider getting a professional Starlink installation. Our nationwide network of installers offers services starting.
Frequently Asked Questions
How long does Starlink installation take?
For a DIY installation, expect it to take anywhere from 1-3 hours, depending on your comfort level with tools and the complexity of your chosen mounting location. Professional installations are often quicker due to installer experience and specialized equipment, typically completing the job within 1-2 hours.
Can I install Starlink by myself?
Yes, many people successfully install Starlink themselves. The kit is designed for user-friendly setup with minimal tools. However, challenges can arise with optimal dish placement, cable routing, and working safely at heights, which might lead some to prefer professional assistance.
Do I need a clear view of the sky for Starlink?
Absolutely. Starlink requires a clear, unobstructed view of the sky to connect with its satellites. Even small obstructions like tree branches or parts of buildings can interrupt your service. The Starlink app helps you identify potential obstructions from your planned installation spot.
What if my roof is too steep for Starlink installation?
If your roof is too steep or you're uncomfortable working at heights, consider alternative mounting solutions like a ground pole mount in an open area, or a professional installation. Professionals have the necessary safety equipment and expertise to handle challenging rooflines safely.
Do professionals install Starlink mounts?
Yes, professional Starlink installers routinely handle the mounting process. They can properly secure the dish to your roof, a pole, or a wall, ensuring stability and optimal signal. They also manage cable routing and waterproofing to prevent damage to your home.