Mobile Starlink Installation Service: What to Expect
By InstallPros Team · July 20, 2026 · 7 min read
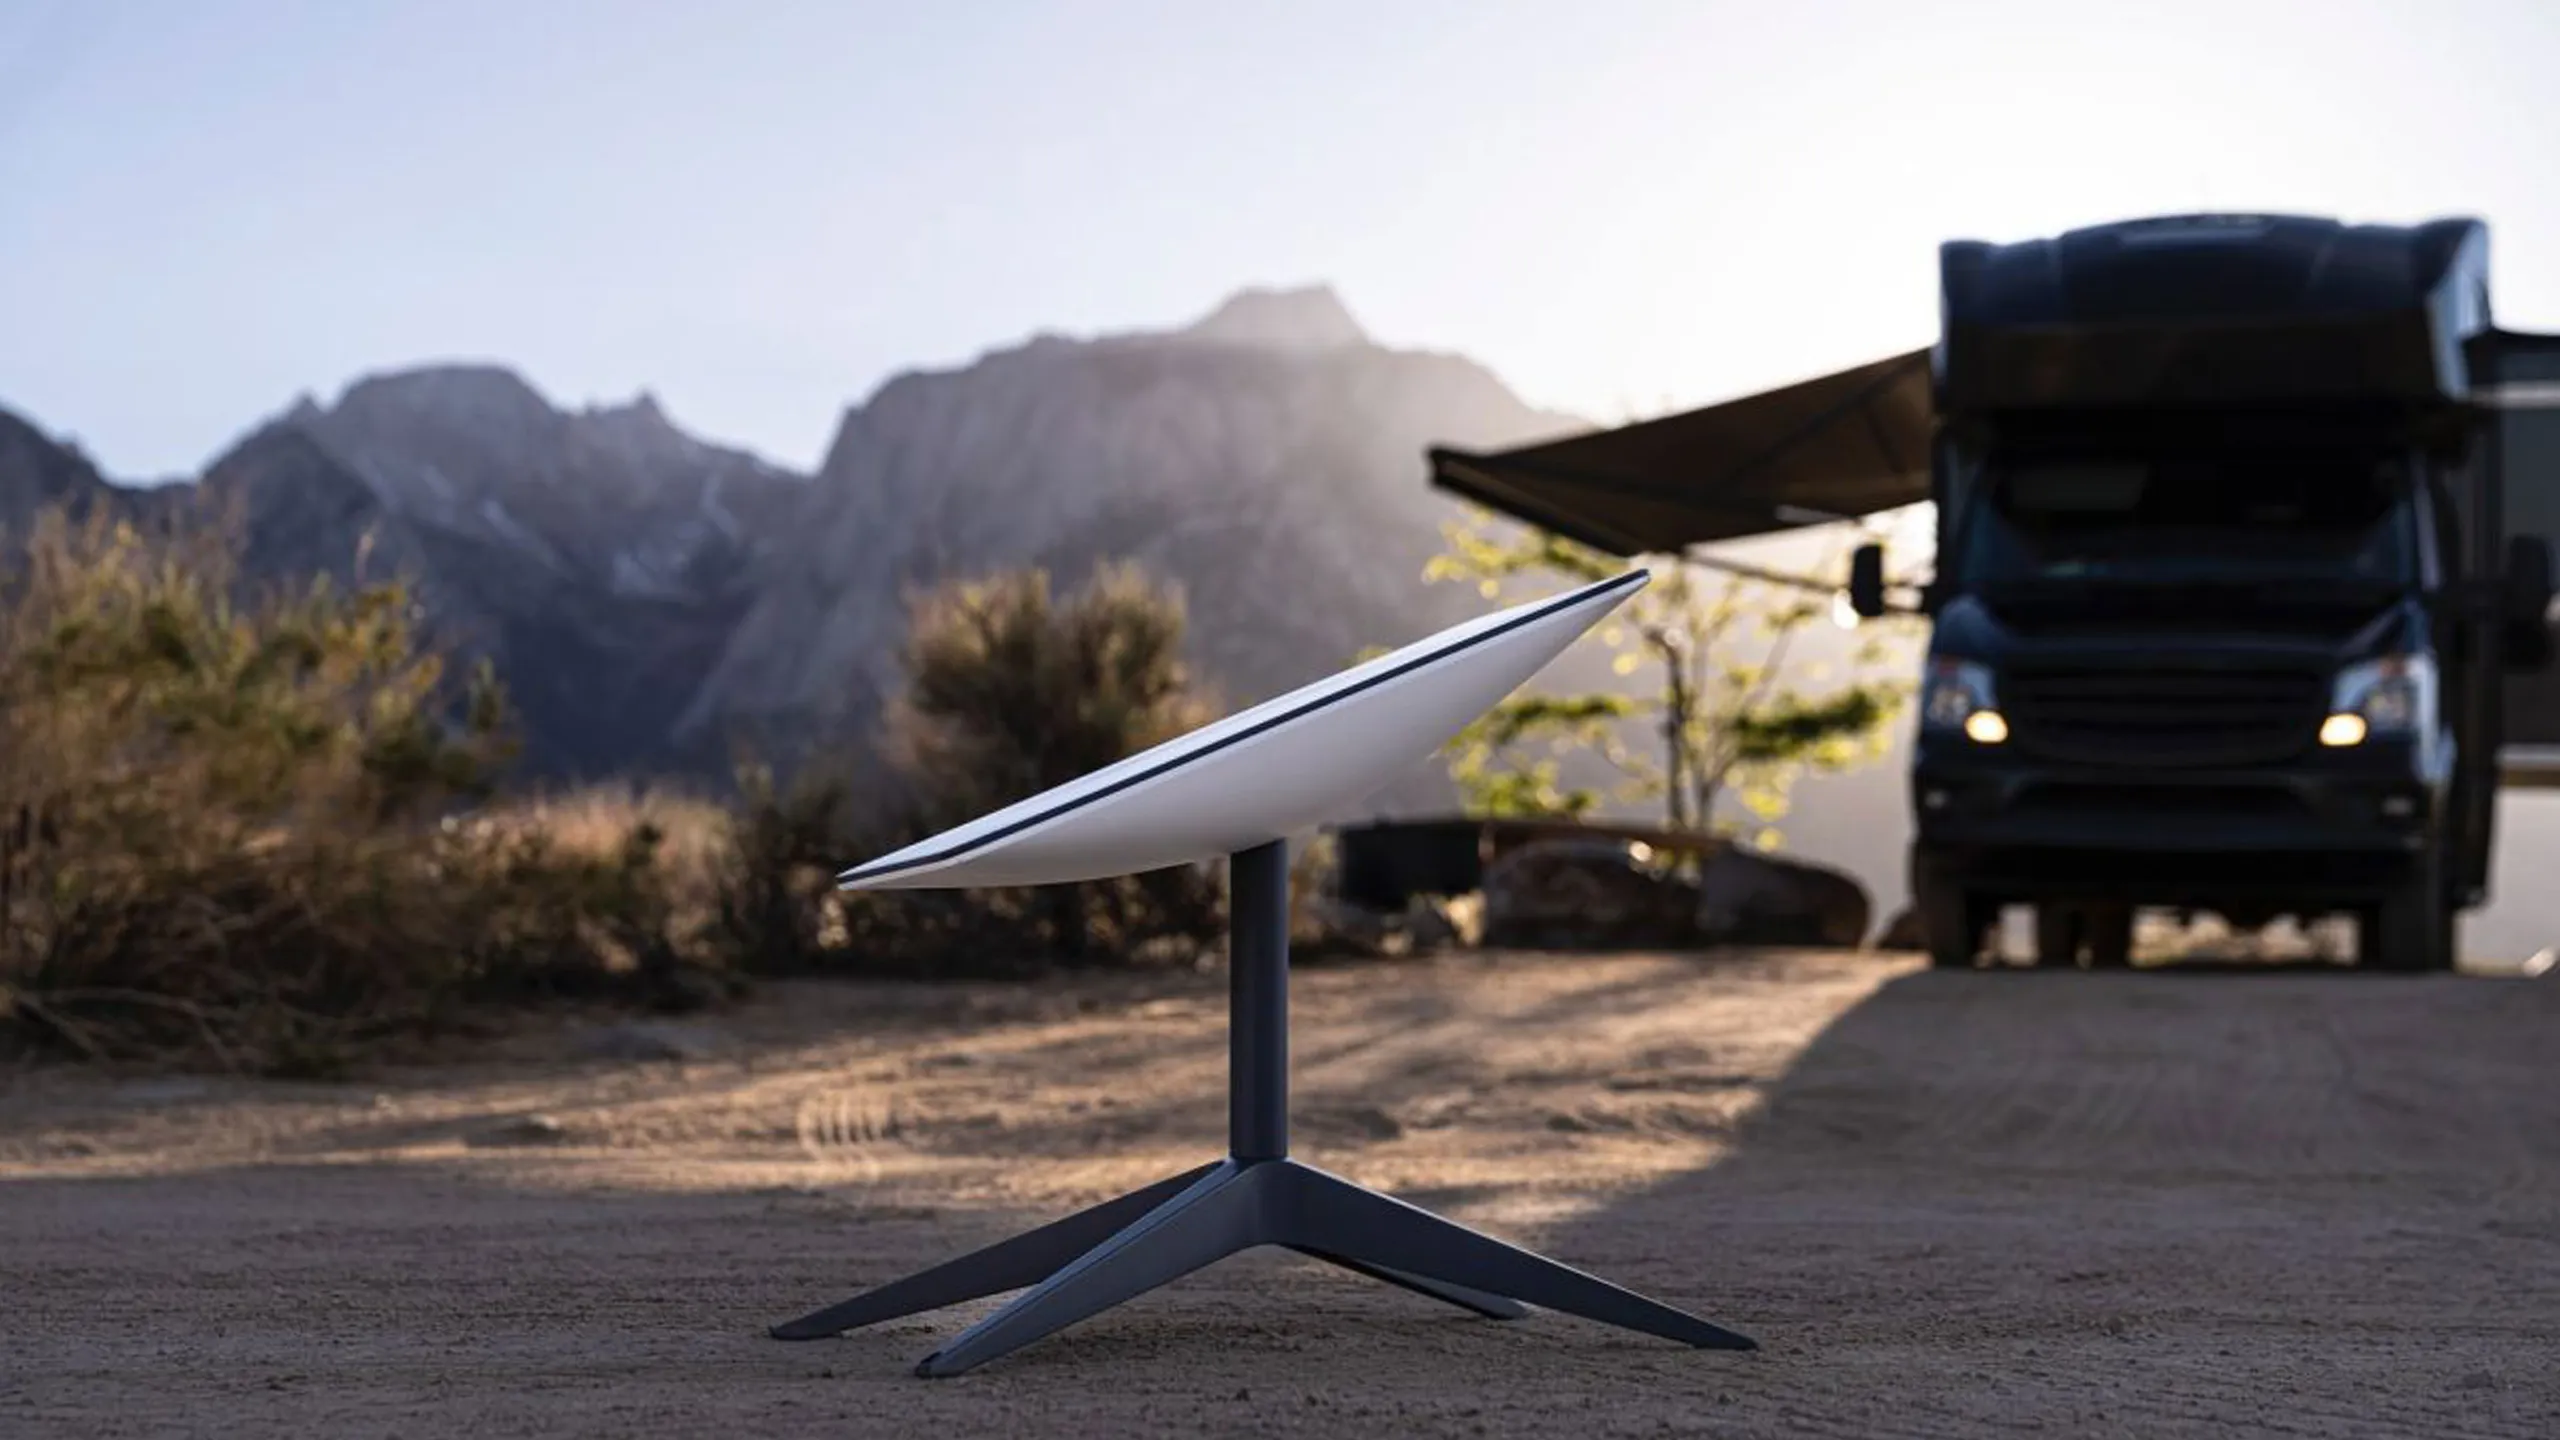
A mobile Starlink installation service is built for people who need reliable internet on the move or at temporary locations, but still want the hardware installed cleanly and securely. We install Starlink systems on RVs, vans, trailers, food trucks, jobsite offices, mobile clinics, and other setups where the dish cannot just sit loose on the ground. The main goal is simple: clear sky view, safe mounting, protected cable routing, and equipment placement that holds up to travel, weather, and daily use.
Mobile installations are different from standard residential installs. The structure moves, flexes, vibrates, and may have limited roof space. You also have to think about how the Starlink will be powered, where the router will live, and whether you need an install that stays connected while parked or one designed for frequent setup and teardown. A good installer looks at how you actually use the vehicle or unit before drilling a single hole.
What a Mobile Starlink Installation Service Includes
A professional mobile install starts with a site and equipment review. We look at the Starlink model, the mounting surface, cable path, power options, and where you need Wi-Fi coverage. On an RV or trailer, that may mean checking the roof membrane, framing, solar panels, vents, air conditioners, ladders, and awnings before choosing a mount location.
The install usually includes secure dish mounting, weather-aware cable routing, entry point sealing, router placement, and basic system testing. The details vary by vehicle or mobile structure, but the priorities stay the same: avoid obstruction, prevent leaks, reduce cable wear, and keep the equipment serviceable.
Common mobile installation needs include:
- RV roof mounts for long-term travel use
- Van and overland vehicle mounting
- Trailer and mobile office installs
- Food truck and event trailer connectivity
- Temporary jobsite internet setups
Choosing the Right Mount for a Mobile Starlink Install
The mount is one of the most important parts of a mobile Starlink install. A dish that is fine on a patio table is not ready for highway vibration, low branches, wind, or roof movement. The right mount depends on whether the Starlink will remain fixed during travel or be removed and stored before driving.
For RVs and trailers, we often look for a strong roof location with a clean sky view and enough backing to hold fasteners properly. On vans, the roof may already be crowded with fans, racks, solar panels, light bars, or storage boxes. That makes layout important. A few inches can be the difference between a clean signal and repeated obstructions.
Some customers want a permanent low-profile setup. Others prefer a removable mount so the dish can be placed away from the vehicle when parked under trees. There is no one-size-fits-all answer. A good installer will talk through how you travel, where you park, and whether convenience or flexibility matters more for your setup.

Cable Routing, Weather Sealing, and Interior Placement
Clean cable routing matters on every Starlink install, but it matters even more on mobile equipment. Cables can rub against roof edges, get pinched by doors, flap in the wind, or fail early if they are routed without protection. We plan the cable path before drilling so the finished setup is secure and easy to inspect.
For roof entries, sealing is handled carefully. RV roofs and trailer roofs vary widely, and the wrong sealant or sloppy penetration can create water problems later. A professional install uses the right entry location, strain relief, and seal method for the surface. The goal is to keep water out while allowing the system to handle normal vehicle movement.
Router placement is also part of the install. The router should be protected from moisture, heat, and impact while still providing useful coverage inside the vehicle or workspace. In mobile offices or food trucks, we also consider where staff use point-of-sale systems, laptops, cameras, or Wi-Fi calling. Placement affects real-world performance.
Power and Connectivity Considerations for Mobile Use
Before installation, it is important to understand how the Starlink will be powered. Some mobile users run off shore power at campsites, some rely on generators, and others use battery banks or inverter systems. A clean install should match the way you actually power the vehicle or trailer, not assume you will always be plugged in.
Power location affects router placement, cable routing, and usability. If the power outlet is in the wrong compartment or too far from the router, you may end up with loose cords or inconvenient access. We try to keep the system easy to turn on, reset, and troubleshoot without tearing apart cabinets or storage areas.
Connectivity goals also matter. A weekend RV user may only need strong Wi-Fi inside the coach. A jobsite office may need service for multiple workers, video meetings, cloud software, and security cameras. A mobile business may depend on payment processing. Those details help determine whether the standard router location is enough or if additional networking equipment should be considered.
What to Expect on Installation Day
On installation day, the installer will confirm your Starlink equipment, inspect the vehicle or mobile unit, and discuss the plan before work begins. We pay attention to roof access, interior access, cable entry points, power, and any areas you do not want drilled or modified. If there are better options than the original plan, we explain them before moving forward.
The physical install may include mounting the dish, securing cable runs, creating and sealing an entry point, placing the router, connecting power, and testing the Starlink app for visibility and performance. For mobile setups, we also check that cable slack and strain relief make sense for movement and service access.
After installation, you should know how to power the system on and off, where the cable enters, how the router is connected, and what parts should be inspected periodically. Mobile systems live a harder life than home systems. A quick visual check after long trips or severe weather is a smart habit.
When Professional Mobile Starlink Installation Is Worth It
Some Starlink users can set up a portable dish on the ground and be fine. Professional installation becomes worth it when you want the system mounted, sealed, protected, and ready for repeated use. If your internet supports work, business operations, remote monitoring, or travel planning, the install quality matters.
DIY mistakes we commonly see include poor roof placement, cables run through windows or doors, unsealed holes, mounts attached to weak surfaces, and routers shoved into hot compartments with poor Wi-Fi coverage. These issues can cause leaks, signal problems, damaged cables, or unreliable service at the worst time.
A professional mobile Starlink install is not just about getting online once. It is about building a setup that is easier to use every time you park, open for business, or arrive at a jobsite. InstallPros helps homeowners, travelers, contractors, and mobile businesses get Starlink installed cleanly with practical decisions based on real installation experience.
Frequently Asked Questions
Can Starlink be professionally installed on an RV?
Yes. Starlink can be professionally installed on many RVs, including motorhomes, fifth wheels, travel trailers, and camper vans. The installer needs to evaluate the roof surface, available space, cable route, power access, and obstructions from vents, air conditioners, solar panels, or roof racks. Some RV owners choose a permanent mount, while others prefer a removable setup for more flexibility when parked under trees. The best option depends on how you travel and whether you want quick daily use or the ability to move the dish around at each stop.
Is a mobile Starlink install different from a home install?
Yes. A home install is usually mounted to a fixed structure, while a mobile install must account for vibration, travel, weather exposure, roof flex, limited space, and changing parking locations. Cable routing and sealing are especially important because vehicles and trailers move. The installer also needs to think about power sources, interior router placement, and how the system will be used day to day. A mobile install is less about simply attaching a dish and more about making the system durable, usable, and serviceable while on the move.
Can Starlink work while my vehicle is moving?
Whether Starlink can be used in motion depends on the Starlink hardware, service plan, and current Starlink terms. Many mobile users only need internet while parked, which is common for RVs, job trailers, food trucks, and mobile offices. If you need connectivity while moving, discuss that before installation so the hardware, mounting approach, and power setup are appropriate. A professional installer can mount and route the system properly, but the service capabilities are controlled by Starlink’s equipment and plan requirements.
Do you have to drill holes for a mobile Starlink installation?
Not always, but many permanent mobile installs do require some drilling for a secure mount or cable entry. The decision depends on the vehicle, roof type, mount style, and whether you want a fixed or removable setup. When drilling is needed, the location and sealing method are critical. A poor entry point can lead to leaks or cable damage. Professional installers plan the route first, use appropriate hardware, and seal penetrations based on the surface so the installation is clean and weather-resistant.
How long does a mobile Starlink installation take?
Most mobile Starlink installations can be completed in a single visit, but the exact time depends on the vehicle or trailer, mount type, roof access, cable route, and interior setup. A simple RV install may be straightforward, while a van with solar panels and limited routing space may take longer. The installer will usually inspect the setup, confirm the plan, mount the dish, route and protect the cable, place the router, connect power, and test the system before wrapping up.