Starlink Installation Cost Comparison: DIY vs Pro vs Starlink Direct
By InstallPros Team · July 22, 2026 · 8 min read
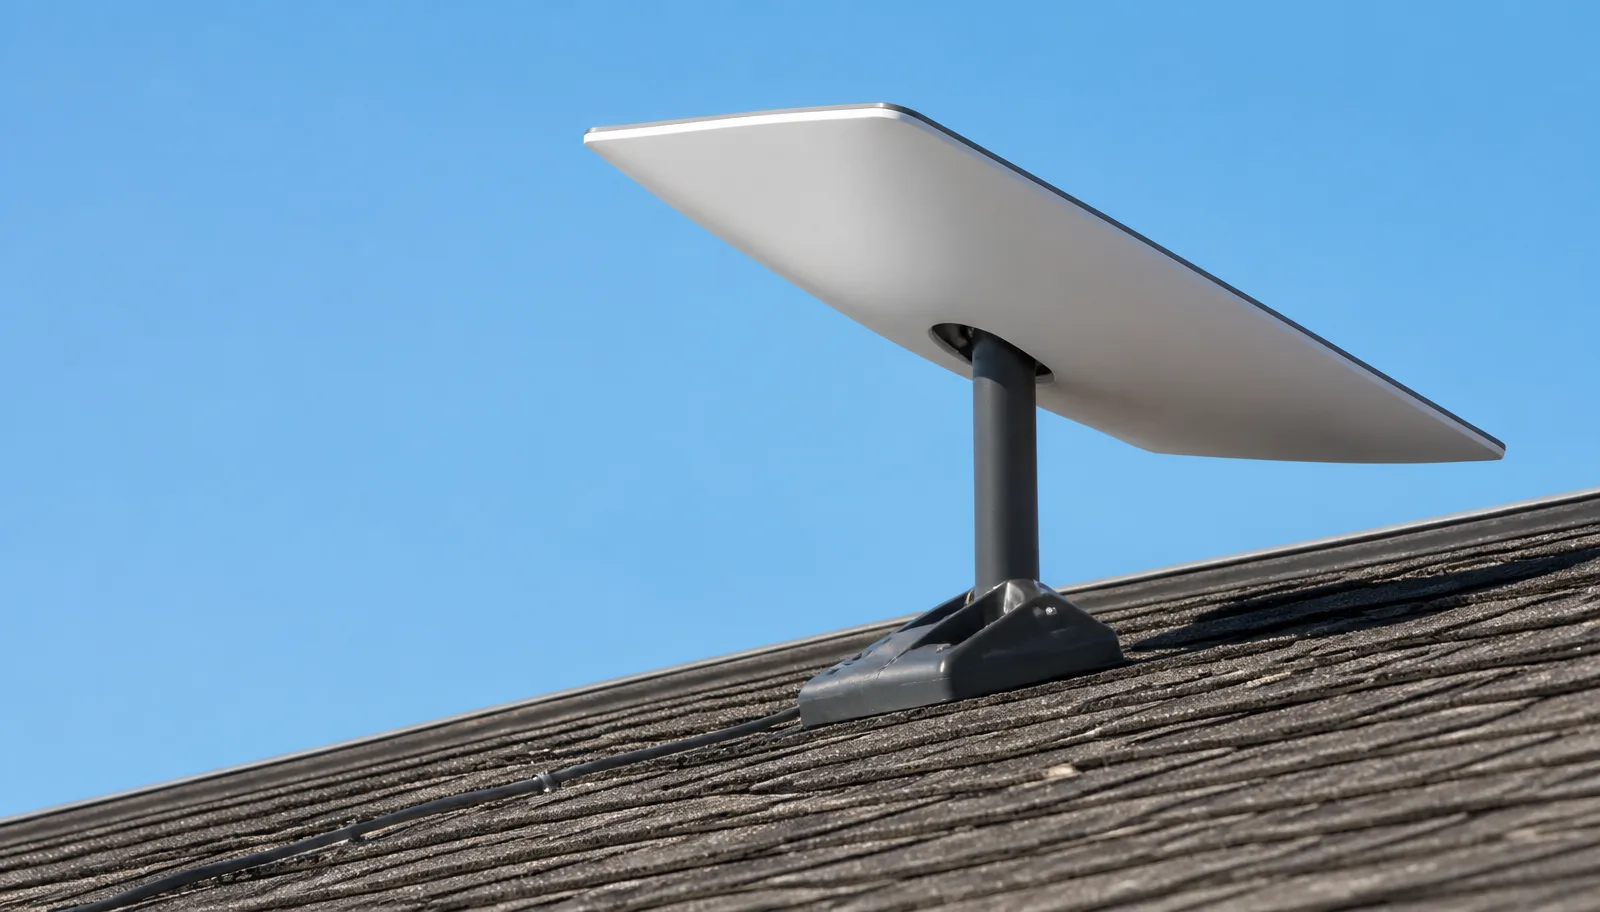
A clear Starlink installation cost comparison starts with one question: are you only buying internet hardware, or are you paying for a reliable roof, wall, pole, or ground installation that will work through wind, weather, trees, and real daily use? The kit gets you started, but the final result depends on placement, mounting, cable routing, sealing, grounding where appropriate, and whether the dish has a clean view of the sky. I have seen simple installs take less than two hours and difficult properties require custom mounts, trenching, or multiple test locations before the signal is right. DIY can be the lowest cash outlay if your site is easy and you are comfortable working safely. Starlink Direct may be convenient where available. A professional installer usually costs more than doing it yourself, but it can prevent roof leaks, poor alignment, cable damage, and repeated service drops. InstallPros handles residential and business Starlink
Starlink Installation Cost Comparison: What You Are Really Comparing
When people compare installation cost, they often look only at the first dollar amount. That is not enough. A useful comparison includes the value of your time, the risk of working on a ladder or roof, the cost of extra mounts, and the chance that the first location you choose will not pass obstruction testing.
DIY usually means you supply the labor and accept the risk. That can make sense for a ground-level mount with a short cable path and open sky. It becomes less attractive when the best location is on a steep roof, chimney, tall pole, detached garage, barn, or commercial building.
Professional installation includes experience that is hard to price until something goes wrong. A good installer checks for obstructions, chooses a mount that fits the structure, protects cable penetrations, and routes the line so it is less likely to be cut, crushed, chewed, or exposed to unnecessary UV damage.
- DIY: lowest labor cost, highest personal responsibility.
- Starlink Direct: availability and scope may vary by location.
- Local pro: most flexible for custom homes, farms, shops, and businesses.
DIY Starlink Install: Where You Save and Where Costs Creep In
A DIY Starlink install can be a good choice if the dish can sit safely on the included base temporarily or mount to a simple area with excellent sky exposure. Many homeowners test the service in the yard first, then decide later whether to make it permanent. That is smart, but a temporary setup should not become a permanent trip hazard or storm problem.
The hidden DIY costs usually show up in mounting hardware, tools, sealant, exterior-rated fasteners, cable clips, conduit, trenching supplies, and replacement parts if something gets damaged. If you need to buy a ladder, masonry bits, fish tape, or roof-safe materials for one job, the savings can shrink quickly.
The bigger issue is placement. Starlink needs a wide, clean view of the sky. A dish mounted where it is easy rather than where it works best can lead to short outages, buffering, failed video calls, and frustrating speed swings. Trees that look far away from the ground can still block the dish’s field of view.
DIY is most cost-effective when the install is low, simple, and reversible. If roof work, long cable routes, wall penetrations, or custom pole mounting are involved, most owners are better off getting an experienced installer involved.

Professional Starlink Installation: What the Added Cost Covers
A professional Starlink installer is not just charging to screw down a mount. The real value is in site selection, safe access, structural judgment, clean cable routing, and weatherproofing. Those details determine whether the system performs well after the installer leaves.
At InstallPros, installs are available, with the final scope depending on the property and mounting needs. A standard home installation is often straightforward: test for obstructions, select the best mounting point, secure the dish, route the cable, seal penetrations, and verify the system is online. More complex jobs may involve pole mounts, longer routes, outbuildings, conduit, or business network handoff.
Good installation also protects the building. Roof penetrations need the correct method and materials. Wall entries should shed water, not invite it. Cables should not be pinched under shingles, left loose against sharp metal, or draped where snow, animals, mowers, or foot traffic can damage them.
For many customers, the professional cost pays for confidence. You get a dish placed for performance, mounted for weather, and cabled in a way that looks like it belongs on the property.
Starlink Direct Installation: Convenience, Limits, and Fit
Starlink Direct installation can be appealing because it is tied closely to the service and ordering process. For some customers, that convenience is enough. If the property is simple and the available installation option covers the work needed, it may be a reasonable path.
The key is understanding scope. Not every property is a basic installation. Rural homes, wooded lots, metal roofs, steep pitches, long driveways, detached offices, barns, shops, RV pads, and commercial buildings often need decisions that go beyond a standard mount location. If the installer cannot complete custom work or if add-ons are limited, you may still need a local pro afterward.
Scheduling and service area can also matter. If your business needs Starlink online before a move-in date, jobsite launch, backup internet deadline, or seasonal opening, local availability may be more important than the brand name on the appointment.
Starlink Direct is worth considering when it is available, the scope is clear, and your property is simple. If you already know you need a pole, long cable path, trench, roofline judgment, or network integration, a dedicated local installer is usually the better fit.
Cost Factors That Change the Final Install Price
The biggest cost factor is access. A low, walkable mounting area is faster and safer than a steep roof, tall fascia, tower, chimney, or commercial parapet. Height, pitch, surface material, and weather conditions all affect how long the job takes and what equipment is needed.
The second factor is the cable path. A short exterior route into the room with the router is simple. A longer route through an attic, crawlspace, garage, conduit, or detached structure takes more planning. Clean cable work matters because the Starlink cable is not something you want kinked, crushed, or repeatedly disconnected.
Mount type also affects cost. Some properties only need a standard roof or wall mount. Others need a pole set in concrete, a non-penetrating mount, custom standoff, masonry attachment, or a location that clears trees. In wooded areas, the cheapest mount is rarely the best long-term answer.
- Roof height and pitch
- Tree cover and obstruction testing
- Distance from dish to router
- Need for conduit, trenching, or pole work
- Residential versus business network needs
The right quote should match the actual site, not just a generic installation label.
How to Choose the Best Option for Your Property
Choose DIY if you have open sky, easy access, basic tools, and a safe place to mount the dish without climbing into risky areas. Also be honest about finish quality. If loose cable on siding or a visible wall penetration will bother you later, plan the install carefully before drilling.
Choose Starlink Direct if it is available in your area, the appointment timing works, and your property matches the standard installation scope. Ask what is included, what is not, and what happens if the technician determines that your best location requires extra work.
Choose a professional Starlink installer when performance and durability matter from day one. That is especially true for businesses, remote workers, large homes, rural properties, farms, rental cabins, construction offices, and anyone using Starlink as primary or backup internet.
InstallPros installs Starlink systems across a wide range of property types, from simple homes to complicated rural and business sites. If you want a clean, secure installation without guessing on mount location or cable routing, professional installation is usually the most practical path.
Frequently Asked Questions
Is it cheaper to install Starlink yourself?
Yes, DIY can be cheaper if the install is simple and you already have the tools, hardware, ladder, and safe access needed. The savings shrink when you need extra mounting parts, conduit, sealant, trenching materials, or specialty tools. DIY also puts the risk on you if the dish is mounted in a poor location, the cable is damaged, or a roof or wall penetration leaks. For ground-level testing or very easy mounts, DIY can make sense. For roofs, long cable routes, or obstruction problems, a professional install is often the better value.
How much does professional Starlink installation cost?
InstallPros offers Starlink The final cost depends on the scope of work, including mount type, roof height, cable route, obstruction issues, and whether the property needs a pole, conduit, trenching, or business network handoff. A straightforward home install is typically much simpler than a wooded rural property or commercial building. The best way to compare cost is to look at what is included: site testing, secure mounting, clean cable routing, weatherproofing, and verification that the system is working properly before the job is done.
Does Starlink include installation with the kit?
The Starlink kit is designed so many customers can set it up themselves, but the kit itself does not mean you have a finished permanent installation. It gives you the core equipment needed to get online, while mounting, cable routing, wall entry, and weatherproofing are still site-specific. Some customers start with a temporary setup to test service, then schedule a permanent mount later. If your best dish location is on a roof, pole, outbuilding, or other difficult spot, professional installation is usually the safer and cleaner option.
What makes a Starlink installation more expensive?
Complexity drives the cost. A higher or steeper roof, difficult access, long cable run, tree obstructions, trenching, pole mounting, masonry drilling, attic or crawlspace routing, and commercial network requirements can all increase the work involved. The mount must also match the structure and the exposure to wind and weather. A cheap shortcut can lead to service drops, leaks, or damaged cable. A proper quote should consider where the dish will perform best, how the cable will be protected, and how the building will be sealed after entry.
Is professional Starlink installation worth it?
Professional installation is worth it when the dish needs to be mounted high, the property has trees, the cable route is not obvious, or you rely on Starlink for work or business. A good installer prevents common problems such as poor placement, loose mounts, water intrusion, and exposed cable damage. The service is also valuable if you do not want to climb a roof or guess at the best location. For easy ground-level setups, DIY may be fine. For permanent, reliable service, a pro install is usually the stronger choice.