Starlink Installation Problems: 10 Common Issues & Fixes
By InstallPros Team · July 20, 2026 · 8 min read
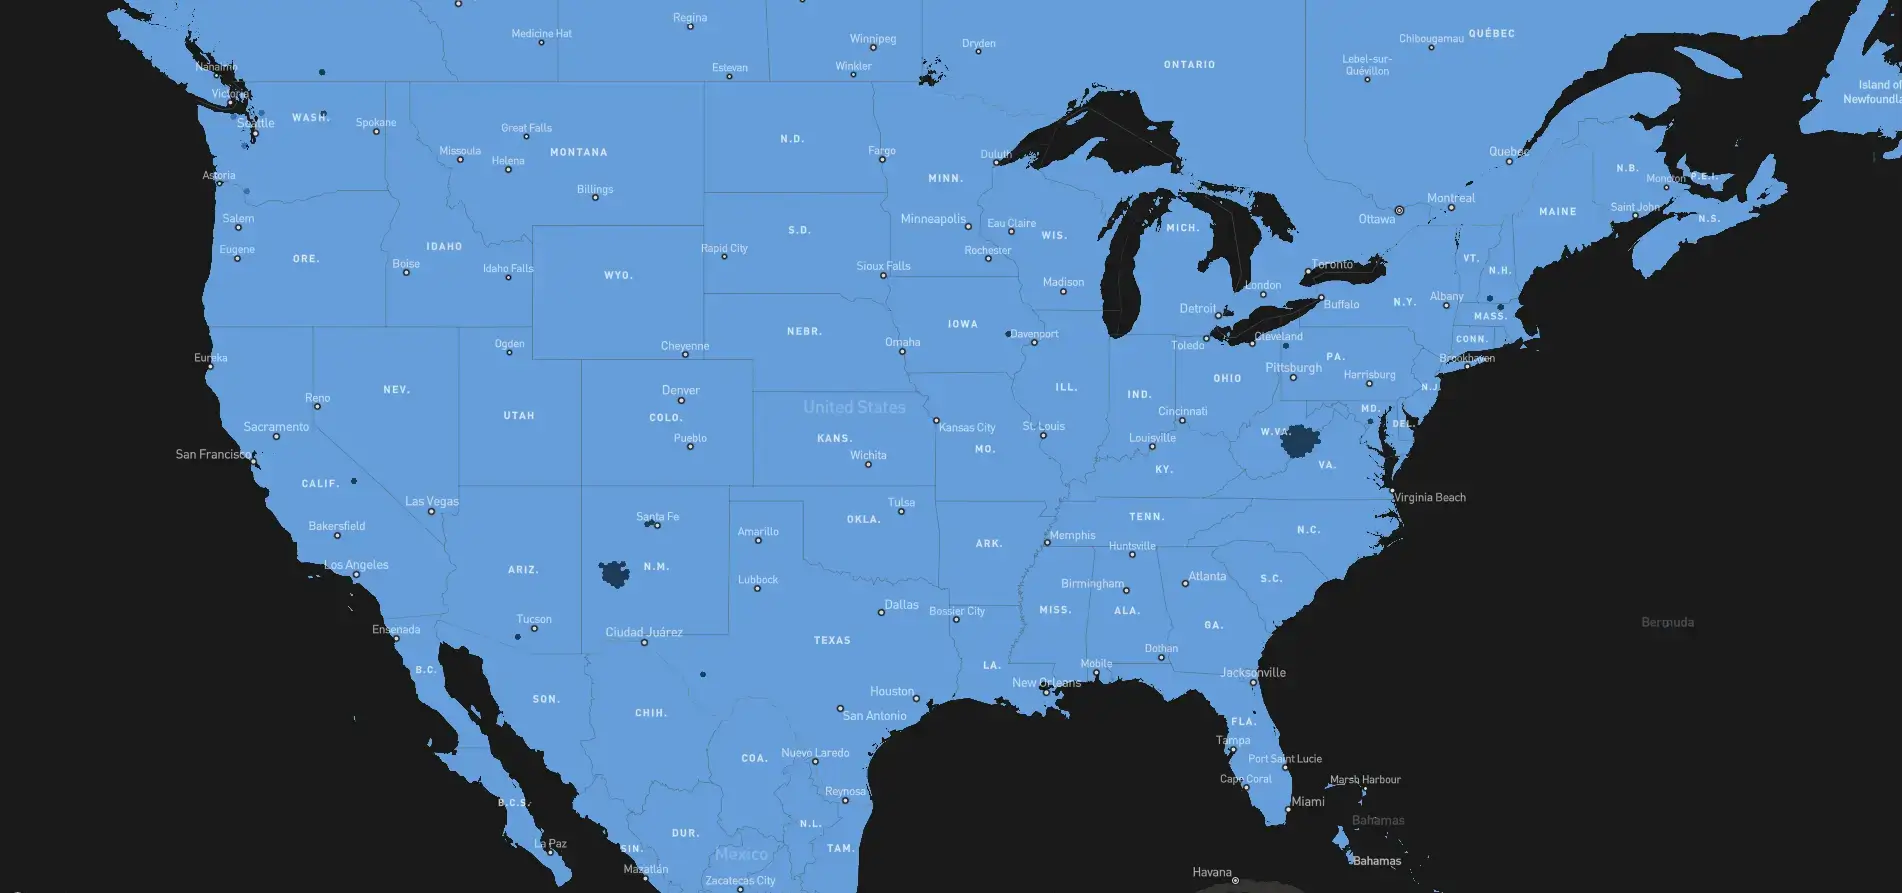
Starlink installation problems usually show up in a few predictable ways: the dish will not connect, speeds are lower than expected, the app reports obstructions, or the mount does not feel solid once the wind picks up. After installing Starlink on roofs, poles, barns, shops, RV sites, and rural homes, we can tell you most problems are not caused by the satellite network itself. They come from dish placement, cable routing, mounting shortcuts, or setup steps done in the wrong order.
The good news is that many issues can be diagnosed before you drill a hole or climb back on the roof. A clear sky view, a secure mount, a clean cable run, and correct router placement solve most of the trouble we see in the field. This guide covers 10 common Starlink install issues and the practical fixes we use on real jobs. If you want it done safely and cleanly, InstallPros handles professional Starlink
Starlink Installation Problems Caused by Obstructions
The number one cause of poor Starlink performance is obstruction. Starlink needs a wide, open view of the sky. It is not enough for the dish to “mostly” see above the roofline. Trees, chimneys, dormers, taller neighboring buildings, and even a roof peak can interrupt the satellite path and cause dropouts.
Use the Starlink app obstruction scanner before choosing a mount location. Check the spot at the same height where the dish will actually sit. Scanning from ground level can give a false reading if the final mount is on a roof or pole. We also look at future growth. A clear winter view may become a problem once leaves return in spring.
Common fixes include:
- Moving the dish higher on the roofline
- Using a gable, ridge, or wall mount to clear nearby obstacles
- Installing a pole mount away from trees
- Trimming branches only when it creates a lasting clear view
If the app shows frequent obstruction events, do not waste time rebooting the router over and over. The dish needs a better view.
Mounting Mistakes That Lead to Loose or Leaking Installs
A Starlink dish is light, but it still needs a serious mount. Wind load, roof pitch, siding type, fascia condition, and fastener choice all matter. One of the most common problems we see is a dish attached to weak trim, thin fascia, or shingles without proper structural bite. It may look fine on day one and start shifting after a few storms.
Another issue is water intrusion. Any roof penetration has to be flashed and sealed correctly. Smearing sealant over screw heads is not the same as a weatherproof installation. On shingle roofs, the mount should be placed and sealed so water sheds naturally instead of pooling around fasteners.
A good install uses the right mount for the structure:
- Roof mounts for solid roof decking and correct flashing
- Wall or gable mounts where roof penetration should be avoided
- Pole mounts when the house is blocked by trees
- Non-penetrating mounts only when weight, wind, and surface are appropriate
If the dish moves, even slightly, service can suffer. A stable mount protects both your connection and your property.

Cable Damage, Bad Routing, and Connector Problems
Starlink cable problems are easy to create and frustrating to diagnose. The cable is not something to yank, sharply bend, crush under a window, or staple tight to siding. A damaged cable can cause intermittent connection, router errors, no dish power, or random offline messages that look like network problems.
We route cable with smooth bends, drip loops, proper clips, and protected entry points. The cable should not rub against sharp metal, sit in standing water, cross a walkway without protection, or hang loose where wind can whip it against the wall. If the cable passes through an exterior wall, the hole should be sealed and angled or protected so water does not follow the cable inside.
Check both ends of the cable if your system will not come online. Make sure the connectors are fully seated and free of debris. If the cable was pinched in a door or window, replacement may be the only reliable fix.
For long runs, plan before installing. Avoid unnecessary extensions, tight coils, and routes near damage-prone areas like mower paths, attic access ladders, and garage doors.
Router Placement, Wi-Fi Coverage, and Slow Speeds
Not every speed problem is a Starlink signal problem. Many complaints come from poor Wi-Fi coverage inside the home or business. The Starlink router should be placed where it can serve the space, not hidden in a metal cabinet, basement corner, mechanical room, or behind thick masonry walls.
If the dish has a clear view and the app shows healthy service, test speeds close to the router first. Then test in the rooms where performance feels weak. Big drops usually mean the Wi-Fi signal is struggling, not that the dish is failing. Large homes, shops, guest houses, and metal buildings often need mesh nodes or a hardwired network plan.
Common router and Wi-Fi fixes include:
- Moving the router to a central, elevated location
- Keeping it away from appliances, panels, and dense walls
- Using mesh for larger floor plans
- Hardwiring important devices when possible
- Separating network needs for homes, offices, and outbuildings
For businesses, router placement should be part of the install plan from the start. The best dish location and the best Wi-Fi location are rarely the same place.
Activation, App Setup, and Alignment Issues
Starlink is designed to self-align, but setup steps still matter. If the dish is not receiving power, the cable is not seated, the account is not active, or the service address is wrong, the system may sit offline or show confusing app messages. Before moving hardware, confirm the basics.
Make sure the Starlink kit is assigned to the correct account and service plan. Confirm the router powers on, the dish cable is firmly connected, and the app recognizes the system. Give the dish time to boot and orient itself. Repeated unplugging can slow troubleshooting because the system has to restart each time.
Alignment issues are often really placement issues. The dish will tilt and track on its own, but it cannot overcome a bad location. Do not force the mast angle or try to manually aim the face like an old satellite TV dish. The mast needs to be installed plumb, and the dish needs room to move without hitting a roof edge, wall, branch, or mount hardware.
If setup stalls, document the app message before resetting anything. That message usually points to the real problem.
When to DIY and When to Call a Starlink Installer
Some Starlink installs are simple: open yard, easy cable route, clear sky, and a safe ground-level mount. Many are not. Steep roofs, metal roofs, tall trees, long cable runs, finished interiors, detached buildings, and business networks all raise the difficulty. The risk is not just poor internet. It is roof damage, leaks, falls, and repeat work.
A professional installer should do more than bolt the dish somewhere. We evaluate obstructions, choose a mount that fits the structure, route the cable cleanly, seal penetrations, test the system, and think through Wi-Fi coverage. That is the difference between “it works today” and a setup that holds up through weather and daily use.
Call a pro if you are dealing with:
- Frequent obstruction warnings
- A steep or high roof
- Uncertain cable entry location
- Metal siding, brick, stucco, or complex rooflines
- Service needed in a shop, barn, office, or outbuilding
InstallPros installs Starlink for homeowners and businesses across the US. If you want the dish placed right the first time, we can help.
Frequently Asked Questions
Why does my Starlink keep going offline after installation?
Frequent offline events usually come from obstructions, a loose cable connection, damaged cable, or power interruptions. Start by checking the Starlink app for obstruction reports and outage history. Then inspect both cable ends to make sure they are fully seated. If the cable was pinched, bent sharply, or routed through a window or door, it may be damaged. If the app shows obstruction events, the dish likely needs to be moved to a clearer location rather than reset repeatedly.
Can trees cause Starlink installation problems even if the dish has some sky view?
Yes. Starlink needs a wide field of view, not just a small opening through the trees. Branches at the edge of the dish’s view can cause short dropouts as satellites move across the sky. Leaf cover, wet branches, and seasonal growth can make the issue worse. If the app reports obstructions, the best fix is usually raising the dish, moving it to another roofline, or installing a pole mount in a more open area.
Is it okay to install Starlink on a roof myself?
It can be okay if the roof is low, safe to access, and you understand how to mount and seal equipment properly. The biggest DIY risks are falls, leaks, weak attachment points, and poor cable routing. Steep roofs, metal roofs, tile, slate, tall homes, and complex rooflines are better handled by a professional. A proper install should be structurally secure, weatherproof, and placed where the dish has a clear long-term sky view.
Why are my Starlink speeds slow after a successful install?
If the dish is online and the app shows no major obstructions, slow speeds may be caused by weak Wi-Fi coverage rather than the Starlink signal. Test speed near the router, then test farther away. If speeds drop sharply with distance, move the router to a better location or add mesh coverage. Thick walls, metal buildings, appliances, and basement placement can all reduce Wi-Fi performance even when the outdoor dish is working correctly.
What is the best way to avoid Starlink installation problems?
The best prevention is planning the install before drilling or mounting anything. Scan for obstructions at the actual dish height, choose a structurally solid mount location, plan a protected cable route, seal all exterior penetrations, and place the router where Wi-Fi can cover the building. For difficult roofs, long cable runs, or business setups, hiring an experienced installer saves time and reduces the chance of leaks, weak signal, or repeat service issues.