Starlink Installation Warranty Guide: What's Covered & What's Not
By InstallPros Team · July 23, 2026 · 8 min read
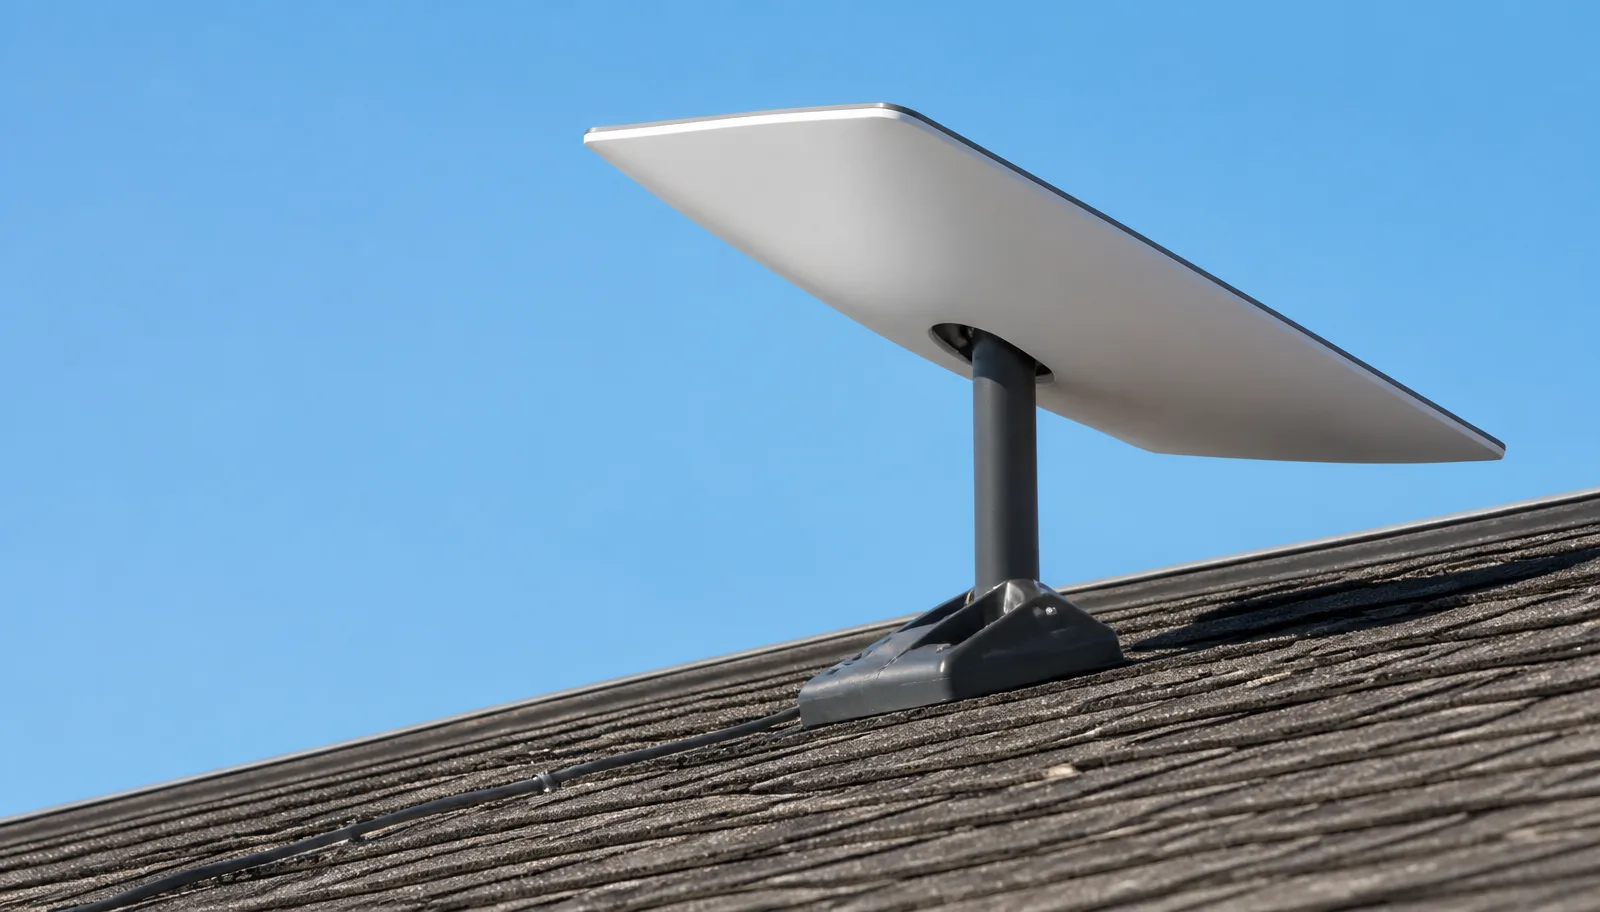
A Starlink installation warranty can mean two different things: the equipment warranty from Starlink and the workmanship expectations for whoever mounts and routes the system at your property. Homeowners often mix those together, then get surprised when a roof leak, a damaged cable, or a loose mount is not handled the same way as a failed router. After installing hundreds of Starlink systems on roofs, poles, walls, barns, shops, and RV structures, we can tell you the best warranty protection starts with a correct install. That means clear sky, solid mounting, proper cable routing, drip loops, sealed penetrations, and no shortcuts that put the hardware or building at risk. This guide explains what is usually covered, what is usually not covered, and how to avoid warranty problems before they happen. If you want the system installed right the first time, InstallPros provides professional Starlink
What the Starlink Installation Warranty Usually Covers
The phrase Starlink installation warranty is often used loosely, but Starlink’s own warranty generally applies to the Starlink hardware itself, not every part of the physical installation on your home or business. Hardware coverage commonly relates to defects in the dish, router, power supply, or other Starlink-provided components during the applicable warranty period.
If the dish stops working because of an internal failure, or the router will not power up under normal use, that is the type of issue Starlink support may evaluate under the equipment warranty. They may ask for diagnostics, photos, account details, or troubleshooting steps before approving a replacement.
Workmanship is different. The way the dish is attached to a roof, wall, fascia, chimney, eave, pole, or ground mount depends on the installer. A professional installation should use the correct mount, fasteners, flashing or sealant where appropriate, and cable management that protects the system and the structure.
Before hiring anyone, ask what their workmanship policy covers. A good installer should be clear about mounting, cable routing, sealing, and follow-up support if something they installed needs adjustment.
What Starlink’s Equipment Warranty Does Not Cover
Most warranty problems we see come from damage that happened outside normal use. Starlink’s equipment warranty is not meant to cover every broken cable, cracked mount, or dish failure caused by improper handling, poor placement, or severe impact. If a cable gets pinched under a window, cut by a mower, chewed by animals, or crushed by a door, that is typically considered damage rather than a manufacturer defect.
Bad installation choices can also create coverage headaches. Mounting the dish where it gets hit by sliding snow, where branches scrape it, or where water runs directly into a connector can shorten the life of the system. Running cable across sharp metal, skipping drip loops, or leaving connectors exposed can create intermittent service problems that look like equipment failure but are really installation-related.
Common exclusions or problem areas include:
- Accidental damage, drops, cuts, or crushed components
- Storm, hail, flood, fire, or animal damage
- Unauthorized modification of Starlink hardware
- Improper mounting or cable routing
- Building damage caused by poor installation
That is why a careful install matters. It reduces the gray area when support has to decide whether a problem is defective equipment or preventable damage.

Workmanship Coverage: The Part Starlink Does Not Control
Starlink manufactures the kit, but it does not control how every home or business installation is done. That is where workmanship comes in. Workmanship covers the installer’s labor and installation methods, not the factory condition of the dish or router. For example, if a mount loosens because it was installed into weak material without proper backing, that is a workmanship issue.
On a proper job, the installer should choose a mount location that has both a clear sky view and structural strength. We look for rafters, framing, solid siding areas, stable poles, or suitable masonry depending on the building. The dish should not be mounted to a flimsy trim board just because it is easy to reach.
Cable routing is another major workmanship item. A clean installation avoids pinch points, protects the cable from abrasion, forms drip loops before penetrations, and seals entry points in a way that fits the surface. Exterior cable should be secured neatly without being over-tightened.
When comparing installers, ask direct questions: What happens if the mount needs adjustment? How are penetrations sealed? Do they test obstructions and signal before leaving? Clear answers tell you a lot about the quality of the work.
How DIY Installation Can Affect Warranty Claims
Starlink is designed so many customers can set it up themselves, and a simple temporary ground setup is usually straightforward. The risk rises when the job moves to a roof, tall wall, long cable run, attic route, pole mount, or business property. A DIY mistake can turn a good kit into a support problem.
We have seen cables routed through windows until the frame slowly crushed them, dishes bolted into thin fascia that pulled loose, and roof penetrations sealed with the wrong product. The system may work on day one, but months later the customer is dealing with dropouts, water intrusion, or a mount that shifts in the wind.
DIY work does not automatically void the equipment warranty, but damage caused by improper installation is a different matter. If the cable is cut, the connector is damaged, or the dish falls because the mount failed, that is not the same as a manufacturing defect.
If you are not comfortable with roof work, drilling, sealing, or judging clear sky exposure, it is usually cheaper to hire a pro than to repair a failed install later. InstallPros installs are built around long-term reliability, not just getting online for the first time.
How to Protect Your Warranty Before and After Install
The best way to protect your warranty is to document the system and keep the installation clean. Save your order details, serial numbers, account information, and photos of the finished install. If support asks questions later, good documentation helps separate equipment failure from property or installation damage.
Before mounting, confirm the dish has a clear view using the Starlink app and common sense. Look for trees that will leaf out in spring, future construction, rooflines, chimneys, and nearby poles. A dish that is technically mounted well but aimed into obstructions will still create service complaints.
After installation, avoid moving the dish or rerouting the cable unless you know what you are doing. Do not staple through the cable, coil it tightly around sharp objects, bury it without proper protection, or run it where people, doors, vehicles, or animals will damage it.
Good warranty habits include:
- Keep proof of purchase and Starlink account access
- Take photos of mount, cable route, and entry point
- Use proper mounts and weather sealing
- Check cable condition after storms or roof work
- Contact support before modifying hardware
When to Call InstallPros for Warranty-Related Help
If your Starlink is dropping connection, showing obstruction issues, or acting like the hardware failed, do not assume the dish is bad right away. Many “warranty” calls turn out to be mount movement, tree growth, damaged cable, poor router location, or water at a connector. A field inspection can save time before you go back and forth with support.
InstallPros can help with new installs, remounts, cable reroutes, obstruction checks, and cleanup of unsafe or unreliable DIY work. We cannot approve Starlink equipment warranty claims for Starlink, but we can identify installation-related problems and help you understand what may need to be corrected before contacting support.
For businesses, farms, rural homes, cabins, and properties with metal roofs or long cable paths, a professional install is especially important. These jobs often need better planning than a basic driveway test setup.
If you are buying Starlink or already have the kit, schedule the installation before drilling holes or improvising a mount. A clean, documented install gives the equipment the best chance to perform and gives you fewer warranty questions later.
Frequently Asked Questions
Does Starlink come with an installation warranty?
Starlink generally provides a warranty for its equipment, but that is separate from installation workmanship. The dish, router, power supply, and Starlink-provided components may be covered for defects during the applicable warranty period. The mount, cable routing, sealing, and attachment to your building are usually the responsibility of whoever installed the system. If you hire an installer, ask what workmanship support they provide and what is excluded. A clear answer before the job is much better than guessing after there is a leak, loose mount, or damaged cable.
Will DIY installation void my Starlink warranty?
DIY installation does not automatically void the Starlink equipment warranty, but damage caused by improper installation may not be covered. If the cable is crushed in a window, the dish falls from a weak mount, or connectors are damaged during routing, that is different from a factory defect. The safest approach is to follow Starlink’s instructions, avoid modifying hardware, and use proper mounting and cable protection. For roof mounts, wall penetrations, long runs, or difficult properties, a professional install helps reduce warranty disputes.
Is a roof leak covered by the Starlink warranty?
A roof leak is usually not covered by Starlink’s equipment warranty because it relates to the building and installation method, not a defective dish or router. If a mount was installed incorrectly, the issue may fall under the installer’s workmanship policy, if they offer one. This is why roof penetrations need proper fasteners, sealant, flashing when required, and smart placement. Before anyone drills into your roof, ask how the mount will be sealed and what happens if the area needs service later.
What should I do if my Starlink dish stops working?
Start with basic troubleshooting in the Starlink app, including checking power, router status, cable connection, and obstruction reports. Look for obvious physical damage such as a cut cable, shifted mount, water exposure, or a loose connector. If the equipment appears undamaged and troubleshooting points to hardware failure, contact Starlink support through your account. If you suspect the issue is related to mounting, cable routing, or obstructions, an installer can inspect the setup and correct problems before you pursue a warranty claim.
Can InstallPros handle Starlink warranty claims?
InstallPros cannot approve or process Starlink’s manufacturer warranty claims because those are handled by Starlink support. What we can do is inspect the installation, identify damage or workmanship issues, remount the dish, reroute cable, reduce obstructions, and help determine whether the problem appears installation-related or equipment-related. That information can make your support conversation easier. We also provide professional installations for customers who want the system mounted cleanly and documented from the start.