Starlink Mini Installation Guide: Step-by-Step for 2026
By InstallPros Team · July 16, 2026 · 8 min read
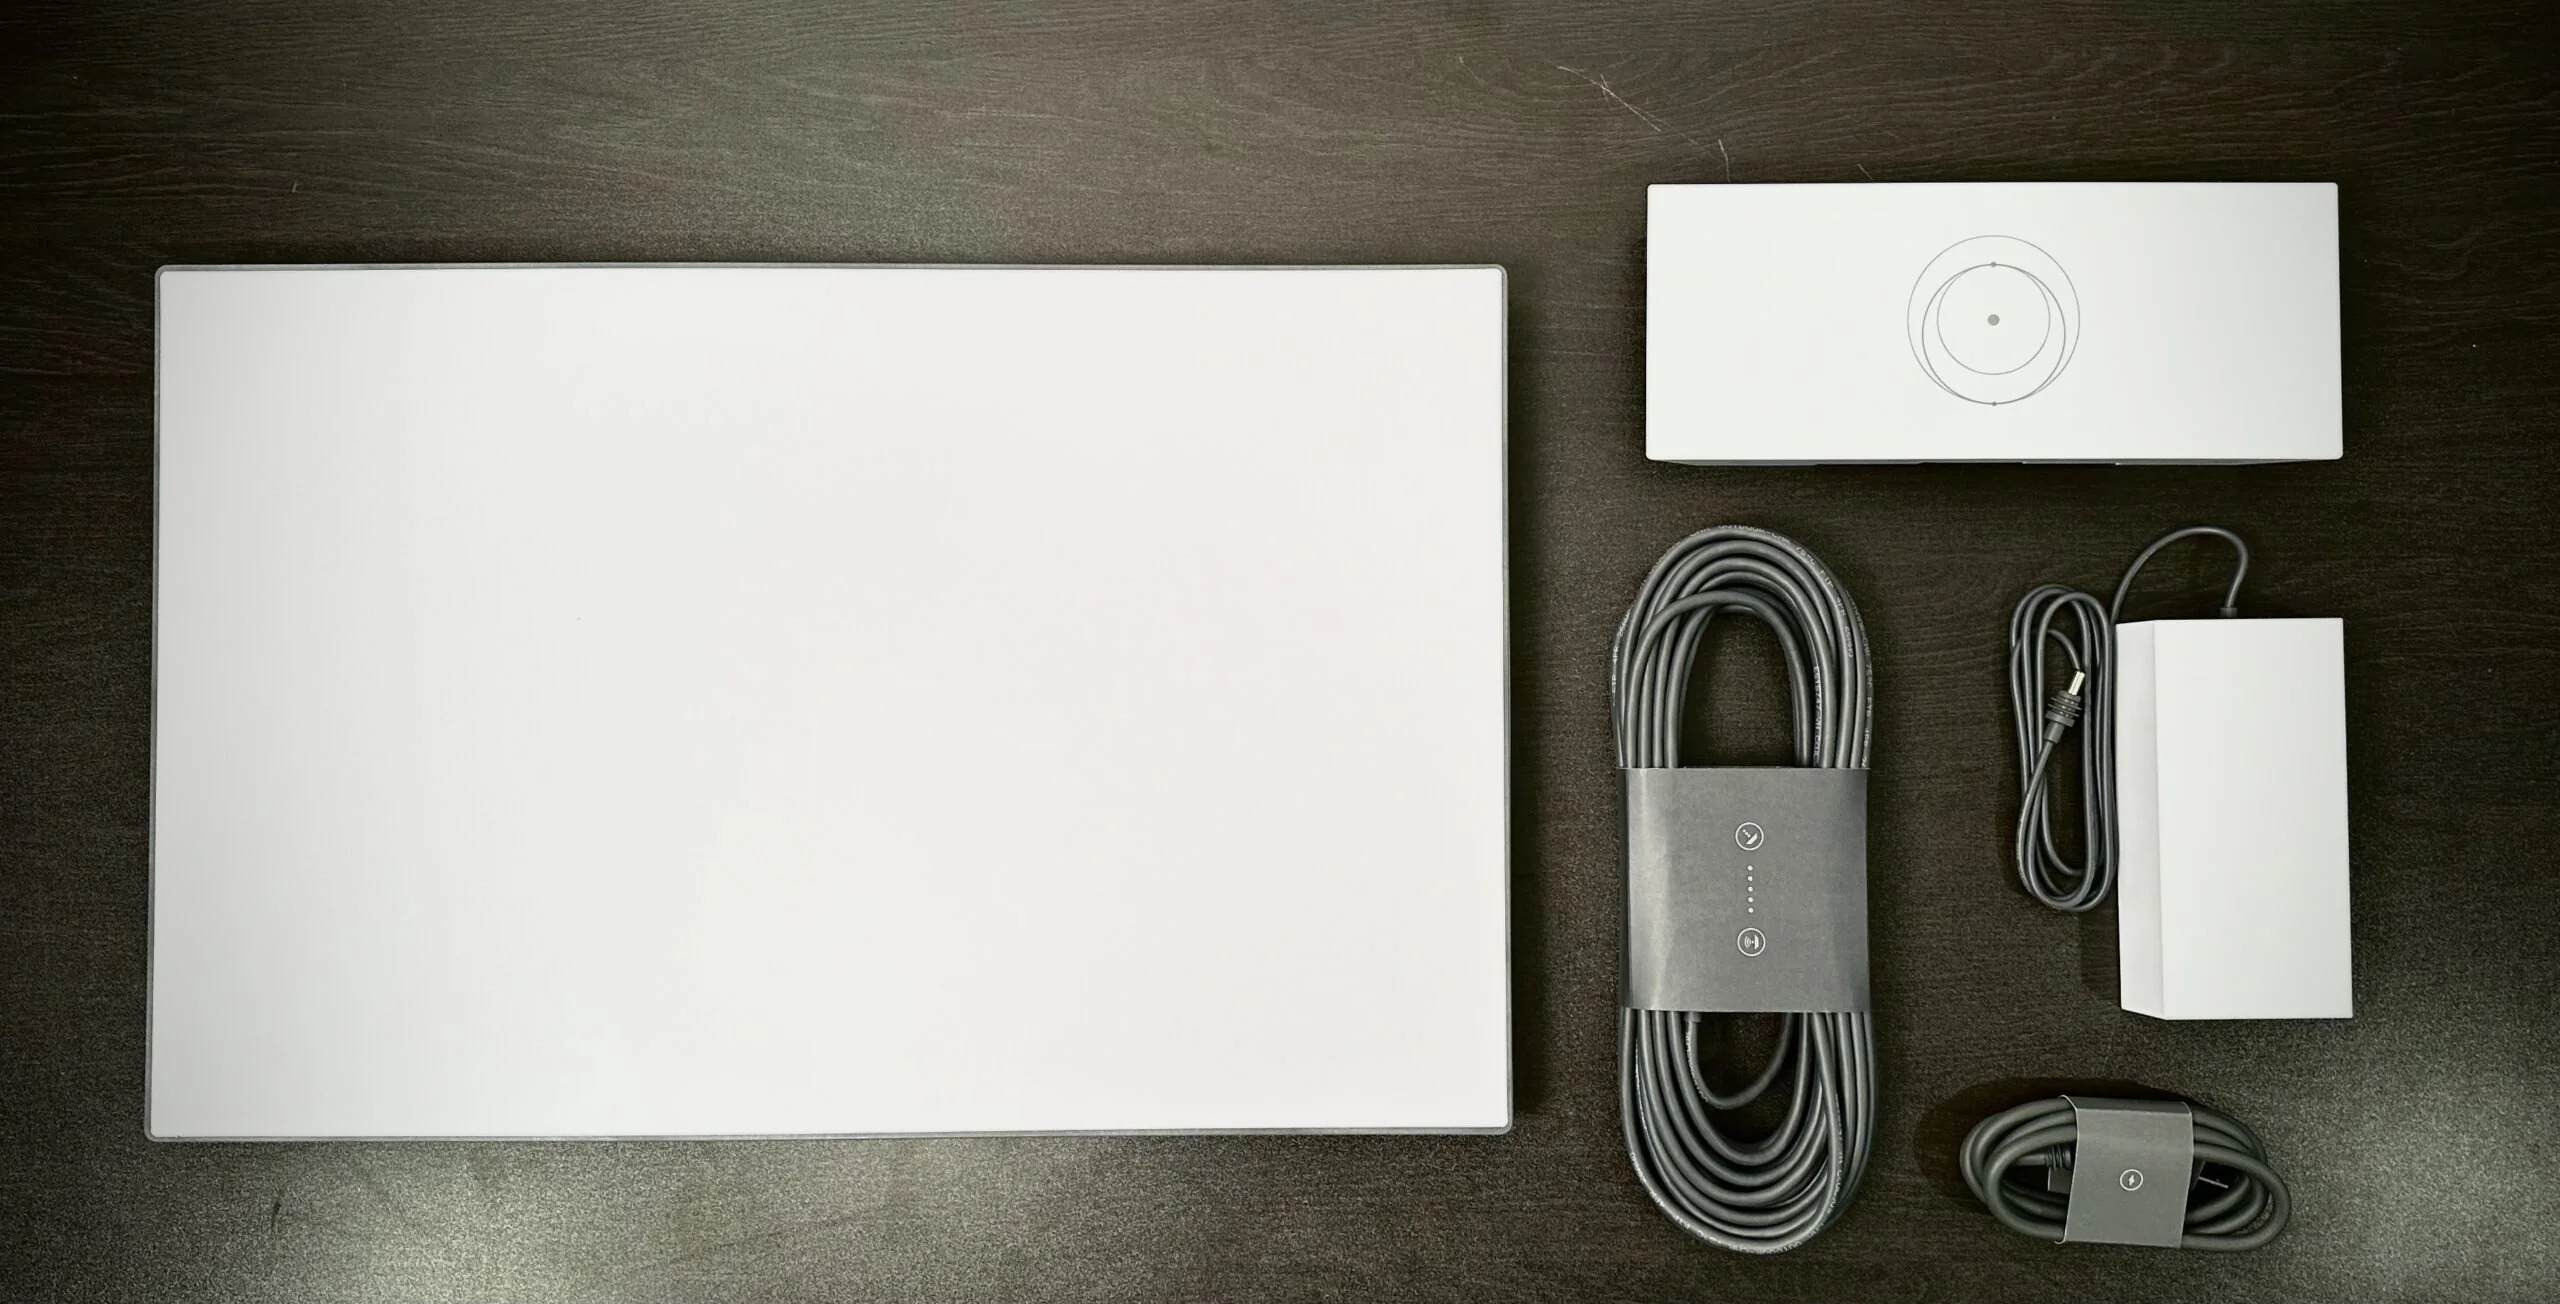
This Starlink Mini installation guide walks through the real-world steps that matter: where to place it, how to avoid obstructions, how to route power, and when a temporary setup should become a proper mount. Starlink Mini is smaller and easier to handle than the standard dish, but it still needs a clear sky view and a stable installation if you want consistent speeds. We see most problems come from rushed placement, weak power connections, poor cable management, or assuming “close enough” is good enough. For a campsite or quick jobsite connection, the built-in kickstand may be fine. For a home, RV pad, cabin, farm office, or business backup connection, spending time on the install usually pays off. InstallPros handles Starlink installations across the U.S..
Starlink Mini Installation Guide: What Comes in the Box
Before you pick a mounting spot, lay out the kit and confirm every part is present. Starlink Mini is designed to be compact, so the dish and router are integrated into one unit. Depending on the kit and service plan, you will typically have the Starlink Mini, a power supply or power cable, a stand or kickstand setup, and basic documentation. Accessories such as pipe adapters, longer cable solutions, travel cases, or permanent mounts may be separate.
The important thing is to understand that Mini is not just a “set it anywhere” device. It still communicates with satellites across a wide section of sky. A small obstruction like a roof edge, tree limb, chimney, antenna mast, or parked vehicle can cause brief drops that show up during video calls, point-of-sale use, security cameras, or streaming.
Before powering it up, check these items:
- Dish surface is clean and undamaged.
- Power cable seats firmly with no strain at the connector.
- Mount or stand sits flat and does not wobble.
- Phone has the Starlink app installed and location permissions enabled.
- You know where the cable will run without creating a trip hazard.
Step 1: Choose a Clear, Stable Location
Location is the biggest factor in Starlink Mini performance. The dish needs a wide, open view of the sky, not just a small gap between trees. Use the obstruction checker in the Starlink app before committing to a spot. We recommend checking at the exact height and position where the Mini will sit, because moving it even a few feet can change the result.
For temporary use, place the Mini on firm ground, a table, a vehicle roof with a safe mounting method, or another stable surface where it will not slide, tip, or get kicked. Avoid low areas where water can pool. Also avoid placing it behind metal walls, under awnings, close to dense branches, or next to equipment that may move during the day.
For a more permanent setup, think about the path of the sun, seasonal tree growth, snow, wind, and roof runoff. A spot that works in winter may fail once leaves fill in. On cabins, shops, and farm buildings, we often test multiple corners before mounting. The best location is not always the easiest one to reach, but it is the one with the cleanest sky and safest cable route.

Step 2: Power Up and Activate Starlink Mini
Once the Mini is placed correctly, connect power and give it time to boot. Do not judge performance in the first minute. The unit needs time to start, communicate with the network, and complete any updates. Keep the dish in its chosen position during this process so the app readings match the actual install location.
Open the Starlink app and follow the setup prompts. You will connect to the Starlink Wi-Fi network, name the network, set a password, and confirm service status. If the unit has been stored or shipped recently, software updates may run before speeds stabilize. We usually wait until the app shows a healthy connection before making any final mounting decisions.
If the app reports obstructions, do not ignore them. Even small obstruction percentages can cause noticeable interruptions. Try raising the Mini, moving it away from a roofline, or shifting it farther from trees. If you are setting up for a business, camera system, remote office, or payment terminal, test during the actual hours you need service. Satellite visibility and network conditions can vary, so a short test is not the same as a reliable installation.
Step 3: Decide Between Temporary Setup and Permanent Mounting
Starlink Mini is popular because it is portable, but many owners quickly realize they want a cleaner, safer install. Temporary placement works for travel, emergency backup, short-term construction sites, and weekend use. Permanent or semi-permanent mounting is better when the Mini serves a house, outbuilding, office trailer, RV site, marina, farm operation, or security system.
A good mount does three things: it keeps the dish stable, preserves the best sky view, and protects the cable. We avoid flimsy surfaces, loose railings, thin fascia, and locations where someone may grab the dish as a handhold. Wind matters. Vibration matters. Cable strain matters. A dish that moves slightly may still work, but movement can create intermittent problems that are hard to diagnose later.
Common mounting options include:
- Wall or fascia mounting when the structure is strong enough.
- Roof-edge mounting with proper sealing and safe access.
- Pole mounting to clear trees, vehicles, or roof obstructions.
- RV or trailer mounting for repeatable setup at the same site.
- Jobsite mounting on a secure mast or equipment structure.
If drilling, roof penetration, ladder work, or cable routing is involved, professional installation is usually the safer choice.
Step 4: Route Power and Cables the Right Way
Cable work is where many Starlink Mini installs go from clean to messy. Plan the cable path before final placement. The cable should not be pinched in a window, stretched tight around a corner, buried without proper protection, or left across a walkway. Any spot that gets stepped on, slammed, chewed, soaked, or sharply bent can become a future service call.
For indoor routing, choose an entry point that can be sealed properly. For outdoor routing, support the cable at reasonable intervals and keep drip loops where water might follow the line. Avoid running low-voltage cable tight against sharp metal roofing, hot exhaust areas, moving gates, or places where snow and ice slide off a roof. On commercial sites, label the cable and keep it away from areas where maintenance crews may cut or remove it by mistake.
Power quality also matters. Use the correct power equipment for the Mini and avoid questionable adapters. If you are using it with a vehicle, battery system, generator, or solar setup, confirm the power source can provide stable output. Random reboots are often blamed on Starlink service when the real issue is voltage drop, loose connections, or overloaded power strips.
When to Call InstallPros for Starlink Mini Setup
Starlink Mini is simple enough for many basic setups, but a professional install makes sense when reliability matters or the mounting location is not obvious. If you have trees, a steep roof, metal buildings, long cable runs, multiple structures, or business-critical equipment, a trained installer can save a lot of trial and error.
InstallPros technicians look at sky visibility, structure strength, weather exposure, cable protection, power location, and future service access. We also think about practical details homeowners often miss, such as where snow will slide, how a lawn crew will work around the cable, whether a roof edge will block low satellite passes, and whether the Wi-Fi location actually covers the devices you care about.
Call for help if you are seeing dropouts, obstruction warnings, weak Wi-Fi, water entry concerns, unsafe ladder access, or a setup that only works when the weather is calm. We install Starlink for homes, rural properties, RV sites, farms, offices, shops, construction trailers, and backup internet applications. Installations are available, and the goal is simple: mount it once, route it cleanly, and get dependable service without guessing.
Frequently Asked Questions
Can I install Starlink Mini myself?
Yes, many owners can set up Starlink Mini themselves for temporary use. The basic process is to place it with a clear sky view, connect power, open the Starlink app, and complete activation. The problems usually start with permanent mounting, roof work, cable entry, weak power sources, or obstructions that are not obvious from the ground. If the Mini is supporting work, cameras, payment systems, or primary home internet, a professional install can help prevent dropouts and unsafe cable runs.
Does Starlink Mini need to be mounted on a roof?
No, Starlink Mini does not always need a roof mount. It only needs a stable position with a clear view of the sky. A ground, table, pole, wall, RV, or equipment mount can work if it avoids obstructions and keeps the dish secure. Roof mounting is common when trees, buildings, vehicles, or terrain block lower locations. The best mount is the one that gives the cleanest sky view while allowing safe access and protected cable routing.
How long does Starlink Mini take to set up?
A basic temporary Starlink Mini setup can take 15 to 30 minutes if you already have an active account, a good location, and a reliable power source. A cleaner permanent installation takes longer because the installer needs to test for obstructions, choose a mount, secure the dish, route cable, seal entry points, and verify performance. Software updates may also add time during first startup. Do not rush the first test, because early app readings help prevent future connection issues.
Why does my Starlink Mini keep disconnecting?
Frequent disconnects usually come from obstructions, unstable power, poor cable connections, or a dish location that moves in wind or vibration. Trees are the most common cause, especially when leaves are present or branches sway into the field of view. Check the Starlink app for obstruction data and outage history. Also inspect the power connection and cable path. If the app looks clean but the unit reboots, the issue may be power quality rather than satellite signal.
Is Starlink Mini good for a cabin, RV, or jobsite?
Starlink Mini can be a strong option for cabins, RV pads, mobile work crews, and jobsites because it is compact and easier to deploy than larger equipment. The key is matching the setup to the use. A weekend campsite may only need the stand and a clean view of the sky. A cabin, construction trailer, or business site should usually have a secure mount, protected cabling, and stable power so the connection keeps working when weather, workers, or vehicles are moving around it.