Starlink DIY vs Professional Installer: Which Should You Choose?
By InstallPros Team · July 22, 2026 · 8 min read
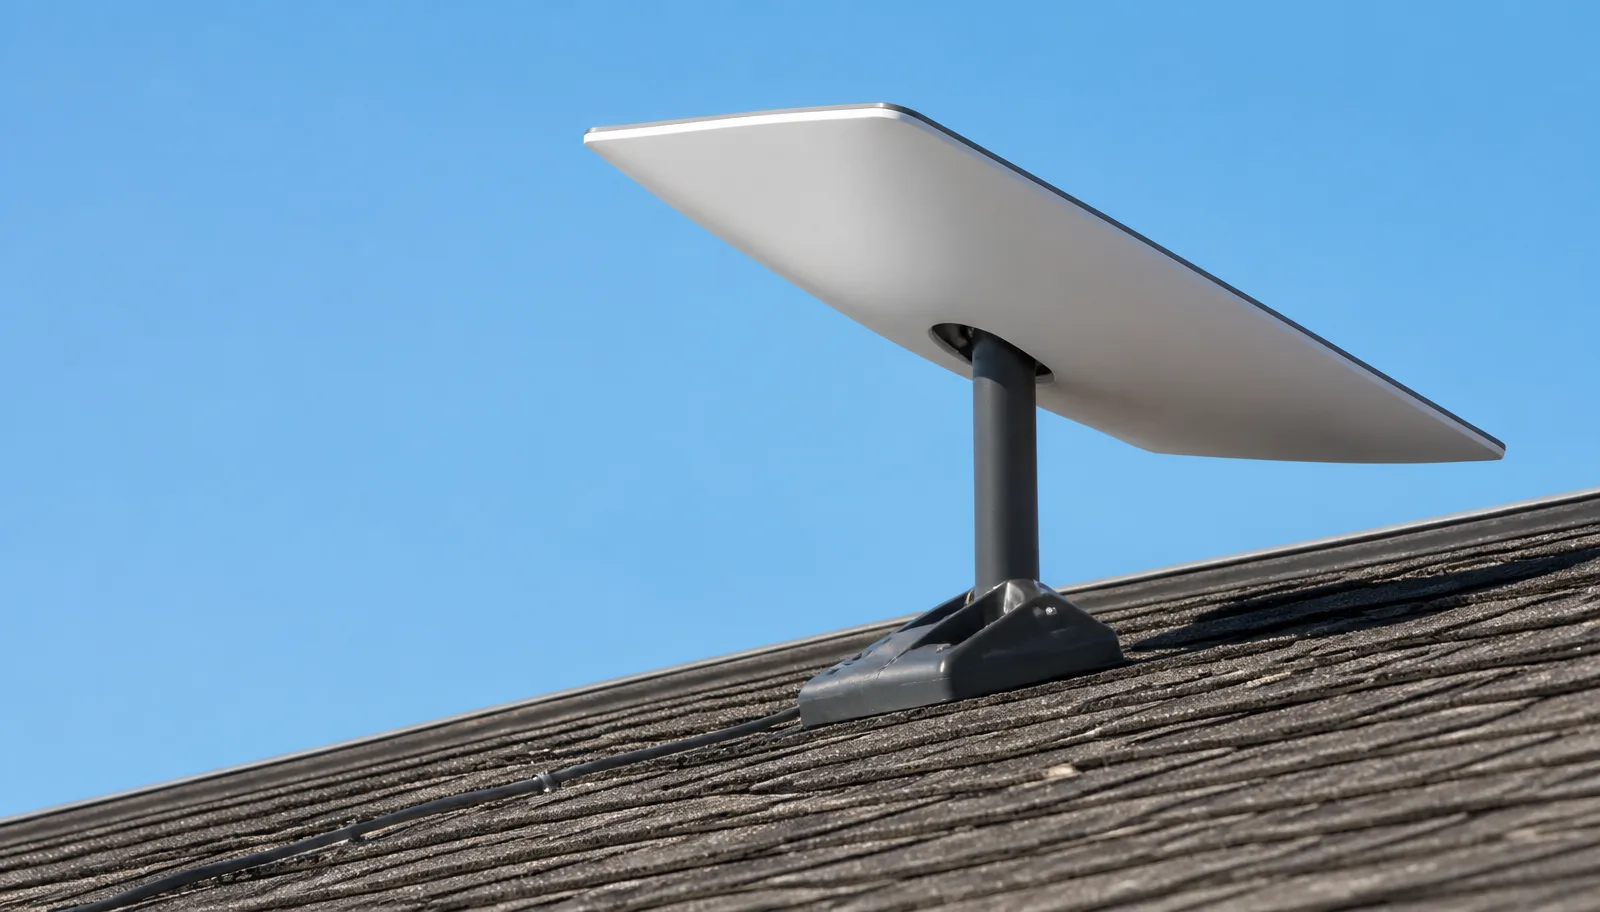
If you are comparing Starlink vs professional installer, the right choice comes down to more than whether you can plug in the router. Starlink is designed to be user-friendly, and many people can get online by setting the dish on the ground for a quick test. The bigger question is whether that setup will stay reliable through wind, trees, roof lines, cable exposure, and real daily use.
As installers, we see the difference between a temporary connection and a proper installation every week. A good Starlink install is about clear sky, solid mounting, safe roof work, weatherproof cable routing, and placing the router where Wi-Fi can actually serve the home or business. DIY can be fine for some properties. A professional install makes sense when the dish needs to go high, the roof is steep, the cable path is complicated, or you need the system to work right the first time.
Starlink vs Professional Installer: The Real Difference
The biggest difference between a DIY Starlink setup and a professional installation is planning. DIY usually starts with finding a spot where the app shows a decent view of the sky, then running the cable to the router as simply as possible. That can work if you have a wide-open property, a safe mounting location, and a short cable path.
A professional installer looks at the whole system before drilling anything. We check obstructions, roof pitch, wind exposure, cable length, grounding considerations, wall entry location, router placement, and future service access. The goal is not just to get the dish online for ten minutes. The goal is to keep it online during rain, wind, leaf growth, and normal use.
Professional installation also reduces avoidable mistakes. Common DIY problems include mounting too low, pointing through tree branches, pinching the Starlink cable, using the wrong fasteners, or creating a wall penetration that leaks later. These issues may not show up on day one, but they can create outages, slow speeds, or repair costs down the road.
When a DIY Starlink Install Makes Sense
DIY Starlink can be a good choice when the property is simple. If you have a clear yard, no major tree cover, a safe place to set or mount the dish, and an easy cable route through an existing opening, you may be able to handle the setup yourself. The Starlink app does a decent job helping users check for obstructions and activate the system.
Temporary use is another situation where DIY can make sense. RV owners, seasonal cabins, job trailers, and short-term users may not need a permanent roof or wall mount. In those cases, keeping the dish portable is part of the plan.
Before choosing DIY, be honest about the risks. Ask yourself:
- Can I safely access the mounting location?
- Is the dish high enough to clear trees, roof peaks, and nearby structures?
- Can I route the cable without crushing, kinking, or exposing it to damage?
- Can I seal any wall penetration properly?
- Will the router location provide strong Wi-Fi where I need it?
If the answer is no to any of these, hiring a professional is usually the smarter move.

When You Should Hire a Professional Starlink Installer
You should strongly consider a professional installer when the dish needs to go on a roof, pole, chimney area, fascia, or another elevated location. Starlink needs a wide, clean view of the sky. In many homes, the best signal is not available from the ground, especially where trees, barns, hills, or neighboring buildings block part of the sky.
Roof work is one of the main reasons people call InstallPros. A safe installation requires the right ladder setup, fall awareness, proper mounting hardware, and attention to roof materials. Asphalt shingles, metal roofing, tile, flat roofs, and commercial buildings all require different decisions. The wrong mount or fastener can create leaks or fail in high wind.
Professional help also matters when the cable route is not obvious. Starlink cable ends are not like basic coax. They need careful handling, correct bend radius, and protection from sharp edges, doors, pets, lawn equipment, and water intrusion. A clean cable path keeps the system reliable and keeps the building looking professional.
For businesses, professional installation is usually the better choice because downtime costs money. Restaurants, farms, offices, warehouses, and remote operations need dependable service, not a dish sitting on a pallet waiting for the next storm to move it.
What a Professional Starlink Install Includes
A proper Starlink install starts with a site assessment. The installer checks the sky view, confirms the likely best mounting area, and looks for practical cable routes. The best location is not always the easiest one. We balance signal quality, safety, appearance, cable distance, and long-term durability.
Next comes mounting. Depending on the building and property, this may involve a roof mount, wall mount, eave mount, pole mount, or non-penetrating option where appropriate. The mount must hold firm, keep the dish level and stable, and avoid creating roof or siding problems.
Cable routing is just as important as the mount. A professional install typically includes securing the cable, protecting it where needed, creating a clean entry point, sealing penetrations, and placing the router in a practical indoor location. On larger properties, we may also discuss mesh Wi-Fi or network handoff options so the Starlink connection actually reaches the rooms or work areas that need it.
Finally, the system is tested. That means confirming the dish is online, checking for obstruction warnings, verifying cable connection, and making sure the customer understands basic app status, rebooting, and what normal startup behavior looks like.
Cost, Risk, and Long-Term Reliability
DIY looks cheaper at first because you are not paying for labor. But the real comparison is not just the install cost. It is the cost of doing it twice, repairing a leak, replacing a damaged cable, moving a dish that was mounted in a poor location, or dealing with unstable service during important work hours.
InstallPros offers Starlink A professional installer brings the tools, hardware knowledge, and field experience to avoid the common problems that turn a simple project into a frustrating one.
Long-term reliability depends on details. A dish with minor obstructions may work fine during light use but drop during video calls. A cable lying across a roof may survive one season and fail after sun exposure or abrasion. A router tucked in a corner may connect but deliver weak Wi-Fi. These are the kinds of issues a professional installer is trained to catch before they become service problems.
How to Choose the Right Option for Your Property
The best choice depends on your property, your comfort level, and how important the connection is. If you can place the dish in a clear, safe area and run the cable cleanly without drilling or climbing, DIY may be enough. If the dish needs height, a permanent mount, or a clean building entry, professional installation is usually worth it.
Think about how you will use Starlink. A homeowner who streams movies and checks email may tolerate a little trial and error. A remote worker, farm office, rental property, or business location needs a more dependable setup. If internet access affects income, security systems, phones, payment processing, or customer service, the installation should be treated like critical infrastructure.
Also consider the finished look. Many customers call after realizing they do not want a loose cable through a window or a dish sitting in the yard. A professional install should be secure, clean, and serviceable. The goal is simple: put the dish where it sees the sky, protect the cable, keep water out, and make the connection easy to live with.
Frequently Asked Questions
Is it hard to install Starlink yourself?
Basic Starlink setup is not hard if you have a clear ground location and an easy way to bring the cable indoors. The hard part is making it permanent and reliable. Roof mounting, drilling through exterior walls, sealing penetrations, avoiding obstructions, and protecting the cable take more skill. Many DIY installs work at first but later have dropouts, cable damage, or water-entry concerns. If you need a roof mount or clean cable route, a professional installer is usually the safer option.
Does Starlink work better with a professional installation?
Starlink service itself is the same, but a professional installation can help the system perform better by placing the dish in the best available location. Obstructions, poor mounting height, unstable mounts, and bad cable routing can all affect reliability. An installer uses field experience to find a clear sky view, secure the dish, protect the cable, and place the router sensibly. That can mean fewer outages, better consistency, and less frustration compared with a rushed DIY setup.
Can I put Starlink on my roof myself?
You can install Starlink on your roof yourself if you have the right tools, mounting hardware, roofing knowledge, and safe access. The risks are real. Falls, damaged shingles, roof leaks, weak fasteners, and improper cable entry are common DIY problems. Different roof materials require different methods. If you are not comfortable working at height or sealing roof and wall penetrations, hiring a professional is the better choice.
Where is the best place to mount a Starlink dish?
The best place to mount a Starlink dish is where it has the clearest possible view of the sky with minimal obstruction from trees, roof peaks, chimneys, buildings, and terrain. The location also needs to be structurally solid, safe to access, and practical for cable routing. On many properties, that means a roof, eave, wall, or pole mount. A professional installer balances signal quality with long-term durability and a clean cable path.
How much does a professional Starlink installation cost?
InstallPros offers Starlink The exact scope depends on the property, mounting location, cable routing, roof type, and any additional networking needs. A straightforward wall or roof install is different from a long cable run, pole mount, or commercial setup. The value is in getting the dish placed correctly, mounted securely, and routed cleanly so the system is reliable from the start.