Install Starlink: A Comprehensive Guide to Getting Connected
May 30, 2024 · 3 min read
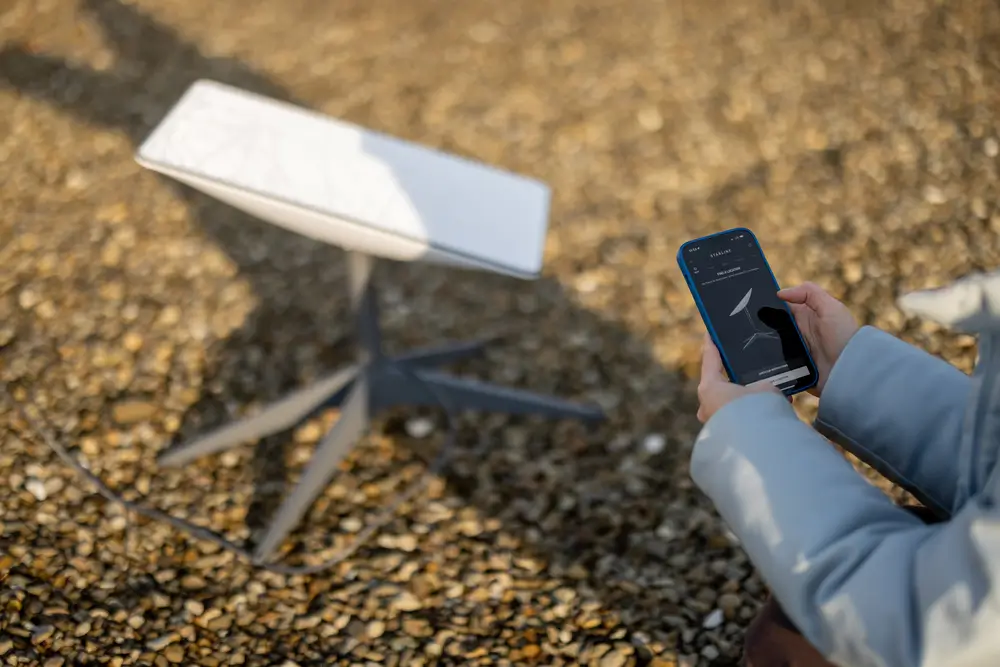
Install Starlink: Overview and What This Guide Covers
Starlink, SpaceX’s rapidly expanding satellite internet service, delivers high-speed broadband to remote and underserved locations. Whether you received a residential kit, a business-grade unit, or a system for vehicle/marine use, proper installation is critical to achieve reliable throughput and low latency. This comprehensive guide walks you through equipment, optimal dish placement, cable routing and protection, network setup, maintenance, and the choice between DIY and professional installation. Follow these best practices to maximize uptime and performance from day one.
Equipment Checklist: What’s in the Box and What to Add
Before you begin, verify the kit contents and gather recommended additional tools. Starlink packages vary by model, but most include the essentials below.
- Included with most Starlink kits:
- Satellite dish (“Dishy”) — the active antenna assembly.
- Wi‑Fi router/base station — provides local connectivity and management.
- Power supply and the manufacturer cable(s) that link the dish to the router/power module.
- Mounting tripod or simple mount — temporary, for initial setup.
- Basic documentation and access to the Starlink app.
- Recommended additional equipment and tools:
- Permanent mounts — roof mounts, side mounts, pole mounts, or a vibration-rated mount for vehicles/boats.
- Conduit and weatherproof junction boxes for cable protection and code compliance.
- Surge protector / lightning arrestor rated for satellite and low-voltage systems.
- Grounding rod and grounding kit to bond the mount and cable shield to earth ground.
- Sealant and flashing for roof penetrations (EPDM, butyl, or silicone as appropriate).
- Cable tools — drill, bits, fish tape, cable ties, crimp tools (if you’re installing third‑party cabling or connectors).
- Personal protective equipment — ladder, harness, helmet when working on roofs.
Step-by-Step Starlink Installation
1. Unbox and Inspect
Open the package and inspect all components for shipping damage. Confirm the serial number and the Starlink account details (email, activation code). Keep packaging until installation is validated in case of returns.
2. Choose the Right Location
Starlink requires a clear line of sight to the northern sky (in most latitudes), and, more generally, unobstructed views above the horizon for the dish to track satellites. Use the Starlink app’s “Check for obstructions” or “View sky” feature to simulate the dish’s observable sky. Key considerations:
- Clear view of the sky: Look for gaps between trees, avoid placing the dish near tall conifers or buildings that cast shadows.
- Elevation: The higher the dish, the less likely you are to encounter transient obstructions like vehicles or growing foliage — rooftops, towers, or poles are common choices.
- Wind and snow exposure: Choose a mount and site rated for local wind and snow loads; plan for snow melt or mechanical clearing if you’re in a winter climate.
- Accessibility: For maintenance, pick a location that you or a technician can reach safely.
3. Mounting Options and Best Practices
Temporary mounts are convenient for initial testing, but for long-term reliability use a permanent mount rated for your environment.
- Roof mounts: Use flashed, bolted mounts installed per roofing codes. Properly seal and flash any roof penetrations and restore shingles as needed.
- Pole mounts: Install on a structural pole anchored to a concrete pad or to the building with engineered brackets. Consider guy wires for tall poles.
- Side mounts / wall mounts: Use through-bolts with plates backing the connection to distribute load.
- Vehicle and marine mounts: Use vibration-resistant hardware and secure cable entry with marine-grade glands and sealant. Consider anti-theft hardware for exposed installations.
Note: The dish auto-aims — you don’t need to set azimuth or elevation manually — but the bracket must be level and secure.
4. Cable Routing, Protection, and Grounding
Proper cable routing prevents damage, signal loss, and water intrusion while complying with electrical and building codes.
- Use conduit: Run Starlink cable inside conduit (PVC or EMT as local code permits) for UV protection and mechanical safeguarding. When crossing roofs, use conduit elbows and roof flashing.
- Sealing penetrations: For roof or wall penetrations, use a cable gland with flashing or a professionally installed roof boot. Apply compatible sealant to prevent leaks.
- Surge protection: Install a surge protector at the building entry point or inline between the dish and the router/power supply. Consider whole-site lightning protection for tall mounts.
- Grounding: Bond the mount and the cable shield to a dedicated grounding rod per local code using copper grounding conductors and clamps. Grounding reduces risk from static buildup and lightning-induced surges.
- Cable length: Keep the cable run as short as practical. Excessive length can complicate routing and increases vulnerability. Use manufacturer-approved extension kits if needed.
5. Power and Router Placement
Place the router where it can provide robust Wi‑Fi coverage without being enclosed in cabinets or behind electronics. Keep the power supply in a ventilated location and protect it from moisture. For larger homes or businesses, you may prefer to connect Starlink to a dedicated network switch and enterprise Wi‑Fi system.
6. Initial Power-Up and Network Configuration
Power on the dish and router, then use the Starlink mobile app to complete setup:
- Follow activation prompts to link the dish to your account.
- Run the built-in “Check for obstructions” test.
- Create a secure SSID and strong password.
- Perform a speed test and latency check. Document baseline metrics for future troubleshooting.
Network Setup and Advanced Options
Starlink’s default router is sufficient for many users, but advanced networking needs may require third-party equipment or specialized configurations.
- Using your own router: You can place the Starlink router in bridge mode (aka “bypass mode”) to use a third-party router/firewall. This is recommended for advanced VPNs, VLANs, QoS policies, or enterprise Wi‑Fi controllers.
- Static IP / Business service: Starlink offers business-grade plans with static IPs and higher bandwidth tiers. Evaluate the Business plan if you require port forwarding, fixed addressing, or SLAs.
- VPNs and security: Implement a site-to-site VPN for remote enterprise connectivity. Use strong WPA3 encryption where devices support it, and change default passwords immediately.
- Mesh and extenders: For large residential properties, integrate a mesh Wi‑Fi system or wired access points to eliminate dead zones. Run Ethernet from the router to access points when possible to maximize throughput.
- Monitoring and logging: Set up network monitoring to track uptime and performance trends. Logs help diagnose intermittent outages tied to environmental conditions or hardware faults.
Testing, Optimization, and Maintenance
After setup, validate performance and plan for ongoing upkeep.
- Speed and latency tests: Use tools like Speedtest, Fast.com, and ping/traceroute to measure throughput and latency. Test at different times of day to understand peak performance windows.
- Obstruction checks: Regularly check for new obstructions (tree growth, new construction). Seasonal leaf cover or snow can change performance.
- Firmware updates: Keep the system updated. Firmware often includes performance improvements and security patches.
- Physical inspections: Semiannual inspections for mount integrity, cable wear, and sealant condition will prolong equipment life.
- Winter care: Wipe snow and ice as needed. Some dishes have active heating, but manual clearing may still be necessary in heavy storms.
DIY vs Professional Installation: Which Is Right for You?
Many residential customers successfully complete a DIY Starlink install. However, professional installation is strongly recommended under several conditions:
- Choose DIY if: You have safe access to the installation points, are comfortable with basic electrical and roofing tasks, and the cable run is short and unobstructed. DIY saves labor costs for straightforward installs.
- Choose professional installation if:
- Your site requires roof penetrations, structural mounts, or tall poles that present fall hazards.
- You need code-compliant grounding, surge protection, or integration with existing enterprise network infrastructure.
- You’re installing for a business, remote site, fleet/marine, or critical communications where uptime and performance SLAs matter.
- You want a warranty-backed installation and ongoing technical support.
Professionals provide site surveys, engineered mounts, permanent weatherproof routing, electrical bonding, and the knowledge to integrate Starlink into sophisticated network topologies. In short, professional installers reduce liability and often result in better long-term reliability.
Why Choose InstallPros?
InstallPros.io is the #1 Starlink installer in the USA, delivering reliable, code-compliant installs for residential, enterprise, fleet, and remote site customers. Our technicians are trained on the latest Starlink hardware and local permitting requirements, and we offer:
- Residential installs: Roof, pole, and side‑wall mount installations with aesthetic and weatherproof routing.
- Enterprise solutions: Multi-site deployments, static IP/business plan setups, and integration with enterprise firewalls and monitoring systems.
- Fleet and marine installations: Vibration-rated mounts, cable glands, and power integration for RVs, boats, and mobile units.
- Remote site installations: Solar/battery power integration, rugged mounts, and long cable runs with conduit for off-grid operations.
- Same-week scheduling: Fast dispatch options so you can get connected quickly — many customers receive installations within the same week of calling.
Our full-service approach includes site assessment, permit assistance, permanent mounting and sealing, code-compliant grounding, surge protection, and post-installation testing and training. Trust InstallPros.io to make your Starlink system perform at its best with minimal hassle.
Ready to schedule? Visit InstallPros.io to request an estimate or call to speak with a certified technician. Mention this guide for expedited scheduling and a complimentary site assessment.
Troubleshooting Common Issues
Even well-installed systems can encounter problems. Here are quick checks for frequent issues:
- No connection: Verify the power supply, check cable continuity, and confirm the dish has a clear sky view via the Starlink app.
- Intermittent drops: Inspect for loose connectors, water ingress, or partial obstructions. Check for scheduled firmware updates and verify network congestion during peak hours.
- Slow speeds: Run multiple speed tests. If speeds are consistently lower than your plan, contact Starlink support; for enterprise tiers, check routing and third‑party router performance.
- Router or Wi‑Fi issues: Reboot the router, reset SSID/password, and verify no local interference from other electronics or overlapping Wi‑Fi channels.
Final Checks Before You Finish
Before declaring the installation complete, perform these final tasks:
- Document mount location, cable path, grounding point, and any roof penetration details for future reference.
- Perform speed and latency testing from multiple locations in the home or site.
- Provide the account owner with network credentials, emergency shutoff instructions, and maintenance recommendations.
- Register any warranties and schedule a follow-up inspection after the first storm season if possible.
FAQ
How long does a typical Starlink installation take?
For a straightforward residential rooftop or pole mount, a professional crew typically completes the installation in 2–4 hours (including testing and cleanup). Complex enterprise or remote installs that require permits, structural engineering, or long conduit runs may take longer and can be scheduled across multiple days.
Do I need permits for a Starlink installation?
Permit requirements vary by municipality and by the type of mount. Simple temporary installs may not require permits, but permanent roof penetrations, large pole installations, or commercial deployments often do. InstallPros.io handles permit research and submission as part of our professional packages to ensure code compliance.
Can I use Starlink with my existing router or network equipment?
Yes. Starlink supports bypass/bridge modes so you can use a third-party router, firewall, or enterprise networking gear. For advanced setups, InstallPros.io can configure VLANs, QoS, VPNs, and other services to integrate Starlink into your network architecture.
What happens during a power outage?
Starlink requires power to the dish and router. For backup connectivity, install an uninterruptible power supply (UPS) or a battery system sized to your runtime needs. For off-grid sites, InstallPros.io can design solar-plus-battery systems to keep your Starlink online during extended outages.
Is the Starlink dish weatherproof and do I need to clear snow?
Starlink dishes are engineered for outdoor use and are rated for various climates, including rain and snow. Some models include heating elements to shed light snow, but heavy accumulation may still block the antenna. Regularly inspect and clear heavy snow if you experience signal degradation.
Proper installation, careful planning, and periodic maintenance are the keys to reliable Starlink performance. If you want a worry-free, code-compliant installation with fast scheduling and ongoing support, contact InstallPros.io — the USA’s top-rated Starlink installation team.