Starlink and Home Automation: Boosting Connectivity with Amazon eero 6+ Mesh Wi-Fi Router
May 8, 2024 · 3 min read
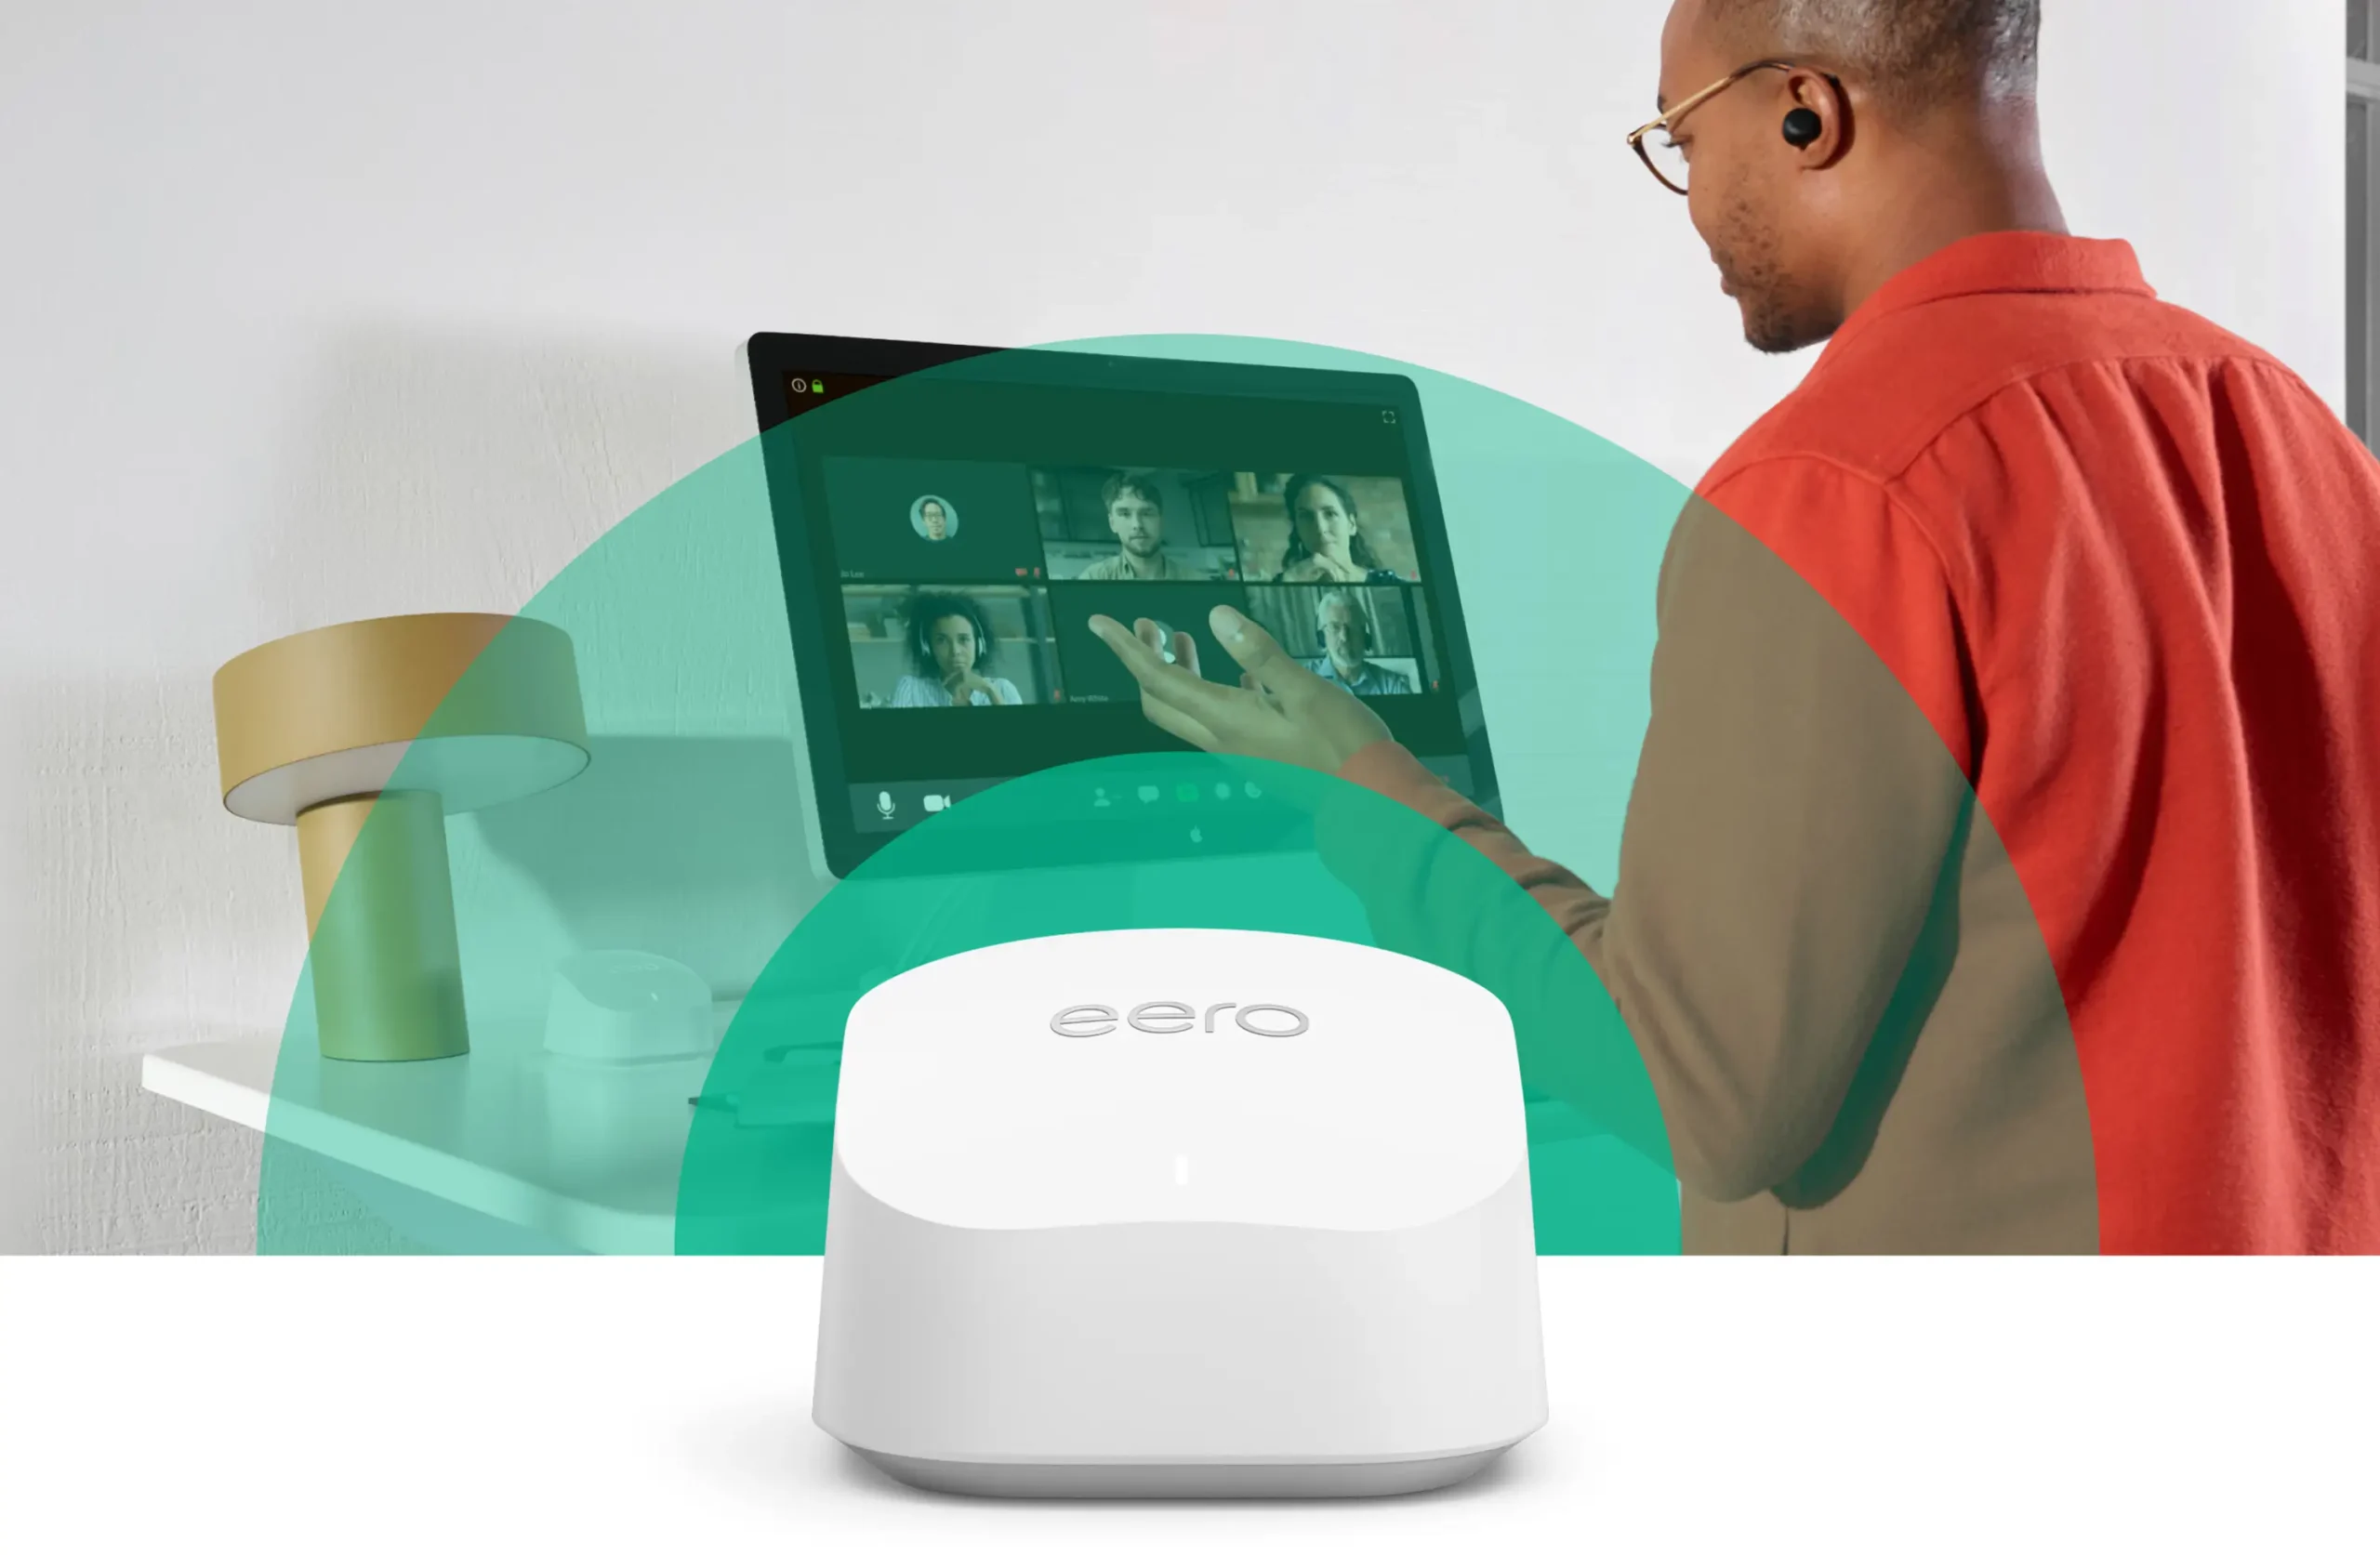
In today’s smart homes, reliable Wi‑Fi is the backbone that keeps cameras, door locks, thermostats, TVs, and voice assistants working smoothly. When pairing a modern mesh router like the Amazon eero 6+ with Starlink’s low‑latency satellite internet, homeowners can achieve broader coverage, faster throughput, and better responsiveness for demanding applications. This guide delivers a full product review of the eero 6+, specifies Starlink bandwidth and latency expectations, walks through step‑by‑step setup instructions, covers compatibility notes, and explains why InstallPros.io is the best choice for professional Starlink + mesh installations.
Overview of the Amazon eero 6+ Mesh Wi‑Fi Router
Product review: key features and specifications
The Amazon eero 6+ is a consumer‑focused Wi‑Fi 6 mesh router designed to balance performance, ease of use, and smart‑home integration. It leverages Wi‑Fi 6 efficiency improvements to support more simultaneous device connections and improved power management for IoT devices. The eero 6+ is a dual‑band system that supports up to gigabit class internet speeds and offers features specifically targeted at the smart home market.
- Wi‑Fi standard: Wi‑Fi 6 (802.11ax) — improved multi‑device performance and efficiency.
- Mesh platform: Amazon TrueMesh routing to reduce dead zones and intelligently route traffic.
- Smart home hub: Built‑in support for Thread and Zigbee protocols, enabling device connectivity without separate hubs (works with Alexa).
- Security & controls: eero Secure subscription available for threat protection, parental controls, and ad blocking.
- Ports and backhaul: Gigabit Ethernet WAN / LAN support and wired backhaul capability for optimal node-to-node performance.
- Management: Intuitive mobile app for setup, device management, and firmware updates.
Performance and real‑world experience
In real‑world deployments, the eero 6+ delivers consistent coverage in small to medium homes and can be scaled with additional eero units for larger properties. The Wi‑Fi 6 improvements are most noticeable in homes with many simultaneous devices — cameras, smart speakers, phones, streaming boxes, and smart sensors. TrueMesh generally minimizes throughput drops as devices roam, and wired Ethernet backhaul drastically improves reliability where feasible.
Pros and cons
- Pros: Easy setup, integrated smart‑home hub (Thread/Zigbee), solid mesh performance, frequent firmware updates, good parental and security features.
- Cons: Dual‑band limits absolute top‑end multi‑gigabit performance compared with tri‑band mesh systems; advanced users may want more granular QoS controls than the eero app exposes without a subscription.
How Starlink Enhances eero 6+ Capabilities
Starlink bandwidth and latency expectations
Starlink uses low‑Earth orbit (LEO) satellites to deliver broadband where terrestrial options are limited. Typical residential Starlink performance ranges between 50–200+ Mbps down and 10–40+ Mbps up, with variability depending on location, network congestion, and equipment generation. Latency for residential Starlink is commonly in the 20–50 ms range — excellent for video calls, remote work, and many online games when combined with a responsive local network.
For planning purposes, here are practical bandwidth guidelines:
- 4K streaming (per stream): ~15–25 Mbps
- HD streaming (per stream): ~5–8 Mbps
- Video conferencing (per call): ~1.5–4 Mbps
- Smart home devices: Mostly low bandwidth, but many devices simultaneously can add up (plan 1–5 Mbps per active camera stream)
Because Starlink provides a relatively low latency compared to traditional geostationary satellite internet, it pairs particularly well with a high‑quality local mesh network like the eero 6+ for real‑time applications.
Why the combination works
- Starlink delivers broadband to locations lacking wired service; the eero 6+ distributes that bandwidth efficiently throughout the house.
- eero 6+ mesh reduces Wi‑Fi dead zones and keeps latency low between devices and the gateway.
- Built‑in Thread and Zigbee support in eero 6+ centralizes smart home device connections, reducing the need for multiple vendor hubs.
Step‑by‑Step Setup Guide: Starlink + eero 6+
Pre‑installation checklist
- Confirm your Starlink kit type (Residential, RV/portable, Business) and note whether an Ethernet port or adapter is included.
- Have your eero 6+ unit(s) and the eero mobile app (iOS or Android) ready.
- If your Starlink dish does not include a native Ethernet port, purchase the official Starlink Ethernet Adapter or a compatible PoE injector that matches your kit.
- Plan node placement: main eero near the Starlink gateway (or where Ethernet arrives), additional eero nodes centrally in underserved areas; consider wired backhaul where possible.
Installation steps
- 1. Mount and power Starlink dish: Follow Starlink instructions for dish placement with a clear view of the sky, then power and finish the basic Starlink setup using the Starlink app.
- 2. Connect Ethernet: If your Starlink router has an Ethernet output, connect an Ethernet cable to it and run the cable to your main eero unit. If your kit lacks an Ethernet port, attach the Starlink Ethernet Adapter (sold separately) between the Starlink router and the Ethernet cable.
- 3. Put Starlink in bypass/bridge mode: To avoid double NAT and allow eero to manage routing, enable Starlink’s bypass (bridge) mode in the Starlink app or web settings. This hands network routing to the eero. If bypass is not available, you can still run eero in access point mode (see compatibility notes), but some advanced features may be limited.
- 4. Set up eero as primary router: Open the eero app, create or sign into your eero account, and follow the guided steps to add your primary eero unit and configure SSID, password, and administrative settings. Ensure eero is set to router mode (default during initial setup).
- 5. Add mesh nodes: Place and power the additional eero 6+ units where coverage weakens, then add them via the app. If possible, use Ethernet backhaul to connect nodes for highest throughput and lowest latency.
- 6. Configure security: Enable WPA3 (if available), set a strong network password, and configure eero Secure features if you subscribe. Update firmware on both Starlink and eero for the latest performance and security fixes.
- 7. Optimize and test: Use the eero app’s speed tests and client lists to confirm throughput and latency. Run a few real‑world tests — streaming 4K video, running a video call, and gaming — to verify the experience across different rooms and devices.
Compatibility Notes and Common Pitfalls
Starlink hardware variations
Starlink offers multiple kit types (Residential, RV, Business / Starlink Roam). Some legacy suburban kits included a router with an Ethernet port; other newer kits may require purchasing the Starlink Ethernet Adapter for third‑party router connections. Verify your kit before planning a wired eero install.
Bypass mode vs. double NAT
For the most reliable performance and full feature access, enable Starlink’s bypass (bridge) mode and use the eero 6+ as your primary router. If bypass is not enabled and your eero is placed behind Starlink’s router, you may encounter double NAT, which can cause issues with VPNs, port forwarding, remote access, and certain gaming services. When bypass is not an option, eero’s access point mode is a workable alternative for extending Wi‑Fi, but some advanced router features will be handled by the Starlink unit instead.
QoS and device density
eero handles device prioritization automatically to some extent, but heavy concurrent usage (multiple 4K streams + several camera streams + online gaming) can saturate even a Starlink connection. If you have many high‑bandwidth devices, consider upgrading to Starlink’s higher tier (when available) or offloading local traffic with wired connections.
Smart home integrations
Because eero 6+ supports Thread and Zigbee, many smart devices can connect directly to the mesh without a separate hub. However, confirm device compatibility and firmware requirements before migrating large smart deployments to a single hubless model.
Why Choose InstallPros?
InstallPros.io is the #1 Starlink installer in the USA, trusted for residential, enterprise, fleet, and remote site installations. Our certified technicians combine deep knowledge of Starlink hardware with comprehensive mesh networking expertise to deliver reliable, high‑performance deployments.
- Residential installs: HomeStarlink + eero mesh installs, optimized for coverage, throughput, and smart home reliability.
- Enterprise: Scalable solutions for small businesses and distributed offices with robust security and monitoring.
- Fleet & remote sites: Rapid deployment for vehicles, field operations, and remote work sites where connectivity is mission‑critical.
- Same‑week scheduling: We understand uptime matters — InstallPros offers same‑week scheduling and flexible service windows to get you online fast.
Our technicians handle mounting and grounding of Starlink terminals, Ethernet adapter installations, mesh node placement and wiring, smart home hub configuration, and detailed post‑install testing. Schedule a consultation with InstallPros.io for a site assessment and a custom plan that matches your property, device count, and performance goals.
FAQ
Can I use the eero 6+ as my primary router with Starlink?
Yes. For best results, enable Starlink’s bypass (bridge) mode and connect the eero 6+ to Starlink via Ethernet so the eero can handle DHCP, NAT, and firewall functions. If bypass mode isn’t available, you can run eero in access point mode, but advanced routing features will remain on the Starlink device.
Do I need a Starlink Ethernet Adapter to connect the eero?
Some Starlink kits include an Ethernet port; others do not. If your kit lacks a native Ethernet output, you will need the official Starlink Ethernet Adapter or a compatible PoE injector to provide a physical Ethernet connection from Starlink to your eero router.
Will mesh networking increase latency for gaming?
Properly configured mesh networking typically adds negligible latency compared to the latency introduced by the internet connection. Using wired backhaul between eero nodes reduces any added latency and provides the best gaming performance. Ensure the eero is the primary router and Starlink is in bypass mode to avoid double NAT which can create latency or connection issues.
How many eero units do I need for my home?
Coverage depends on home layout, construction materials, and device count. As a rule of thumb: one eero 6+ covers most apartments and small homes. For a 2,000–3,000 sq ft home with multiple floors, plan for 2–3 units. InstallPros offers site assessments to recommend optimal node counts and placement for your specific floorplan.
Can the eero 6+ replace existing smart home hubs?
In many cases, yes. The eero 6+ supports Thread and Zigbee, enabling direct connectivity for many smart sensors, lights, and locks. However, check device compatibility and manufacturer recommendations, especially for advanced automations or legacy devices that may still depend on vendor‑specific hubs.
If you’re ready to upgrade your home network with Starlink and Amazon eero 6+, InstallPros.io can design and install a tailored solution, optimize placement, and verify performance so your smart home runs reliably. Contact InstallPros today to schedule a same‑week consultation and get connected with confidence.