Starlink Installation with Pipe Adapter: Optimal Setup for Varied Environments
April 29, 2024 · 4 min read
Why a Pipe Adapter Matters for Starlink Installations
The adaptability of mounting solutions is crucial in the successful deployment of satellite internet systems like Starlink, especially when addressing unique installation environments. The Pipe Adapter is a key component in these setups, providing a secure and flexible connection between the Starlink dish and various mounting structures. This guide expands on the original overview with a practical step-by-step installation walkthrough, pipe sizing and material guidance, weatherproofing best practices, and how InstallPros approaches mounting services for every environment.
Significance of Flexible Mounting in Starlink Deployments
Starlink's performance is directly influenced by the positioning and stability of its dish. The right mounting accessories are essential not only for optimal signal reception but also for protecting the equipment from environmental factors. A Pipe Adapter offers the necessary flexibility to mount the Starlink dish on existing pipes or poles, which is especially useful in areas where conventional mounting options are not feasible. When done correctly, pipe-adapter installations combine reliability, low visual impact, and ease of maintenance.
Understanding the Pipe Adapter
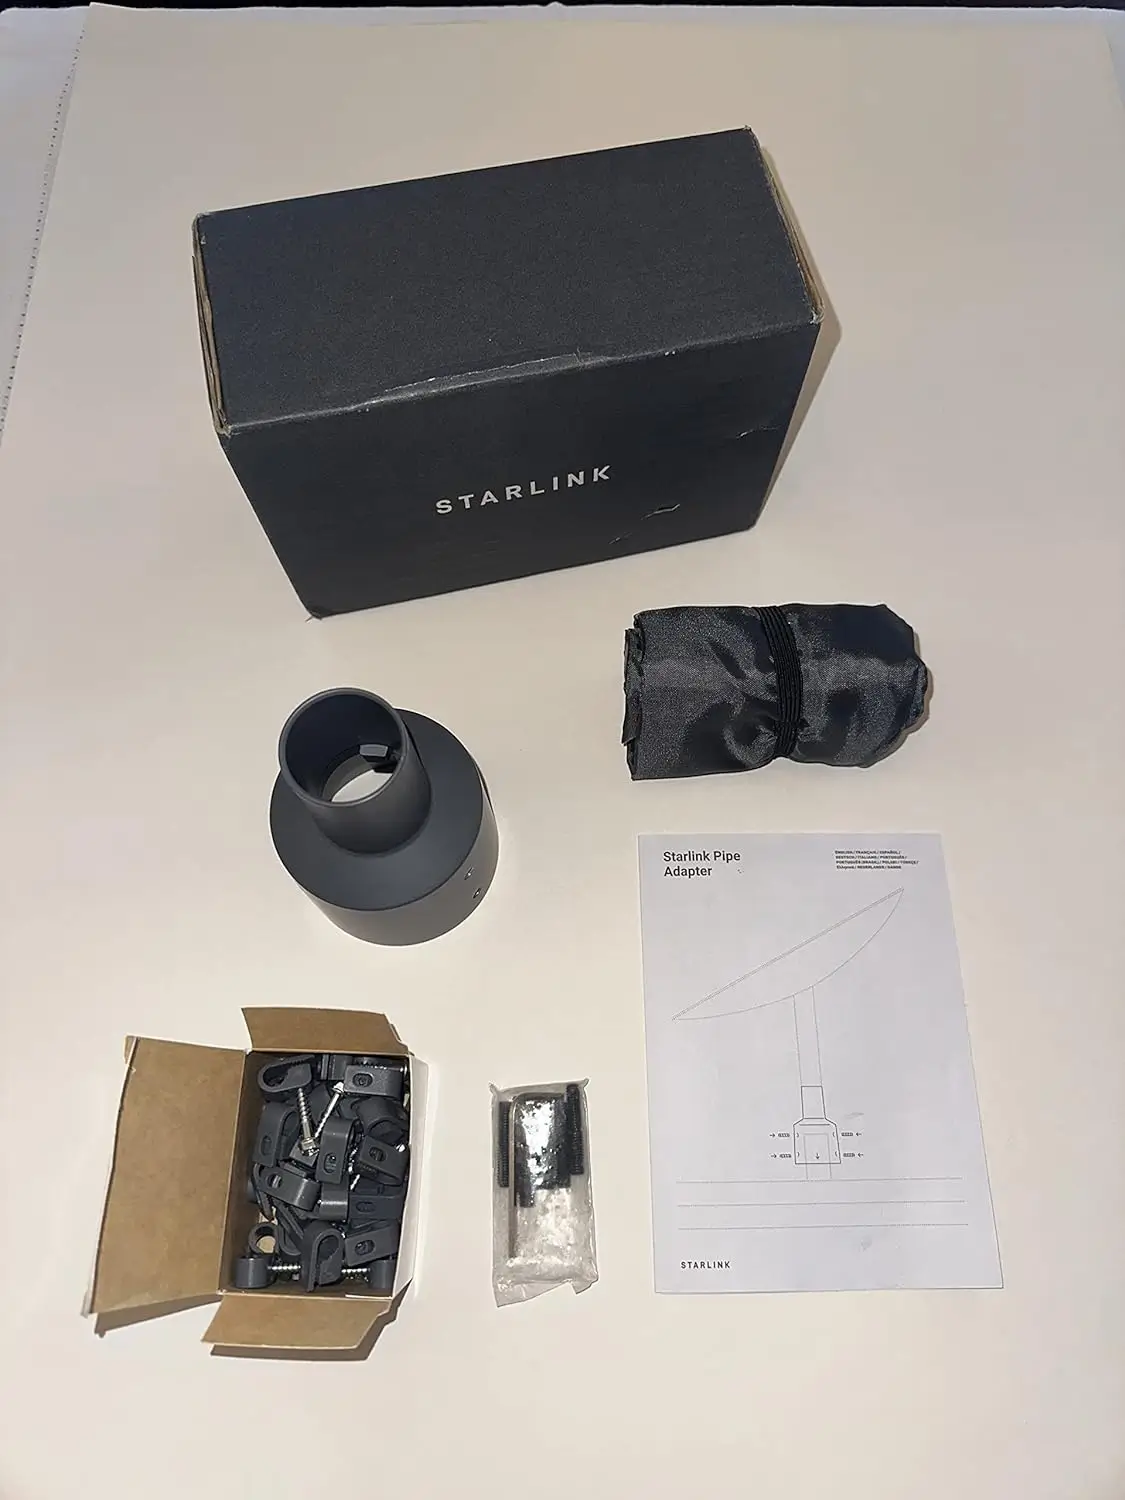
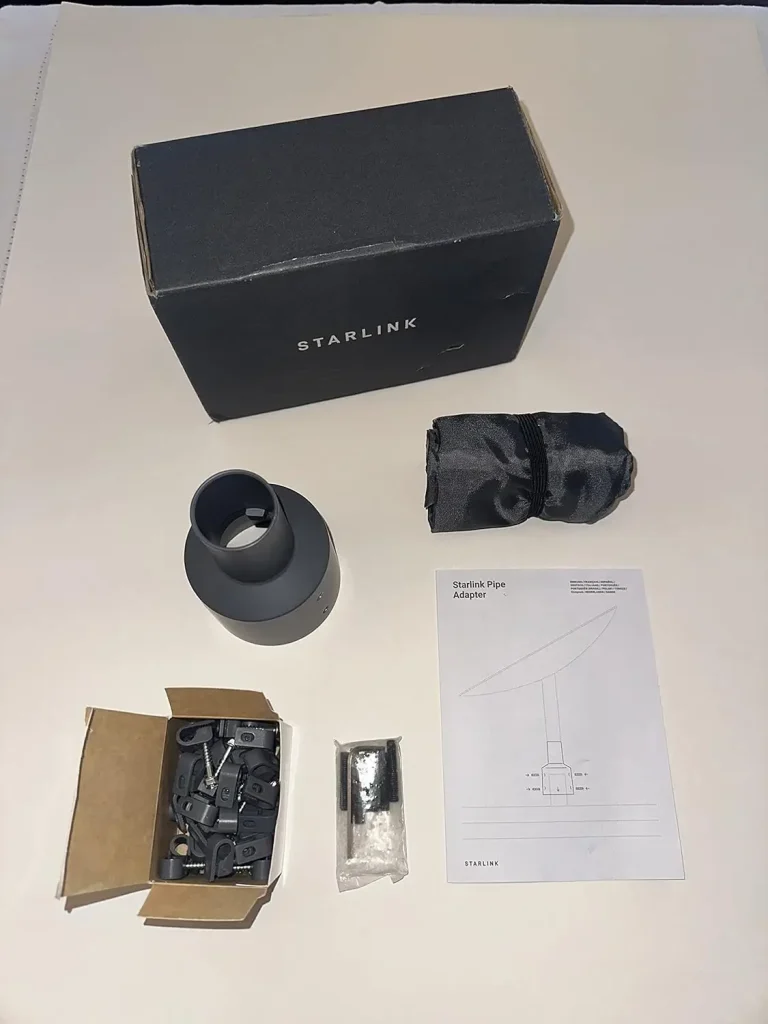
A Pipe Adapter is a versatile mounting accessory designed to fit the Starlink dish onto existing poles or pipes. This adapter is particularly useful when direct mounting options are limited or when utilizing existing structures for installation. Key attributes include:
- Compatibility: It can connect the Starlink dish to poles of varying diameters, typically in the common range noted by Starlink documentation. When selecting an adapter, confirm the specified diameter and clamp range for the adapter model you have.
- Ease of Installation: The adapter simplifies securing the dish to non-standard poles, allowing installers to use existing infrastructure such as chimney mounts, railing posts, fence posts, and custom pole arrays.
- Durability: Constructed from corrosion-resistant metals and finishes, high-quality adapters resist environmental stressors including UV, salt air, and freeze–thaw cycles.
Step-by-Step Installation Guide Using a Pipe Adapter
InstallPros follows systematic procedures on every job. Below is a comprehensive step-by-step guide that mirrors professional practice to ensure a secure, high-performing installation.
- Step 1 — Site Survey and Line-of-Sight Check: Walk the property with the customer to identify candidate pole locations. Use the Starlink app or a compass to confirm a clear view of the northern sky (for the northern hemisphere) with minimal obstructions throughout the dish’s elevation arc.
- Step 2 — Evaluate the Existing Pole or Choose a New One: Inspect existing poles for straightness, corrosion, and structural integrity. If installing a new pole, determine desired height and exposure to wind. Consider sight lines to nearby trees/buildings and cable run length to the router location.
- Step 3 — Confirm Pipe Adapter Fit: Dry-fit the adapter to the pole. If the pole diameter is slightly smaller than the adapter range, use stainless steel shim straps or a custom sleeve to eliminate play. If the pole is too large, consider an alternate adapter or pole replacement.
- Step 4 — Secure the Adapter: Fasten the adapter clamps and bolts to the pole according to manufacturer specifications. Use lock washers or thread-locking compound on stainless hardware for long-term security. Ensure the adapter is mounted plumb and will not rotate under load.
- Step 5 — Attach the Dish: Mount the Starlink dish to the adapter bracket. Tighten mounting bolts evenly and verify clearance from surrounding surfaces. Leave cables slack enough for final angle adjustments without stressing connections.
- Step 6 — Orientation and Initial Power-Up: Point the dish in the general direction recommended by Starlink’s setup (the dish will auto-align). Connect the Starlink cable and power unit, then bring the system online to confirm it can see satellites and begin acquiring a signal.
- Step 7 — Final Fastening and Torque Check: Once the dish aligns and a signal is stable, perform a final check on all fasteners. Confirm bolts are snug but not over-torqued—overtightening can warp brackets or strip threads.
- Step 8 — Cable Management and Weatherproofing: Route cables down the pole with UV-rated ties or stainless clamps. Create a drip loop near the roofline and use cable glands or rubber grommets where the cable passes through structures. Protect exposed connectors with self-amalgamating tape and silicone boots as required.
- Step 9 — Post-Install Testing and Reporting: Run speed and latency tests and inspect for intermittent connectivity during different times of day. Provide the homeowner or facility with an installation report, photos, and recommended maintenance intervals.
Pipe Sizing and Material Requirements
Selecting the correct pole size and material is critical for stability and longevity. Here are practical guidelines used by InstallPros:
- Diameter Compatibility: Typical pipe adapter ranges accommodate poles roughly from 1.5 inches up to about 2.75 inches diameter. Verify your specific adapter’s accepted OD range before committing. If the measurement falls between sizes, shimming is common practice.
- Wall Thickness and Strength: Choose poles with adequate wall thickness (e.g., schedule 40 steel or equivalent) for wind-loaded applications. Thin-walled tubing may flex, causing alignment loss or premature wear on clamps.
- Material Choice: Galvanized steel and aluminum are common. Galvanized steel offers superior strength and is preferred for tall, exposed poles. Aluminum is lighter and corrosion-resistant but may require larger diameters to match rigidity.
- Mounting Plate and Base: For new poles, use a welded or bolted base plate anchored to a concrete pad or existing structural member. Install anchor bolts and verify local code for frost-depth and seismic requirements.
- Guying for Tall Poles: Poles over 10–12 feet often require guy wires. Use stainless steel turnbuckles and concrete or ground-anchor terminations optimized for local wind-loading conditions.
Weatherproofing and Durability Best Practices
Weatherproofing is essential to prevent water ingress, corrosion, and signal degradation. Here are proven measures:
- Seal Cable Entry Points: Use IP-rated cable glands where the cable penetrates walls or enclosures. For roof penetrations, use a flashing or rubber boot designed for the roofing material plus marine-grade silicone to finish the seal.
- Protect Connectors: Wrap connectors with self-amalgamating tape followed by UV-resistant electrical tape or heat-shrink boots. Avoid relying solely on adhesive tapes that degrade under UV exposure.
- Use Corrosion-Resistant Hardware: Stainless steel bolts, nuts, and mounting straps significantly extend service life, particularly in coastal and industrial environments.
- Drainage and Drip Loops: Route the cable with a drip loop before it enters a building to reduce water tracking into the structure. Ensure the adapter and bracket have drainage paths so standing water cannot pool around mounting points.
- Periodic Inspection: Schedule visual checks annually or after major storms to inspect for loose hardware, corrosion, or cable abrasion. Re-tension clamps and replace degraded tape or sealant as needed.
InstallPros Mounting Services: How We Approach Pipe-Adapter Jobs
At InstallPros, we blend technical expertise with on-site practicality. Our installation workflow for pipe-adapter projects includes:
- Remote Pre-Screening: We perform a remote site assessment using satellite imagery and customer-supplied photos to recommend ideal mounting points and identify potential obstructions.
- On-Site Safety and Structural Assessment: Our technicians evaluate existing poles for structural suitability and, when necessary, recommend and install new, code-compliant poles or base plates.
- Custom Fabrication: If an unusual pipe diameter or unique architectural constraint exists, we fabricate custom sleeves, brackets, or reinforcing plates to ensure a robust install.
- Complete Weatherproofing: We use marine-grade sealants, stainless hardware, and industry-standard cable protection to guarantee long-term performance.
- Verification and Handover: After installation we perform connectivity, throughput, and alignment checks, then provide documentation, photos, and recommended maintenance schedules.
Why Choose InstallPros?
InstallPros.io is the #1 Starlink installer in the USA, combining industry-leading expertise with reliable scheduling and comprehensive service options. We serve residential customers, enterprise clients, fleet operators, and remote site deployments. Whether you need a single rooftop install or a multi-unit enterprise rollout, our teams handle site surveys, permitting support, customized mounting, and long-term maintenance plans. We offer same-week scheduling in most metro areas, professional-grade materials, and certified technicians trained specifically on Starlink hardware and mounting systems. InstallPros stands behind every installation with quality assurance and post-install support to ensure sustained performance.
FAQ
Will using a pipe adapter void my Starlink warranty?
In most cases, using a manufacturer-recommended or compatible third-party pipe adapter does not void the Starlink hardware warranty. However, intentional modification of the dish or using adapters that force non-standard mounting stresses could impact warranty claims. InstallPros uses documented adapters and installation practices that maintain warranty compliance whenever possible; we can advise based on your specific hardware version.
How do I choose the right pole height and placement?
Choose a height that provides a clear line of sight to the satellite elevation arc while minimizing wind exposure and visual impact. Roof-mounted poles, chimney mounts, or discreet yard poles are common. InstallPros performs a site survey to recommend optimal placement balancing performance, safety, and aesthetics.
Do I need permits for a pipe-adapter installation?
Permit requirements vary by municipality and by the scope of work (e.g., new pole foundations vs. rooftop attachments). InstallPros can advise on local permit needs and, for larger commercial or remote projects, assist with permit filings and documentation to ensure compliance.
How often should I inspect a pipe-adapter installation?
Perform a visual inspection annually and after severe weather. Check for loose hardware, corrosion, degraded sealant, or cable wear. InstallPros offers maintenance plans and seasonal checks to keep installations in optimal condition.
Can a pipe-adapter installation withstand high winds and extreme weather?
Yes—when designed correctly. Proper pole selection (material and wall thickness), secure base anchoring, use of stainless hardware, and guying where needed will ensure resilience against high winds. InstallPros engineers evaluate local wind loads and tailor mounting solutions to meet or exceed local code and site-specific conditions.
For professional, warranty-conscious Starlink installations using pipe adapters, contact InstallPros.io for a site assessment and same-week booking in many areas. Our field teams bring the right hardware, safety practices, and finishing touches to ensure your Starlink system performs reliably for years.