Starlink Satellite Train: How to See and Track It in the Night Sky
June 25, 2024 · 3 min read
How to See and Track the Starlink Satellite Train
Starlink, SpaceX’s rapidly growing satellite constellation, delivers global internet access and creates a striking visual phenomenon: the Starlink satellite train. These trains—rows of satellites launched together—can appear as a line of bright moving dots across the evening or morning sky. This guide explains what the trains are, how many satellites are in orbit, the best regional viewing times, the best tracking tools and apps, practical photography techniques, and how next‑generation Starlink satellites affect visibility.
What Are Starlink Satellites?
Starlink satellites are part of SpaceX’s mission to provide low-latency broadband to underserved and remote areas. They operate in low Earth orbit (LEO), typically a few hundred kilometers above the surface after deployment, then reach their assigned altitudes. Under favorable lighting conditions—when the satellites are still illuminated by the Sun while your local sky is dark—individual satellites and organized deployments can be visible to the naked eye.
Satellite Count and Orbits
SpaceX has launched several thousand Starlink satellites to date, and the fleet grows with frequent launches. As of mid-2024 the constellation contains over four thousand active satellites in various orbital shells, with more launches scheduled routinely. The number in orbit changes as new satellites are deployed and older units are deorbited. Starlink operates multiple orbital “shells” at different inclinations and altitudes, which affects where in the world you can see satellites and when.
The Starlink Satellite Train
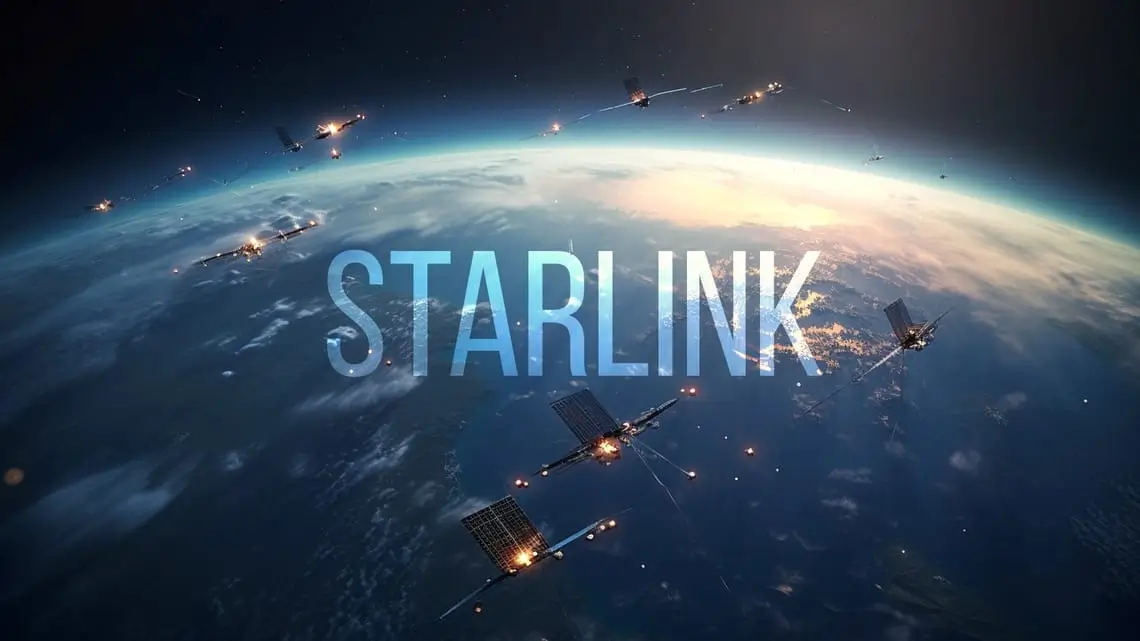
The dramatic “train” effect occurs immediately after a launch when dozens—or sometimes hundreds—of satellites are deployed together in a line. At that early stage, they follow nearly identical orbital tracks and appear as a string of evenly spaced, bright dots passing across the sky. Over days to weeks the satellites raise to their operational altitudes and spread out, making the train less pronounced. Many sightings reported by observers worldwide were of freshly deployed trains visible shortly after a launch.
When and Where to Look
Visibility depends on the satellites being illuminated by sunlight while your observing location is in darkness. In practice that means:
- Best general windows: Within about 90–120 minutes after local sunset or 90–120 minutes before local sunrise. Exact visibility windows vary with season and latitude.
- Clear skies and low light pollution: Rural or suburban locations with darker skies offer the best contrast. Urban light pollution can wash out fainter satellites.
- Look toward the western horizon after sunset and toward the eastern horizon before sunrise as a starting point—many passes move roughly west-to-east—but direction depends on the specific orbital path.
Best Viewing Times by Region
- Equatorial regions: Night length is fairly consistent year-round. Look 1–2 hours after sunset and 1–2 hours before sunrise; many passes are visible across a broad portion of sky because orbital inclinations cross equatorial latitudes frequently.
- Mid-latitudes (30°–60°): These zones see many Starlink passes, particularly in evening twilight. Summer months have longer twilight, narrowing the window; autumn and spring are often ideal.
- High latitudes (>60°): During local summer months there may be no true darkness, reducing visibility. During winter, long nights increase opportunities for multiple passes per evening. Many polar-inclined shells also make frequent passes over these areas.
- Southern Hemisphere: Starlink coverage and visibility are similar, but pass times and directions differ. Use tracking tools configured for your location for precise predictions.
Tracking Tools: Websites and Apps
Reliable tracking tools are essential to find the right time, direction, and elevation for a pass. Below are recommended resources and how to use them:
- FindStarlink.com — Simple, launch-focused interface that lists recent launches and predicted visible trains for your location. Good for spotting trains right after deployments.
- satellitemap.space (Starlink Map) — Real-time visualization of Starlink satellites on a global map. Useful for seeing where trains are and how many satellites are aligned.
- Heavens-Above — Classic astronomy site that provides accurate pass predictions, magnitude estimates, and sky charts for satellites including Starlink.
- N2YO.com — Tracks satellites and offers live pass predictions, azimuth/elevation details, and notification options.
- Stellarium (desktop/mobile) — Desktop planetarium that can load TLEs (two-line element sets) and display satellites in the sky view; excellent for planning and visualization.
- Sky Tonight and Star Walk 2 — Mobile apps with built-in satellite databases; use the search to find “Starlink” and follow the on-screen guidance to point your phone at the sky.
- Orbitron / Satellite Tracker apps — For power users: load recent TLEs from CelesTrak to get precise real-time tracking and ground tracks for selected Starlink missions.
Step-by-Step: Using a Tracking App
Here is a quick workflow you can apply in most apps:
- Open the app and allow location access so predictions are tailored to you.
- Search for “Starlink” or select a specific recent launch/mission in the satellite list.
- Tap the next visible pass to see start time, duration, azimuth (compass bearing), and elevation (degrees above horizon).
- Set an alarm or reminder in the app 5–10 minutes before the pass so you’re ready with camera/binoculars.
- Use the augmented reality or sky map feature (if available) to point your phone and visually align with the predicted path.
Using TLEs and Desktop Tools
For accurate, technical tracking you can download TLEs from CelesTrak or Space-Track (account required) and import them into Stellarium, Orbitron, or other orbital visualization tools. This gives precise pass geometry and allows you to plan long exposures or time-lapse photography with confidence.
Photographing the Starlink Train: Practical Tips
Capturing the train requires planning and stable equipment. Use these tips whether you’re shooting with a DSLR, mirrorless camera, or a modern smartphone:
- Gear: Sturdy tripod, camera with manual exposure control, wide-angle lens (14–35mm) to capture long trains, remote shutter or intervalometer, and a headlamp with a red light.
- Focus: Set focus to infinity and verify on bright stars. Use live view and magnify a star to confirm focus sharpness.
- Exposure:
- For trains spanning much of the sky: try 10–30 seconds at f/2.8–f/5.6 and ISO 400–1600. Adjust exposure to avoid overexposing bright satellites and to control star trails.
- To capture distinct dots in a train (satellites as points): use short exposures (1–5 seconds) and shoot a burst or interval series; later stack frames to show the path as a dashed line.
- For individual bright satellites: 1–5 seconds, low ISO (400–800) may suffice.
- Composition: Pre-visualize the predicted path and include a foreground element (tree, building, or horizon) for context. Wide-angle lenses help capture longer segments of the train.
- Post-processing: Shoot RAW, use stacking software like StarStaX or Photoshop to combine frames for a continuous streak. Dark-frame subtraction can reduce sensor noise in long exposures.
- Smartphones: Use a night mode or third-party app that allows manual control. Mount your phone on a tripod and use an exposure of several seconds if available; stacking multiple frames can improve results.
Starlink v2 (V2) and Visibility
SpaceX is developing and deploying next‑generation Starlink satellites (commonly referred to as V2 or V2 minis). These satellites are larger and intended to operate in different orbital configurations to expand capacity and coverage. Visibility of V2 units may differ from earlier Starlinks due to changes in size, surface reflectivity, or operational orientation. SpaceX has also adopted measures such as VisorSat (sunshade) and darker coatings to reduce brightness. In practice, some V2 satellites may appear brighter at certain angles, while others will be less conspicuous. Always check current tracking data for accurate predictions.
Practical and Ethical Considerations
Starlink satellites have generated concern in the astronomy community because bright passes and large satellite counts can interfere with sensitive observations. If you are an astrophotographer or researcher, consider these steps:
- Schedule deep-sky imaging for times when few satellites are predicted to cross your field of view.
- Use short exposures and stacking to reduce the impact of satellite streaks, or plan to capture calibration frames to remove artifacts.
- Report unusually bright or anomalous satellite behavior to astronomy forums and communities where needed; data helps researchers and operators monitor impacts.
Why Choose InstallPros?
InstallPros.io is the #1 Starlink installer in the USA. Our certified technicians install and support Starlink for residential, enterprise, fleet, and remote site applications. We handle roof mounts, pole and tower installations, grounding and lightning protection, conduit routing, and precise dish alignment to ensure optimal signal and long-term reliability.
- Residential installations: Professional mounts and weatherproof cable routing for homes, remote cabins, and rental properties.
- Enterprise & fleet solutions: Scalable deployments for businesses, transportation fleets, and government clients with network integration and monitoring.
- Remote site & off-grid: Solar or generator-assisted installs, ruggedized mounts, and optimized antenna placement for the most demanding locations.
- Same-week scheduling: Fast response and same-week booking options for most service areas—get online quickly without long delays.
Our team manages permits, coordinates with building owners, and provides follow-up support including firmware verification and throughput testing. For reliable, code-compliant Starlink installations, InstallPros.io offers experienced technicians, transparent pricing, and a customer-first approach.
FAQs
How often will I see a Starlink train?
Shortly after a launch you may see a distinct train for a few days to a couple of weeks. Once satellites disperse into their operational orbits, trains become rare; instead you’ll see individual satellites or smaller groups. Frequency of visible passes depends on your latitude and the orbital shells that cross your area.
Can I track passes for my exact location?
Yes. Use apps like Heavens-Above, N2YO, Stellarium, or FindStarlink and grant location permissions. These tools give precise start times, elevation, and azimuth for each visible pass. For highest precision, import up-to-date TLEs into Stellarium or Orbitron.
Are Starlink satellites dangerous or a hazard to aircraft?
No. Starlink satellites orbit hundreds of kilometers above Earth and pose no direct hazard to aircraft. SpaceX coordinates with space traffic management agencies to mitigate collision risk with other satellites and objects. For terrestrial observers, they are visually interesting but harmless.
Will Starlink trains ruin my astrophotography?
High satellite counts make some wide-field astrophotography more challenging, particularly during twilight or near the horizon. Using short exposures, stacking techniques, and scheduling images when few satellites are predicted can greatly reduce interference.
How bright are Starlink satellites?
Brightness varies by satellite, angle, and time since launch. Early trains often include many satellites bright enough to be easily seen with the naked eye (magnitude 0 to +5). SpaceX has implemented brightness mitigation measures; many newer satellites are dimmer, but some passes can still be very visible.
With the right tools and a little planning you can enjoy the spectacle of a Starlink satellite train and capture compelling photographs. Use the tracking resources above to predict passes for your exact location, and contact InstallPros.io for professional Starlink installation and support across residential, enterprise, fleet, and remote deployments.